Sophie's Pi

Mathematical baking

Sophie’s Pi is a record of my adventures in baking, maths and the real world, hoping to make my way to having my own patisserie empire some day. Or just getting to lick the bowl now and again.

  • Blog Search
  • Blog
  • About
  • Images
IMG_5073.JPG

47. 'Chorizo' Bakes

February 01, 2020 by Sophie Faulkner in Recipe

Well it’s been a little while since I’ve done a savoury recipe on here. So much of baking is all about sugar and spice and everything sweet tooth related aka nice, but you can’t live on that. Or you can’t live on just that. Or you can’t live on just that every day. At least…. once a week?… you should probably eat something savoury.

For those of you who feel the need to eat something savoury, have a go at these “chorizo” bakes. No chorizo involved, or meat if you use vegetarian sausages, but all the flavours of chorizo are there to be enjoyed! This recipe was inspired by one from the BBC Good Food magazine, but I found their ratios of filling to pastry to be a bit wrong, so this is my updated version.

This recipe is really easy to adapt to be vegetarian or vegan depending on the sausages and milk you use. Most puff pastry sheets you buy at supermarkets are already suitable for vegans, just make sure to check the packaging!

I made two batches of these, and Callum couldn’t get enough. Maybe I should make him more savoury stuff. More than once a week. Maybe. The leftover filling from doubling up the batch size made a great pasta sauce when combined with chopped tomatoes!

Makes 6 bakes

Ingredients

  • 3 sausages, vegetarian or pork

  • 1/2 onion, finely diced

  • 2 garlic cloves, crushed

  • 1 tsp olive oil

  • 1 bell pepper, finely sliced

  • 2 rosemary sprigs, chopped

  • 2 tsp harissa paste

  • 2 tsp ground cumin

  • 2 tsp paprika

  • 1 tsp cayenne pepper, or chilli powder

  • 1 sheet rolled puff pastry

  • 1 tbsp milk, or milk alternative

  • 1 tbsp sesame seeds

Method

  1. Chop up your sausages into small bits. Combine with the onion, garlic, oil, harissa and spices and fry in a pan for about 8 minutes, until the sausage is cooked and the onion has softened. Allow to cool.

  2. Preheat the oven to 200C and take out your puff pastry sheet.

  3. Cut your puff pastry (either on a lightly floured surface or on greaseproof, it usually comes rolled in it) into 6 squares/rectangles.

  4. Place a heaped spoon of your filling into the centre of one half of your square/rectangle and brush around the edges of the visible pastry with your milk. Fold the pastry over your filling and use a fork to crimp it together along the edges. Transfer to a lined baking tray. Repeat for all 6.

  5. Brush the tops of your bakes with more milk and sprinkle on some sesame seeds.

  6. Bake for 25-30 minutes until the pastry is golden.

  7. Enjoy hot or cold!

View fullsize IMG_5046.JPG
View fullsize IMG_5047.JPG
View fullsize IMG_5059.JPG
View fullsize IMG_5061.JPG
February 01, 2020 /Sophie Faulkner
Recipe, Savoury, bake, pastry, puff pastry, sausage, chorizo, vegetarian, vegan
Recipe
Comment
IMG_2954.JPG

30. Baguettes

February 23, 2019 by Sophie Faulkner in Recipe

Bread is just the best.

It’s such a staple of every day life. I mean, “give me this day our daily bread” is a line straight from the Lord’s prayer. Back in the day when only one out of a couple would go to work, they were the “breadwinner”. To “break bread with someone” means to share ANY meal with another person. And of course, something amazing is “the best thing since sliced bread”.

Unfortunately, this bread does not come pre-sliced. You will have to tear or cut off hunks of this to have with olive oil and balsamic vinegar yourself. Real shame that… (You could do the same with this focaccia recipe too if you wanted something slightly different.)

Having never made baguettes before, I didn’t have a recipe to use, so I went to the British king of bread (and Bake Off turncoat) Paul Hollywood. You can find his recipe and all his advice here. It might be a little more comprehensive than what I’m about to put below, but what I did turned out ok.

Makes 4 baguettes

Ingredients

  • 500g (17.5oz) strong white flour, plus some for dusting.

  • 10g (0.35oz) salt

  • 7g (0.25oz) yeast (1 packet)

  • 370ml water (cool/room temp. Not hot)

  • Olive oil

Method

  1. USE A DOUGH HOOK ON A STAND MIXER. Your arms will get very tired… Add in the flour, salt and yeast to a bowl on your stand mixer, not putting the salt directly on top of the yeast or vice versa.

  2. Add in about three quarters of your water and start it mixing. Once it has started to actually come together as a dough, add in the rest of your water.

  3. Leave the stand mixer to do its thing for 5-7 minutes until your dough is glossy and elastic.

  4. Lightly grease a square container with some olive oil.

  5. Tip your dough into the oiled container, cover with a tea towel and leave to prove for an hour.

  6. Whilst it’s proving, line your baking tray with some baking paper. I folded mine so that it would form little “beds” for my baguettes to keep them from spreading into each other.

  7. Once your dough has doubled in size, tip it out of the container onto a lightly oiled surface and divide it into four. Fold two of the edges in on each square to make a rectangle, trying to keep as much air in as possible. Roll this into a long sausage, with the join on the bottom.

  8. Start rolling each sausage to the length of your baking tray. Start with your hands in the middle and slowly work them outwards as you roll. DON’T pull your dough to the length of the tray. It seems like a shortcut, but will make your dough inconsistent and tough and your bread will not be as good.

  9. Put your baguettes on your tray and, if you have one big enough, put your trays inside a plastic bag to prove for another hour.

  10. When the hour is almost over, start preheating your oven to 220C and put a roasting tray/cake tin/something that will hold liquid and is oven proof, in the bottom of the oven to warm up.

  11. When your baguettes have finished their second prove, slash them three times with a sharp knife in the iconic baguette style, and dust them with flour.

  12. Fill your hot roasting tray at the bottom of your oven with water to make steam.

  13. Bake your baguettes for 25-28 minutes, until golden brown. Leave them to cool on a cooling rack.

  14. Enjoy with olive oil and balsamic vinegar, plenty of butter or even make your own bruschetta with chopped tomatoes.

  15. Or wait until tomorrow’s recipe to get the most out of your leftover baguettes!

IMG_2941.JPG
IMG_2943.JPG
IMG_2946.JPG
IMG_2950.JPG
IMG_2953.JPG
February 23, 2019 /Sophie Faulkner
Recipe, Savoury, bread, baguette
Recipe
IMG_2289.JPG

Review 5: Hartland Pies & Scotch Eggs

January 27, 2019 by Sophie Faulkner in Review

Well it’s been a little while since I did a review! Three months actually… oops. I wasn’t sure if people were keen on the reviews, but a friend of mine said that she liked reading them because they read like I speak, which was frankly just a really nice thing to hear. Please enjoy this extremely belated review mate.

Anyone who knew me towards the end of my year in Germany probably knows that one of the things I truly missed the most about the UK was a good solid pork pie. I spent days craving pork pies and being completely unable to satisfy the craving. Turns out Germans don’t really know what a porkpie is, and I think they are missing a massive trick, but all I could do was wait to eventually come back to England and be greeted by pork pie upon pork pie. Some of my friends even went to local farm shops to get me specialty pork pies for my birthday. The pork pie love is strong.

IMG_2281.JPG

As you can probably tell from the photo, I went to the Hartland Pies & Scotch Eggs stall just before Christmas. Santa’s elf was extremely friendly and lovely and she had plenty of pies to keep a Northerner in the South happy. So many different porky fillings to choose from and everything sounded just delicious. Hartland Pies is, unsurprisingly, a family run business that the Hartland family have been running from their Nottighamshire village for over fifty years. Plenty of time to figue out what makes a good pie!

All the fillings for their pies come from local farms and each pastry is made specifically to suit each pie, very much NOT a one pastry fits all kind of deal. Their passion for pies really shines through in their product and I cannot recommend a pork pie to any other homesick Northerners enough.

IMG_2308.JPG

I eventually chose the pork and black pudding pie (£3), which was amazing. I love black pudding. The pastry, the pork pie filling sandwiched between two thick pieces of black pudding, and all the gaps filled in with that delicious pork pie jelly? Incredible. Exactly what I needed to sustain me until I could get back up to Yorkshire for Christmas. Just gorgeous.

Review:

Item: Pork and Black Pudding Pie, £3
9/10 for taste, 6/10 for cost (I’m a stingy Yorkshire lass, what can I say?). Will buy when homesick.

Hartland Pies & Scotch Eggs (King’s Cross) Details:

Hours: Wed-Fri: 10:00am-6:00pm

Address: Kings Cross Square, in front of the station, along Euston Road N1C 9AL

Website: http://www.hartlandpies.co.uk/index.php

January 27, 2019 /Sophie Faulkner
review, Savoury, pork pie, pie
Review
Comment
IMG_2270.JPG

23. White Bread Rolls

December 13, 2018 by Sophie Faulkner in Recipe

A new recipe! Finally!! Hopefully one that you could serve at a dinner party before the meal, class it up and give it that fancy restaurant feel! Full disclosure, I did learn this recipe at school, but they made us do complicated knots with them, which frankly was a little unnecessary! What’s wrong with just a good honest bread roll?

I’m so sorry that it has been so long since I posted a new recipe. The end of term at Le Cordon Bleu has had me pretty busy! And, I’ve been feeling a little lazy too to be perfectly honest. When you’re in school baking during the week it doesn’t always appeal to you when you get home. But, I’m back on the baking horse now, so hopefully you’ll be getting some more recipes and reviews in the lead up to Christmas!

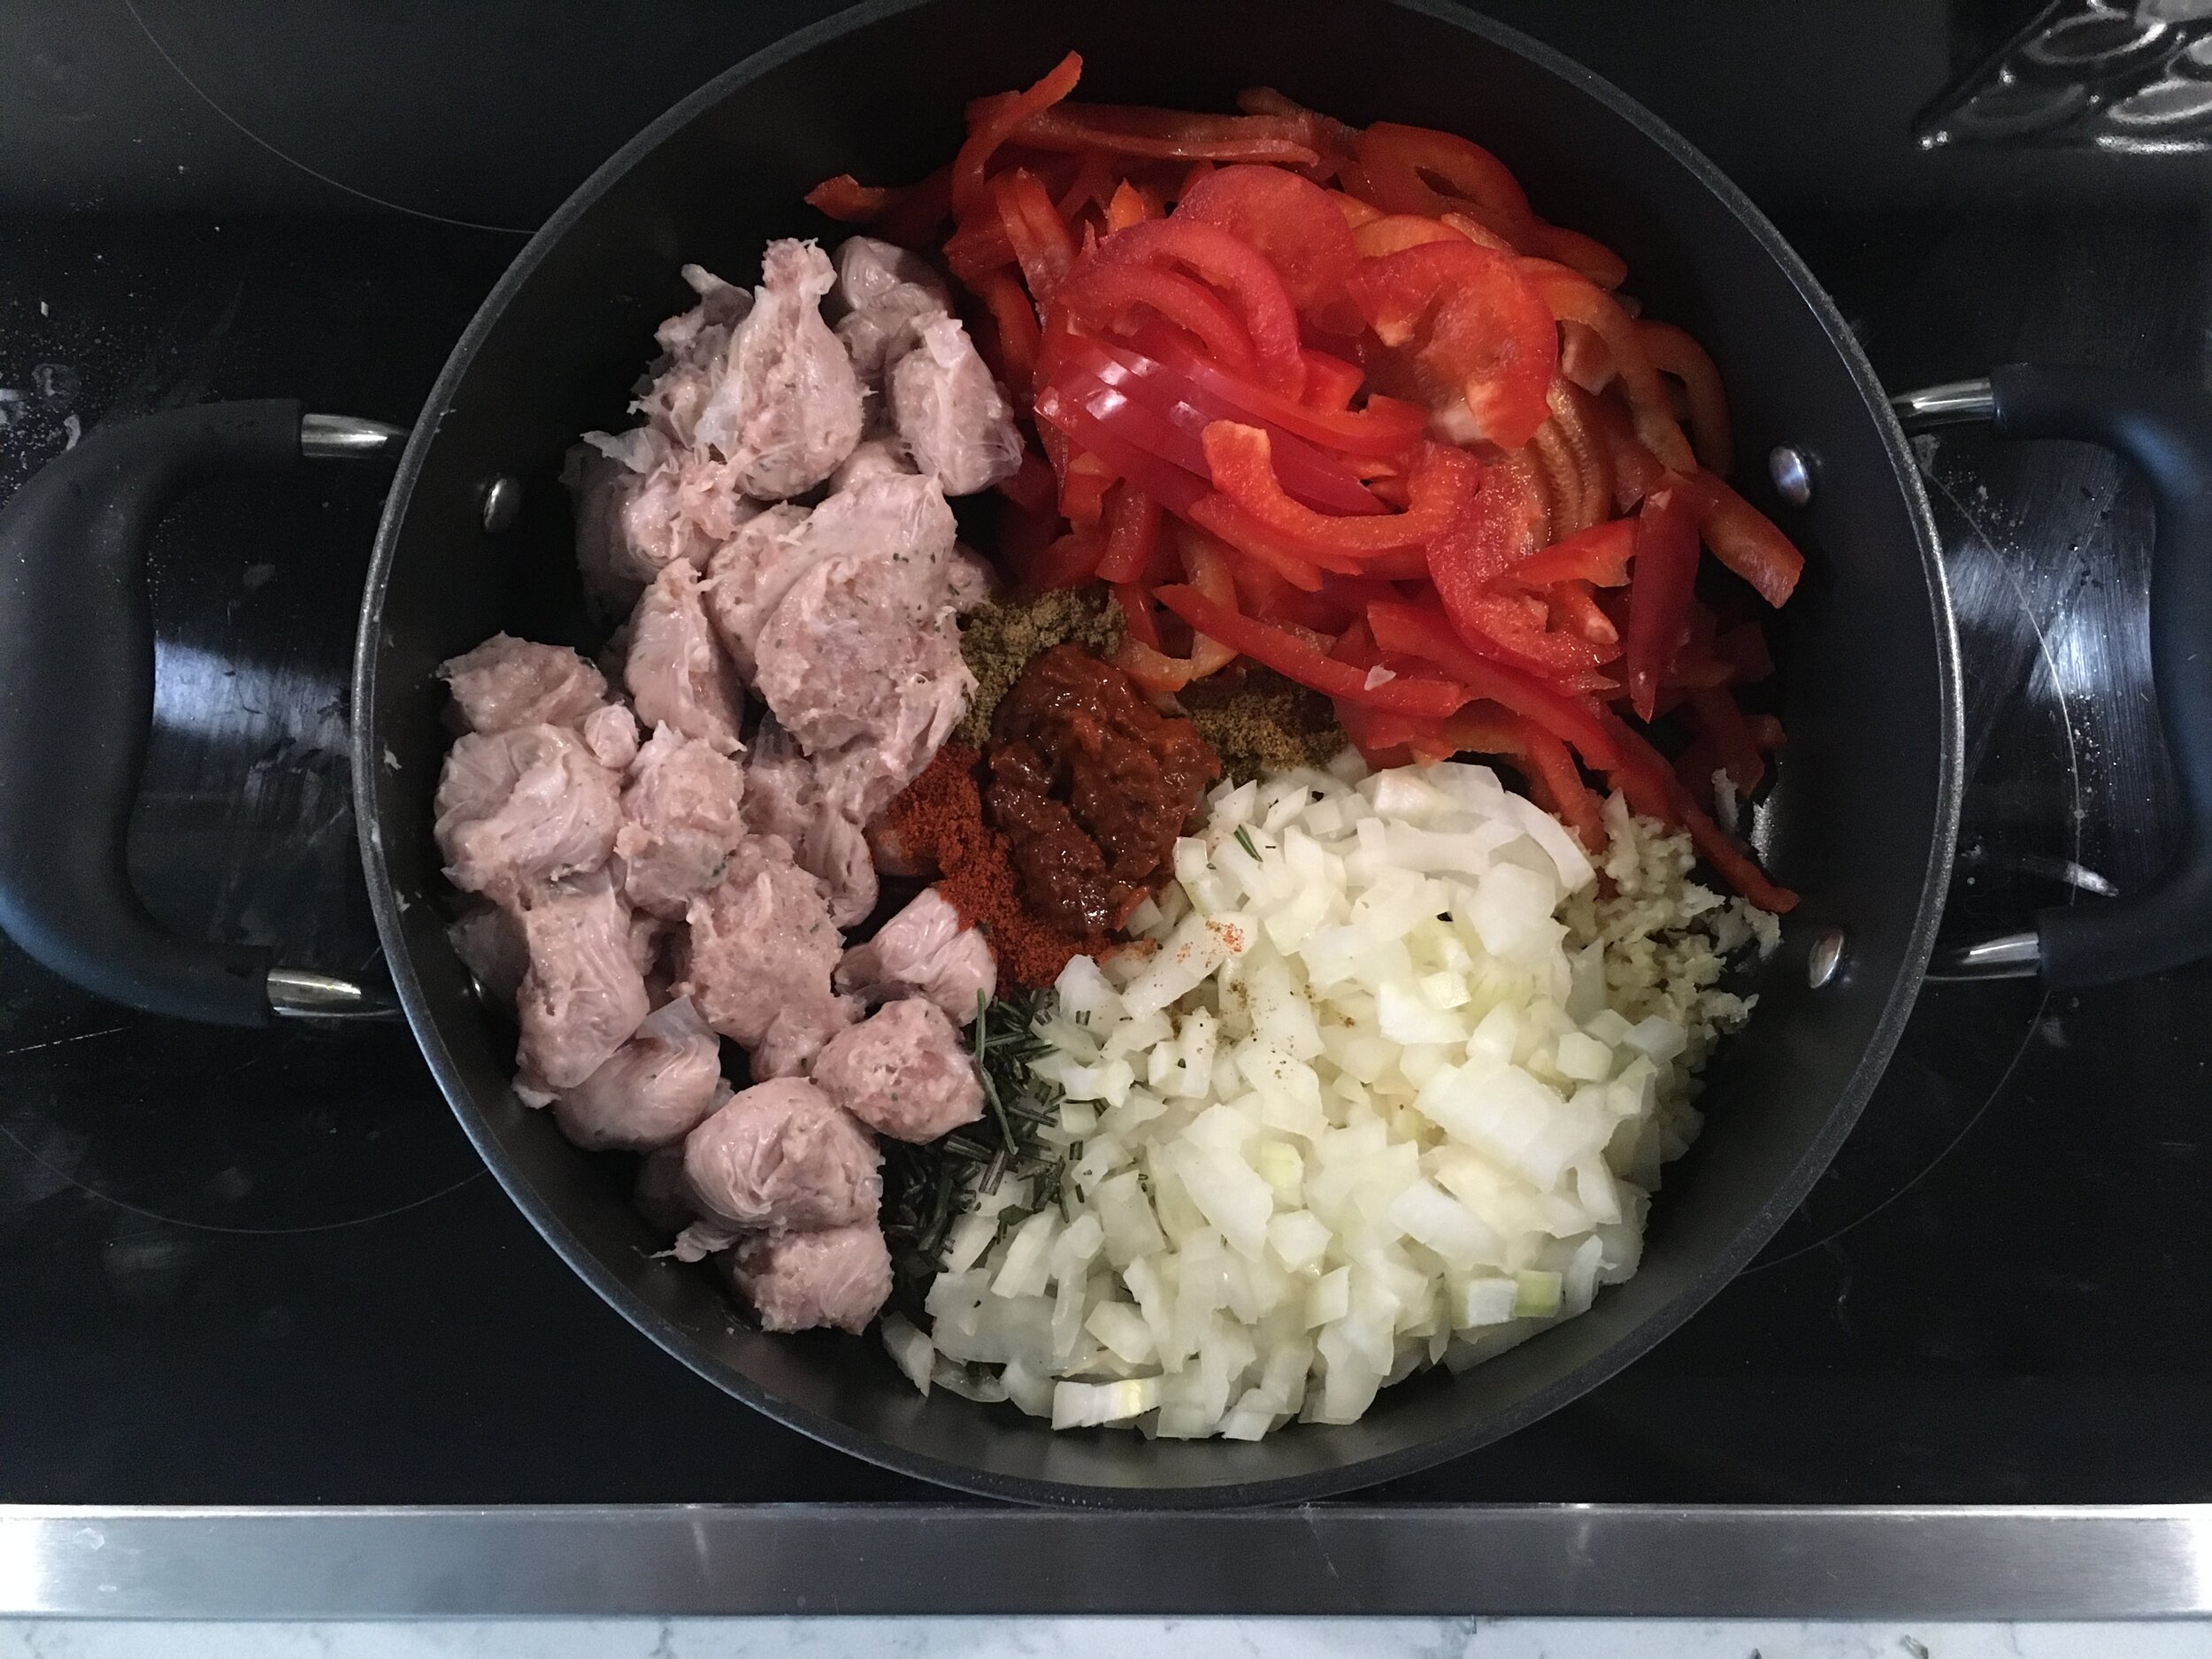
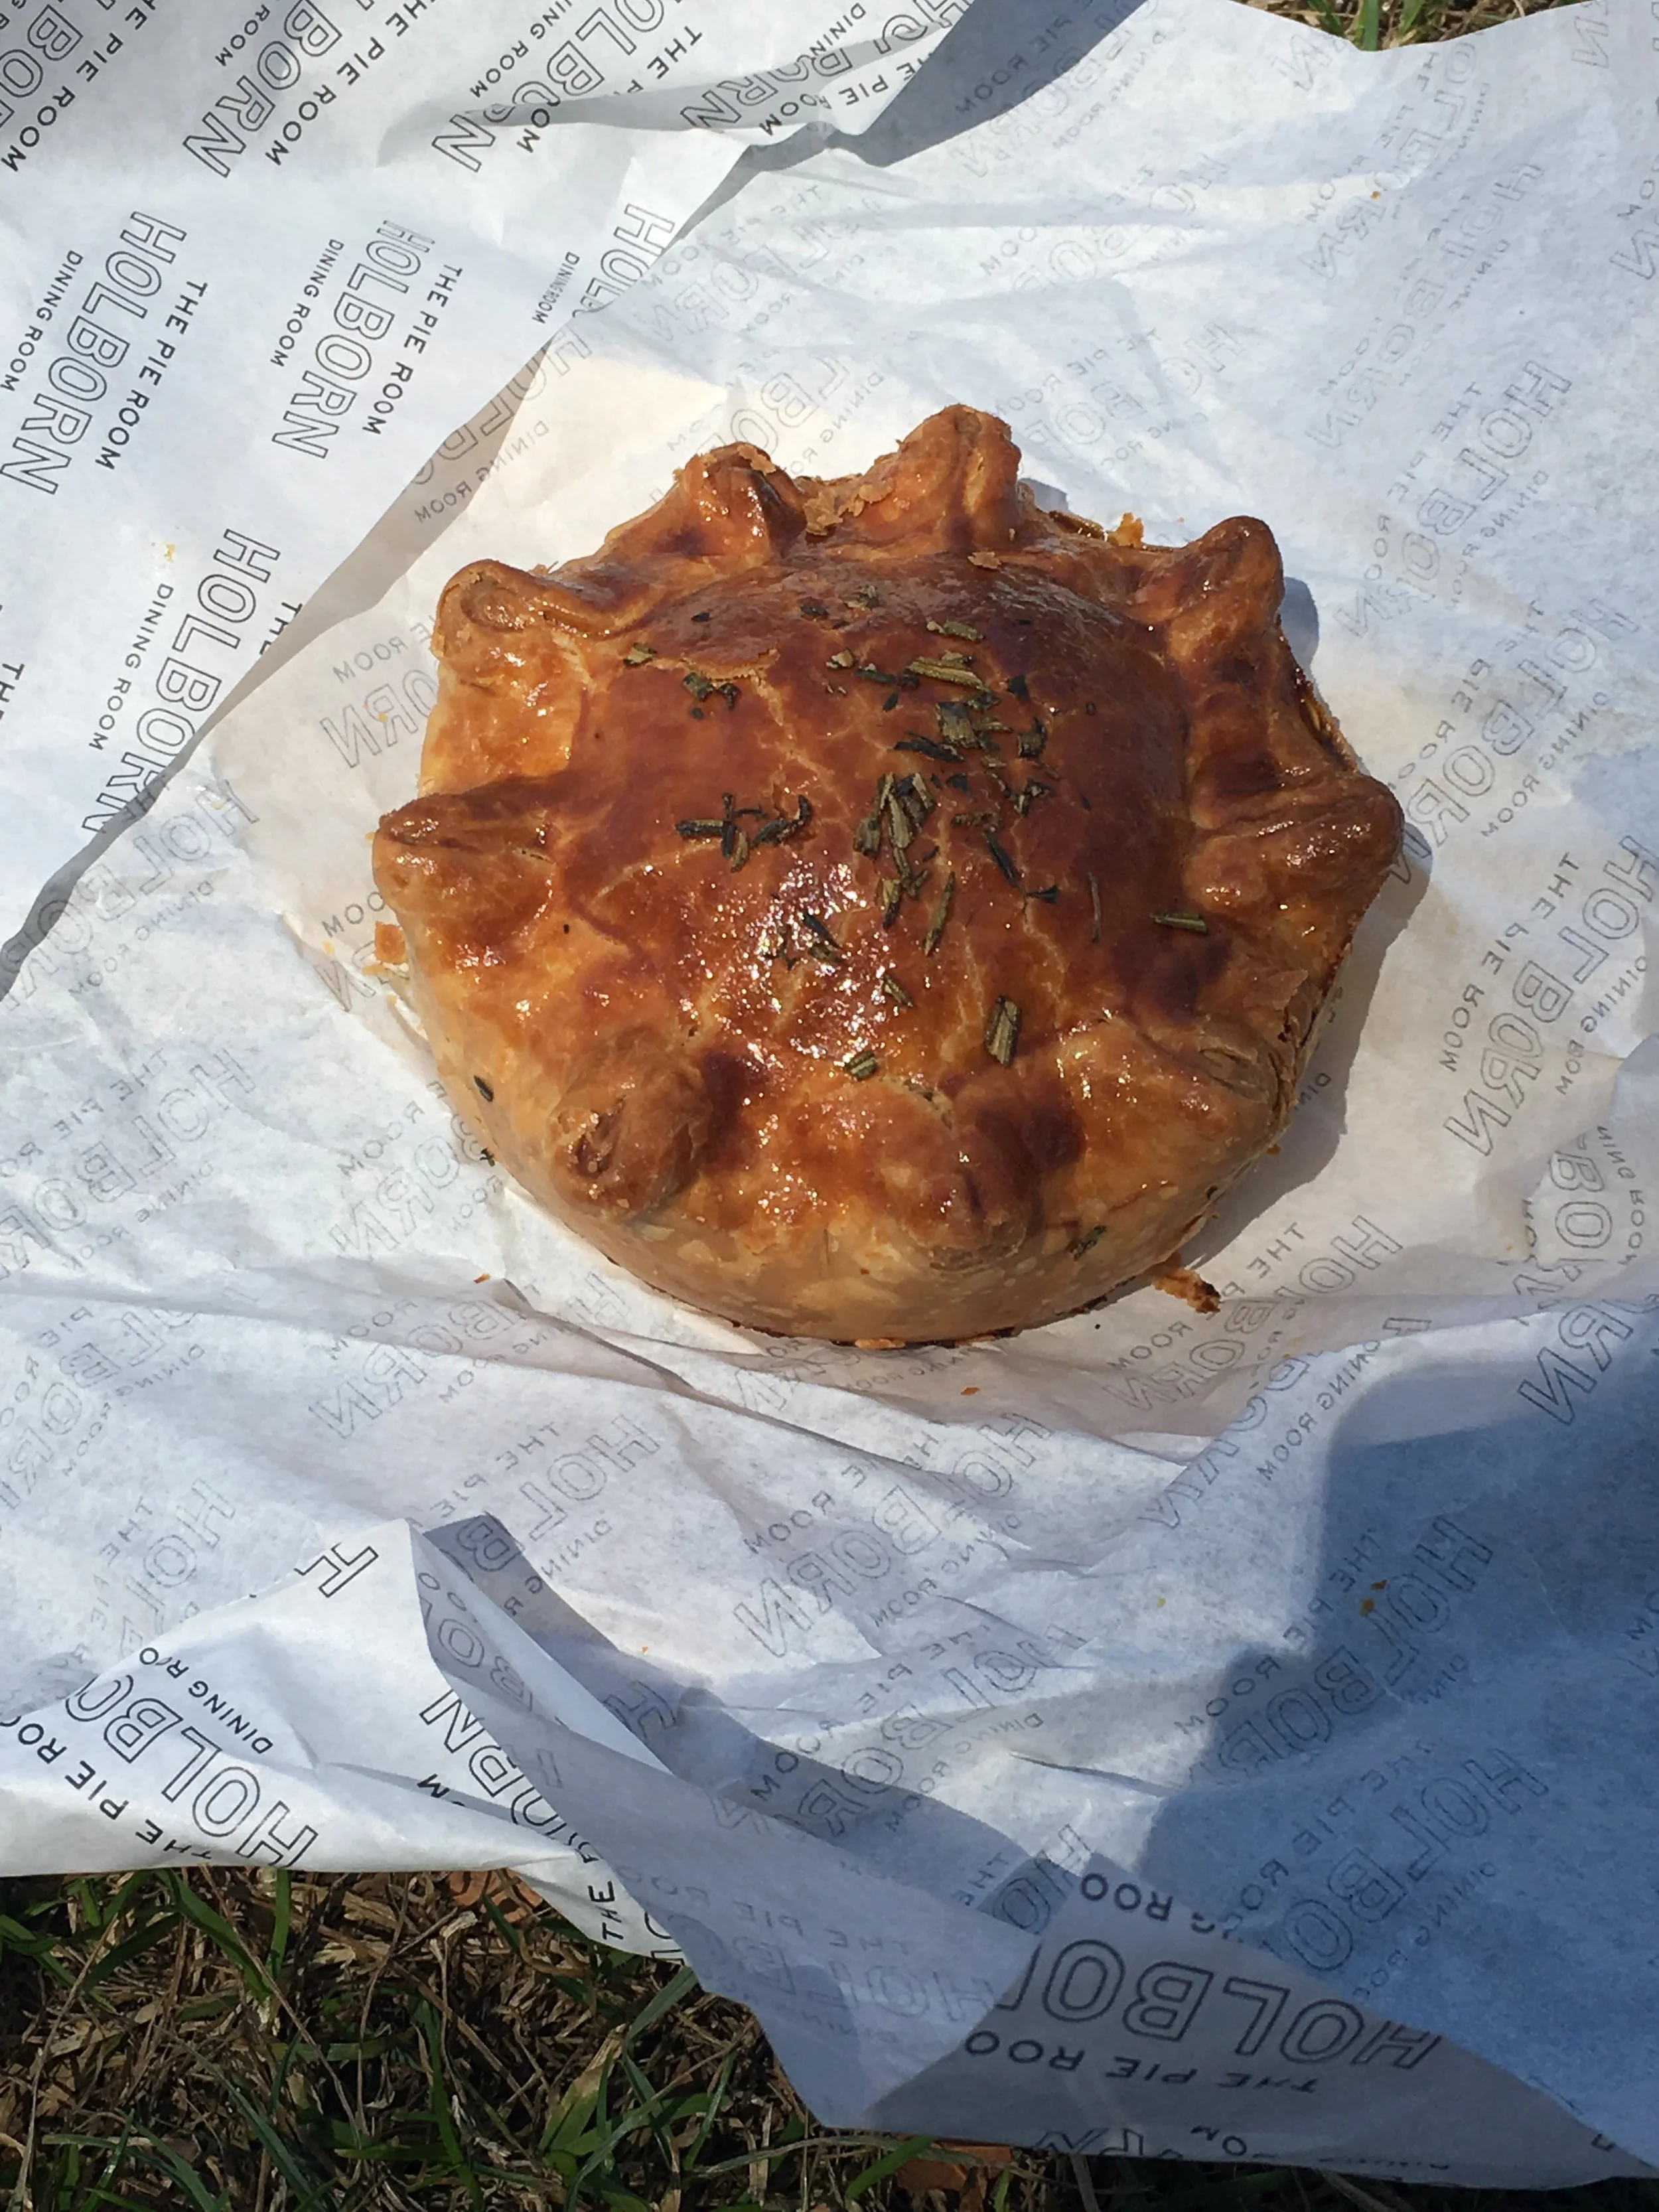
Before we go into the recipe, I would like to just take a minute to tell you about why I decided to make bread rolls. My friend Zen, otherwise known as @greedygirlgourmet on Instagram (check her out, she does some amazing food, not just desserts), challenged me to take part in #foodbloggerschristmas. The idea behind #foodbloggerschristmas is that as food bloggers we often have food left over, especially when we are making recipes to serve 10 or more people. I don’t know about you, but I can’t eat a whole lemon tart or three tier cake in one sitting! So rather than give this extra food to our friends, housemates, family etc, OR let it go stale and have to throw it away, we would hit the streets and offer it to the homeless. However, when you make mostly cakes, tarts and biscuits, that’s not exactly what you want when living on the street. So, I decided to make bread rolls and a big pot of hot jambalaya and hit the streets with that. I thought something a little more filling would be better.

If you want to help the homeless in your area by trying to give them food, make sure you ask first. The people I spoke to were for the most part just grateful I asked, even those who turned it down. A lot of people who are in this situation do already have access to food, whether it’s through soup kitchens and shelters, or other people who have done the same thing you are trying to do.

If you want to help out without hitting the streets, there are a load of charities you can donate to, such as Crisis and Shelter, who also have a lot of information on how else you can help. You can also help by using an app called StreetLink, where you can send in information about a rough sleeper you are worried about, and they will send out someone to connect them to the local outreach service and provide them with help. If you aren’t sure if that is the right thing to do, if you think that the rough sleeper is already aware of these services and you don’t want to bother them, or whatever else you might be worried about, ASK them. They’re normal people, mostly just down on their luck, they’ll generally be happy to talk to you, especially if you’re offering help in some form. Don’t be offended if they turn the help down, but you won’t know if they need that help until you ask!

One final note before we dive into the recipe, I met a lovely Scottish man called James last night who is currently sleeping rough, but is about to start a cookery course, which ends in June and will give him certification of his skills. If anyone knows of a London based restaurant or cafe that would like to hire someone like James in June, please let me know so that I can get him in touch with them!

Makes 20 small dinner rolls

Ingredients

  • 500g plain flour

  • 30g melted butter

  • 20g sugar

  • 10g salt

  • 7g dried yeast (one packet)

  • 300ml water

Method

  1. In a large bowl, mix together the flour, sugar and salt.

  2. Make a well in the middle and pour in the water and melted butter. Mix this a couple of times to start combining it all together.

  3. Add in the yeast and then keep mixing until it is all well combined. I like to use my D Scraper, which is really just a piece of stiff plastic to chop and mix, as it makes me feel like I’m in control.

  4. Once the dough has come together, turn it out onto your work surface. DON’T flour the surface. Your dough may well be sticky, but it will get less sticky as you knead it. You can flour your hands a little, and then start kneading. You want to knead for 8-10 minutes until it is all smooth and elastic.

  5. Once you have kneaded, put the dough back in the bowl and cover with clingfilm or a tea towel and leave to prove at room temperature until it has roughly doubled in size. This could take up to an hour, depending on your yeast and the temperature of your room.

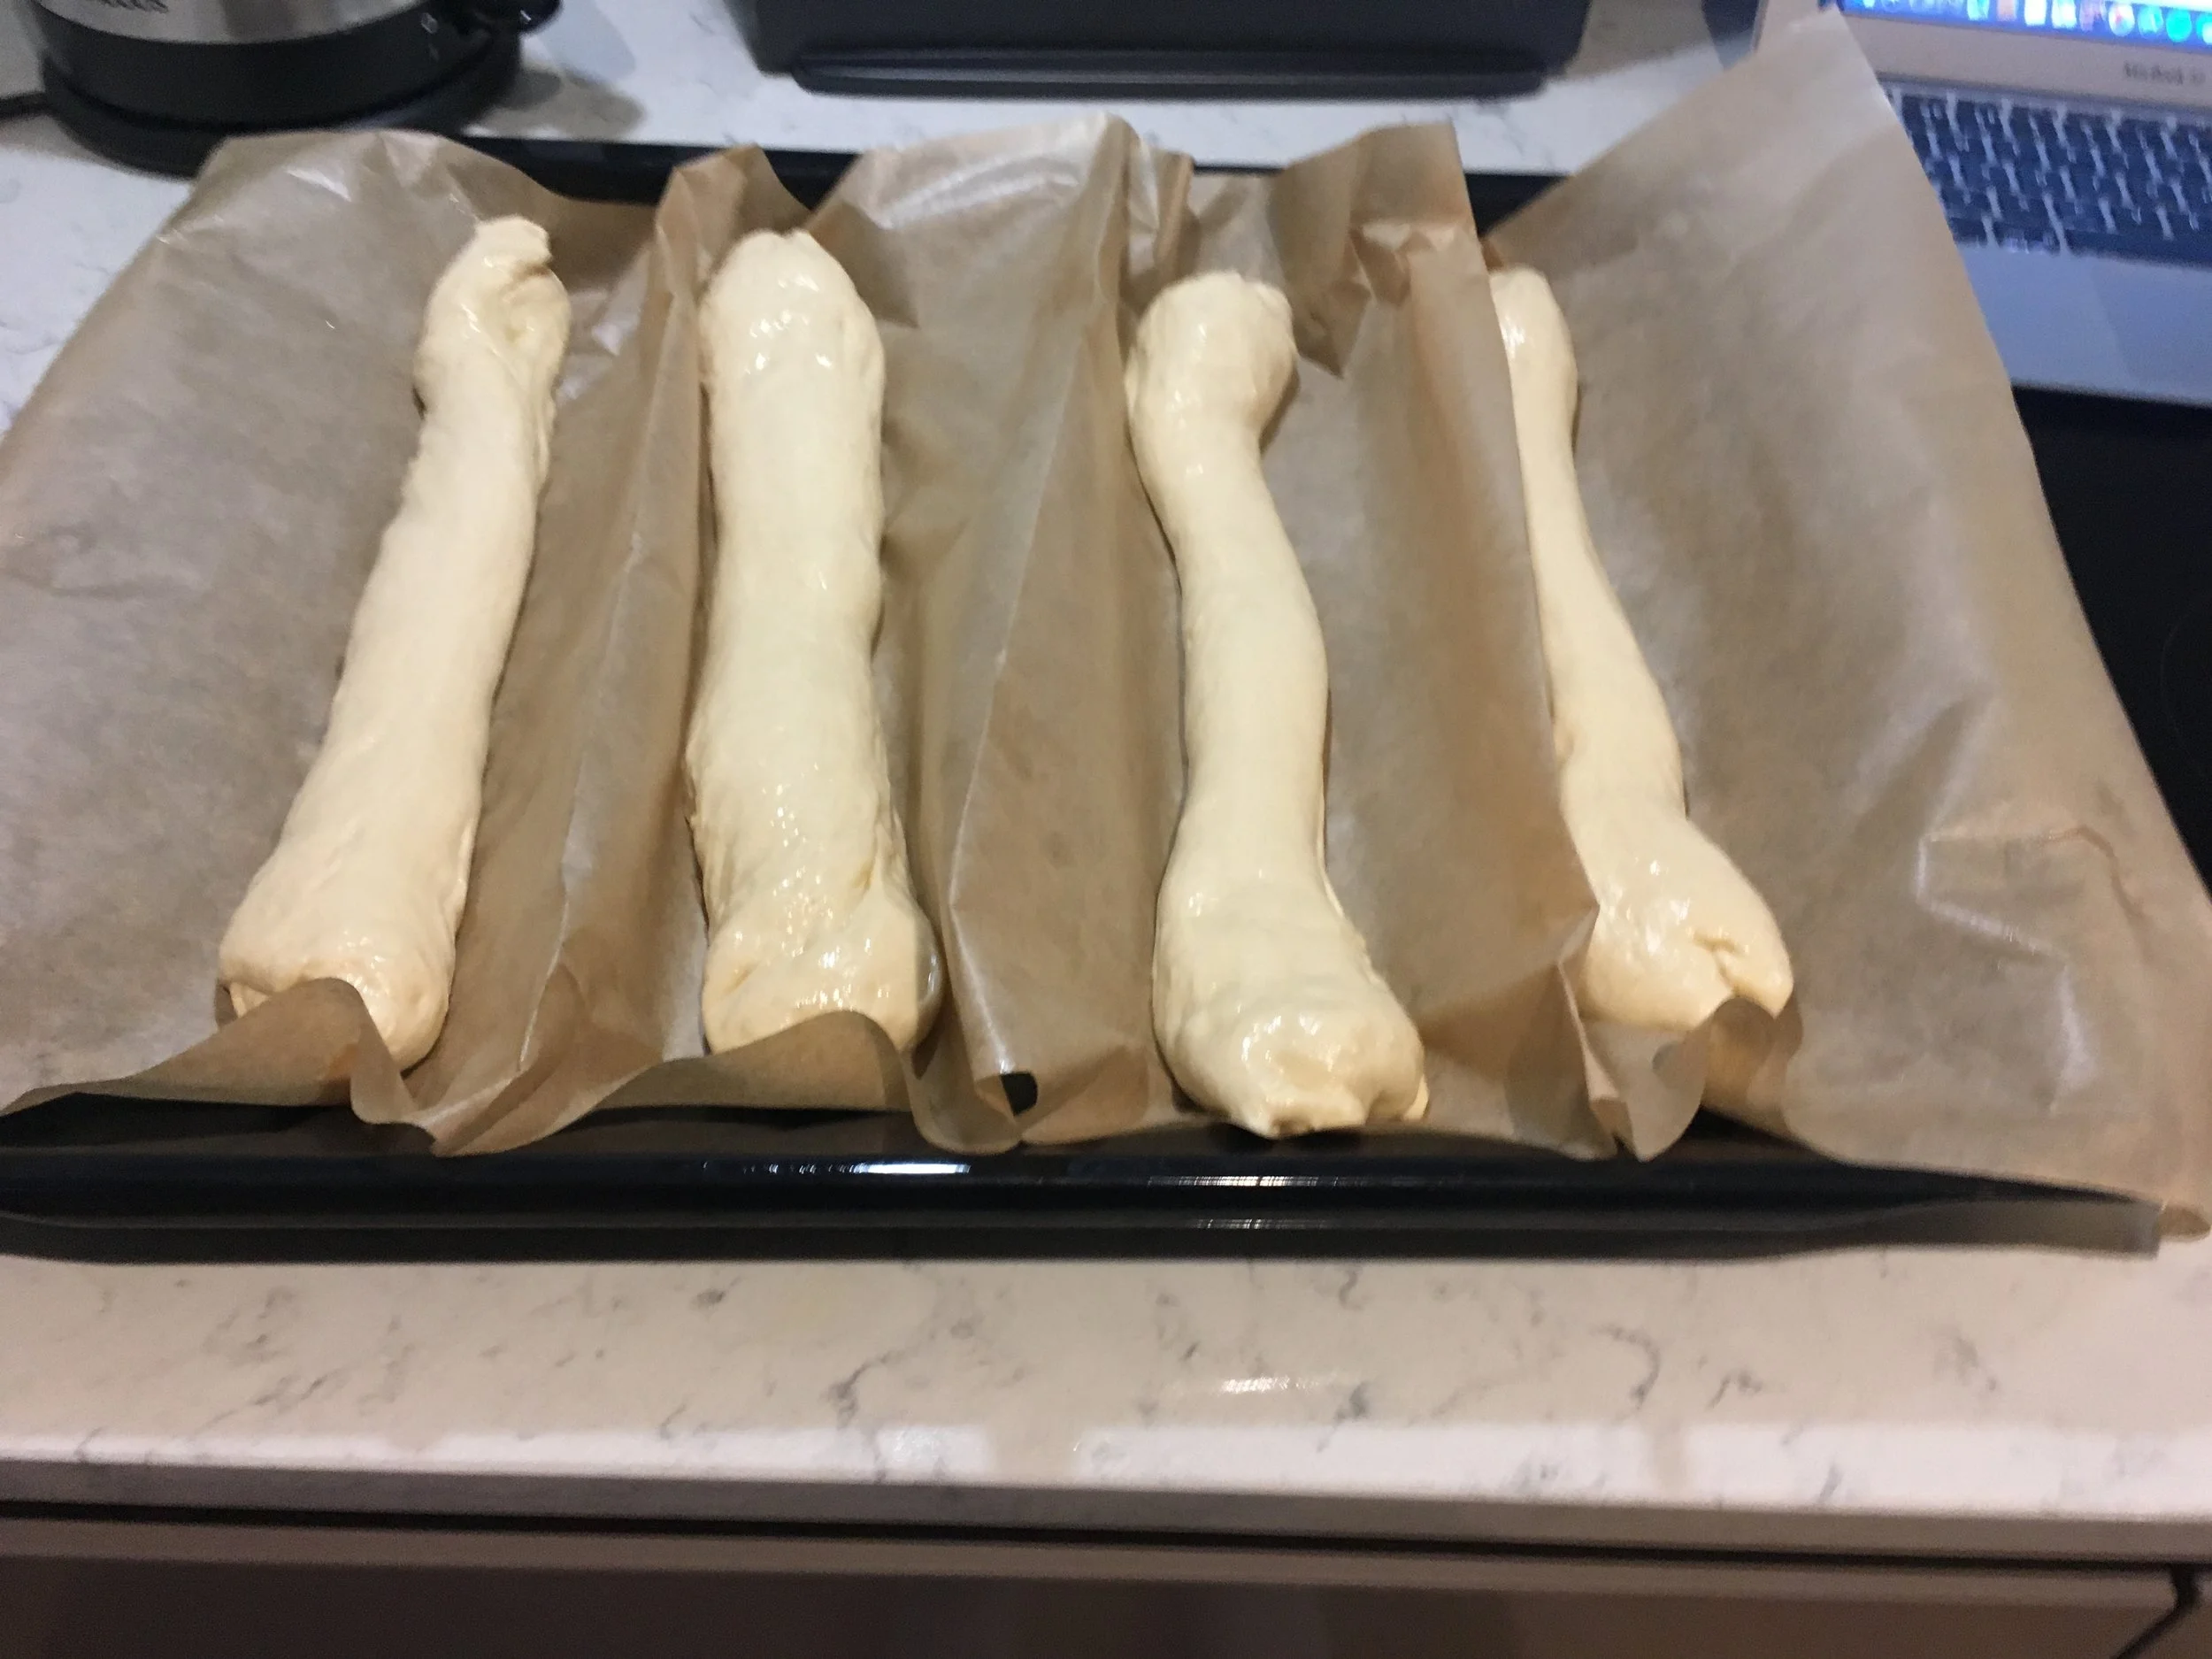
  6. Turn the dough out and knock it back a bit. I like to just cut into quarters and slam the heel of my hand into each piece to flatten it. It’s pretty therapeutic.

  7. Start dividing your dough into equal sized pieces. If you are a perfectionist like me, you can weigh them to make sure they’re all even. Roughly 45-50g is a good guideline for a small dinner roll. Cover the pieces you aren’t using with clingfilm or a tea towel so they don’t dry out.

  8. Preheat your oven to 50-60C.

  9. Roll the pieces into balls. I do this by moving my hand with my fingertips tucked underneath in a sort of claw shape in a quick circular motion.

  10. Place on a lightly greased or lined tray and allow to prove in the oven at 50-60C for about 8-10 minutes.

  11. Take the rolls out and raise the temperature of the oven to 190C. They will keep proving a bit at room temperature, so don’t forget about them! Once your oven is heated, bake the rolls for 12-15 minutes until golden brown and nicely crusted on top.

  12. Enjoy warm with a slather of butter. Yum!

IMG_2259.JPG
IMG_2262.JPG
IMG_2265.JPG
IMG_2266.JPG
December 13, 2018 /Sophie Faulkner
Recipe, bread, Savoury
Recipe
Comment
IMG_0557.JPG

12. Tomato and Basil Tarts

September 08, 2018 by Sophie Faulkner in Recipe

Up until recently I would not eat a raw tomato. The texture was too wet, it was too slimy and all in all I could not wrap my head around it. In the past few weeks I have been getting over that. I can now eat cherry tomatoes and really kinda enjoy them. I don't think I could just sit and eat a whole punnet yet, but a couple now and then? Sure thing.

This revelation was sparked when a bowl of tomatoes was laid out in the kitchen at work. People grow them on our balcony and I thought, you know, would be rude not to seeing as they've grown them themselves and are standing right here. So I tried one and I didn't hate it. Who knew?? I don't think that I could eat a whole garden variety tomato yet, but one I can just pop in my mouth? No problem.

Seeing as I didn't die, I decided to experiment some more with tomatoes, first in my every day cooking, and then in my baking. Inspired by a Garden Tomato and Basil Tart from Pastry Affair, I decided to make my own version, a bit more bite sized. I guess you can tell I really enjoy mini tarts by now right? This is my fifth tart recipe! 

I made these at the same time as my Goat's Cheese and Balsamic Onion Tarts, and used the same recipe for the pastry. These also came into work and were gleefully devoured. I can't tell whether my coworkers would just eat anything put in front of them or whether they genuinely enjoyed it that much. Could go either way.

Makes 18-24 tarts

Ingredients

For the pastry

  • 200g (7oz) plain flour

  • 100g (3.5oz) butter, room temperature

  • 1 tbsp mixed herbs

  • Pinch of salt

For the filling

  • Roughly 200g (7oz) of cherry or plum tomatoes

  • 1 tbsp oil

  • Some fresh basil

Method

  1. Make your pastry. Cube the butter and rub in the flour, salt and herbs until it forms breadcrumbs and then a short dough. You made need to press it together to get it to form a dough. If it is too short to just stay together, add a small splash of water to moisten it.

  2. Wrap your dough in clingfilm and chill for 15 minutes.

  3. Preheat the oven to 175C.

  4. Roll out your dough to about 1/8" thick and then use a circular cutter, size depending on the size of your tin, to stamp out your rounds. Press your dough a pre greased tart or tartlet tin.

  5. Bake the tart cases for 10 minutes.

  6. Slice your tomatoes in half and roughly scoop out the seeds. This will help lower the moisture content. Place them skin side down in a pan with some oil and fry over a medium heat for 10-15 minutes until they release their moisture.

  7. Scoop out the tomatoes with a slotted spoon, and allow to drain a little.

  8. Fill the half baked tart cases with your tomatoes and add in the basil. The tomatoes will shrink in the oven, so make sure to pack them in.

  9. Return to the oven for 5-10 minutes until the tarts are just golden.

  10. Enjoy!

View fullsize
View fullsize
IMG_0558.JPG
September 08, 2018 /Sophie Faulkner
Tart, tomato, basil, Savoury
Recipe
Comment
IMG_0533.JPG

11. Goats Cheese and Balsamic Onion Tarts

September 03, 2018 by Sophie Faulkner in Recipe

I've just had my last week at my temp job and so my coworkers have had their last set of baked goods. There were requests for cakes, biscuits, doughnuts, repeats of things I've made before. Some requests were more reasonable than others... How am I supposed to bring a cream filled Swedish Princess cake (they made it on Bake Off once) on the tube at rush hour?? I couldn't decide between their requests, so I decided to ignore them completely. 

I. Went... SAVOURY.

Hold your gasps of shock please, it does happen once in a while. The tarts were requested so many times that I decided they were a good idea, but I don't like doing repeats so soon, so I decided that tarts don't need to be sweet, savoury can be just as good.

Having a quick trawl of the internet I came across a load of different savoury tart recipe ideas including this one, and a tomato tart. Onion and goats cheese tarts was a popular recipe, with tons of different sites giving their twist. So I put my own twist on.

They went down extremely well, I hope you enjoy them too! 

Makes 18-24 tarts

Ingredients

For the pastry

  • 200g (7oz) plain flour

  • 100g (3.5oz) butter, room temperature

  • 1 tbsp mixed herbs

  • Pinch of salt

For the filling

  • One red onion, sliced

  • 125g (4.5oz) goats cheese

  • 2 tbsp balsamic vinegar

  • 1 knob butter

  • Pinch sugar

Method

  1. Make your pastry. Cube the butter and rub in the flour, salt and herbs until it forms breadcrumbs and then a short dough. You made need to press it together to get it to form a dough. If it is too short to just stay together, add a small splash of water to moisten it.

  2. Wrap your dough in clingfilm and chill for 15 minutes.

  3. Melt the butter in a lidded frying pan and add in the sliced onion. Cover with a lid and cook on a low to medium heat for 10 minutes until they soften. Then remove the lid and add in the sugar and balsamic vinegar. WARNING: This will smell. Get your extractor fan on or at least close the door and open a window!

  4. Cook the onions for a further 15-20 minutes, stirring occasionally, until all the liquid has evaporated and the onions are "jammy". Leave to one side.

  5. Preheat the oven to 175C.

  6. Roll out your dough to about 1/8" thick and then use a circular cutter, size depending on the size of your tin, to stamp out your rounds. Press your dough a pre greased tart or tartlet tin.

  7. Bake the tart cases for 12 minutes and then take out.

  8. Cut the goats cheese into 24 (or however many tarts you made) chunks.

  9. Divide your onion mixture between the tarts. Top with a chunk of goats cheese and return to the oven for 5-7 minutes until the cheese has slightly melted and the tart cases are just golden.

  10. Enjoy!

View fullsize
View fullsize
IMG_0532.JPG
September 03, 2018 /Sophie Faulkner
Goats cheese, Onion, Balsamic, Tart, Savoury, Recipe
Recipe
Comment
IMG_0289.JPG

Review 1 - The Pie Hole (The Pie Room), Holborn

August 09, 2018 by Sophie Faulkner in Review

Last week was my "last" day at the office (contract got extended. I'm still here, but didn't know that until after lunch), so I thought I'd treat myself to a very nice, quite spendy treat to celebrate. I have been walking past the "Pie Hole" at least twice a day on my way to work and every single time I have been intrigued by the sights and smells that come out of the small service window.

IMG_0291.JPG

The Pie Hole is the service window attached to the Rosewood Hotel's Pie Room on High Holborn, just a two minute walk from Holborn tube station. The menu at the Pie Hole is limited, with the option of just 5 pies, a sausage roll, scotch egg or pate en croûte and sides of gravy and creamed potatoes. The limited menu means that they can really focus on doing the things they do well. And oh do they.

 The idea was spearheaded by Executive Head Chef Calum Franklin, who remarks that he is "obsessive about pastry". The passion for pastry really shows through. The glass front to the Pie Room means that you have an unhindered view of the pastry chefs at work, rolling out pastry, filling the pie moulds. They truly make pastry an art. It's certainly not cheap, but it’s an experience.

IMG_0290.JPG
IMG_0296.JPG

The Pie Room is certainly a high end destination, and the way they present themselves clearly gives an impression of luxury. It's certainly not cheap, but for an extra special treat these pies fit the bill. The packaging is lovely, and each pie comes with cutlery, napkins, a menu and is wrapped neatly in greaseproof paper.

IMG_0298.JPG
IMG_0301.JPG

The pie itself was amazing. 10/10. I got the chicken, girolle & tarragon pie and can highly recommend it. The flavours were perfectly balanced, the pastry was beautifully flaky and it was just gorgeous to look at. I also got a side of gravy, for an extra 50p, and it was some of the best gravy I have ever had. In total this cost me £9.50, pretty steep, but worth it for a special occasion.

If you have an extra special occasion on its way, you can book the Pie Room as an exclusive dining room for up to 10 people. The kitchen that you see by day is transformed into a unique dining room, where you can enjoy a 3 course meal by Calum Franklin. And if you can't get enough of Calum, he also does 2.5 hour long Pie Masterclasses that you can book a place on. 

Review:

Item: Chicken, Girolle & Tarragon Pie with gravy, £9.50

10/10 for taste, 6/10 for cost. Would get again, but only for a really special treat.

Pie Room Details:

Hours: Monday - Friday, 11:00 a.m. to 4:00 p.m.

Address: 252 High Holborn, London, WC1V 7EN

Website: https://www.rosewoodhotels.com/en/london/dining/the-pie-room

August 09, 2018 /Sophie Faulkner /Source
review, pie, chicken, Savoury
Review
Comment

Powered by Squarespace