Sophie's Pi

Mathematical baking

Sophie’s Pi is a record of my adventures in baking, maths and the real world, hoping to make my way to having my own patisserie empire some day. Or just getting to lick the bowl now and again.

  • Blog Search
  • Blog
  • About
  • Images

45. Espresso Chocolate Cake

January 16, 2020 by Sophie Faulkner in Recipe

I have the week off work!!! It has honestly been so nice to just chill out this week, as Christmas felt really hectic and not like a rest. To make full use of this I went to visit my Dad for a couple of days, and while there, decided that, you know, baking was required. And as Dad and my step-mum love coffee, an espresso cake that was definitely not too sweet was the right way to go.

This cake is really easy and the perfect afternoon snack for coffee time. I hope you enjoy!

Makes 1 cake

Ingredients

For the cake

  • 170g (6 oz) butter

  • 85g (3 oz) demerara

  • 85g (3 oz) light brown sugar

  • 170g (6 oz) self raising flour

  • 2 eggs

  • 75g (2.5 oz) dark chocolate, melted

  • 1 espresso (1 oz = ~30ml)

For the buttercream

  • 200g (7 oz) butter, room temp

  • 300g (10.5 oz) icing sugar

  • 50g (1.75 oz) dark chocolate, melted (+ some for grating to sprinkle)

  • 1 espresso (1 oz = ~30ml)

  • a pinch of salt

Method

  1. Preheat the oven to 170C and line a square cake tin with greaseproof paper.

  2. Cream together the butter and all the sugars until light and fluffy.

  3. Add in the eggs one at a time and combine, adding in the flour if the mixture starts to curdle.

  4. Add in the flour, and then the melted chocolate, and espresso. Mix until well combined.

  5. Scrape all the cake mix into the cake tin, and spread evenly into all the corners.

  6. Bake for 30-35 minutes until a skewer comes out clean and it bounces back.

  7. Leave to cool in the tin for at least 10 minutes and then allow to cool on a cooling rack to room temperature.

  8. For the icing, beat the butter until light and fluffy on its own, and then add the icing sugar in a bit at a time until fully combined. Add in a pinch of salt and mix.

  9. Split the buttercream base into two and move half of it into another bowl. Add the melted chocolate to the first half and beat until well combined. Add the half of the espresso to the second half and beat until well combined. Taste to see how strong the coffee flavour is and add more espresso as needed.

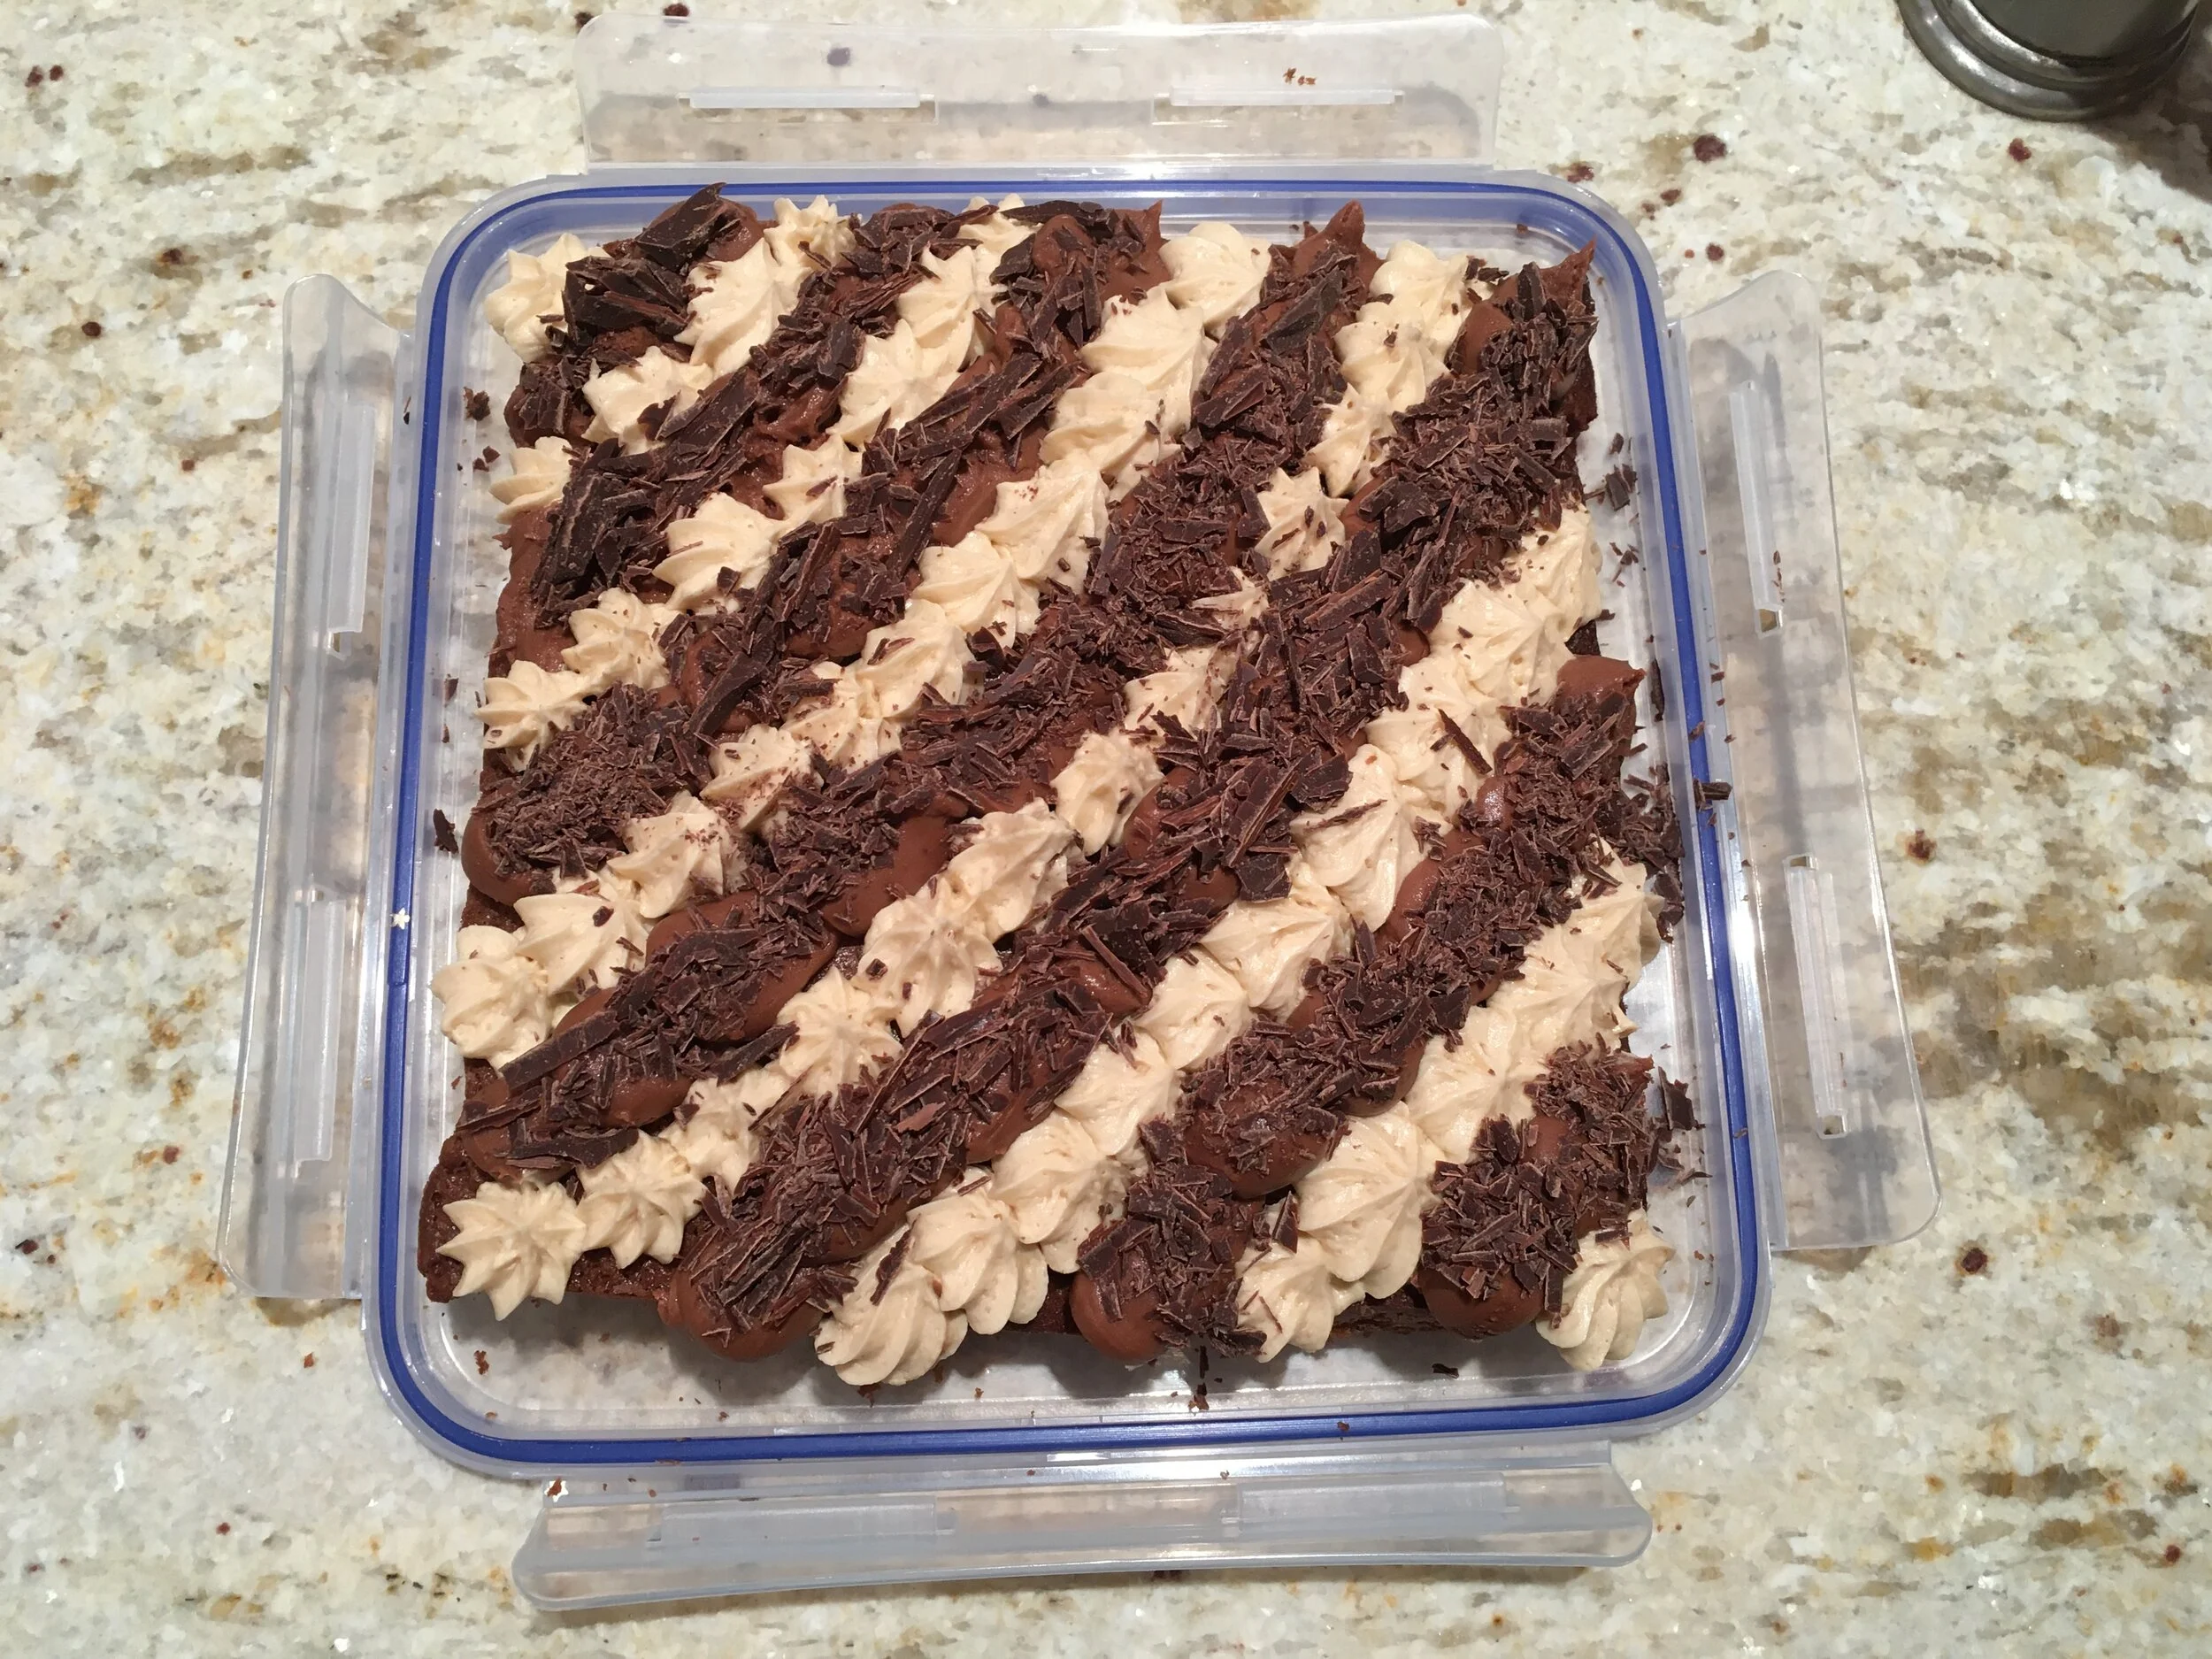
  10. Fill two piping bags with your two buttercreams and decorate the cake in your desired pattern (I chose diagonal lines). If you choose to sprinkle the shaved chocolate on, I chose to sprinkle it only on the chocolate buttercream to maintain the contrast between the two icings.

  11. Enjoy!

IMG_4988.JPG
IMG_4993.JPG
IMG_4996.JPG
IMG_5008.JPG
January 16, 2020 /Sophie Faulkner
Recipe, coffee, cake, espresso, buttercream, sweet
Recipe
Comment
IMG_0197.JPG

2. Chocolate Espresso Snowcaps

July 25, 2018 by Sophie Faulkner in Recipe

To keep me occupied for the summer (and to make a bit of dollar) I’m temping in London. My current office is air conditioned, the people are good and it’s keeping me busy. During my first couple of days my coworkers asked me about my hobbies and I told them about baking. I may have gushed a little, because baking became a buzz word. The hints for me to bring stuff in became less and less subtle, eventually ending with my manager finishing off the weekly round up email saying: 

 “We are all a little disappointed we have yet to experience any of your famous baked goods... maybe next week?” 

 Alright. Hint taken.

My office has a reasonable age range, so I wanted something that’d appeal to the older crowd as well as satisfy the sweet tooth of, well, me. I also didn’t want to make just cookies, so I thought about snowcaps. I have been using the same recipe for snowcaps for ages, I have no idea where I got it from now, but it would do as a base for this modified recipe. I just had to make them more grown up. And what’s more grown up than coffee? 

These went down a storm at the office, with my favourite review coming in email form. Just one sentence.

 “Fuck me that is glorious” 

I’ll take that. 

Makes 24-30 cookies

Ingredients 

  • 1/2 cup (65g) self-raising flour

  • 1/4 cup (30g) cocoa

  • 4 tsp instant coffee/espresso powder

  • pinch of salt

  • 4 tbsp (55g) butter

  • 2/3 cup (130g) light brown sugar

  • 1 egg

  • 4 oz (115g) dark chocolate, melted and cooled

  • 1 tbsp milk

  • Icing sugar for rolling

Method 

  1. Cream together the butter and sugar until light and fluffy.

  2. Beat in the egg and milk.

  3. Fold in the flour, cocoa, coffee powder and salt. Once combined, fold in the melted chocolate.

  4. Turn your dough out onto a clingfilmed chopping board and smooth into a rectangle about 1/2” thick.

  5. Put your dough in the freezer for at least 45 minutes.

  6. Preheat oven to 175C

  7. Using a sharp knife, slice your dough into 24-30 squares and roll each square into a ball. (colder hands will get less messy! Marginally.)

  8. Roll each of your balls in icing sugar, making sure to get a thick covering, and place on a baking tray about 2 inches apart.

  9. Bake for 12-13 minutes.

  10. Allow to cool slightly before transferring to a cooling rack as they will be soft straight out of the oven.

Well. It’s roughly rectangular...

Well. It’s roughly rectangular...

IMG_0195.JPG
FullSizeRender.jpg

Hope you enjoy these as much as my office did! 

July 25, 2018 /Sophie Faulkner
Chocolate, Biscuit, Cookies, sweet, espresso, coffee, Recipe
Recipe
Comment

Powered by Squarespace