Sophie's Pi

Mathematical baking

Sophie’s Pi is a record of my adventures in baking, maths and the real world, hoping to make my way to having my own patisserie empire some day. Or just getting to lick the bowl now and again.

  • Blog Search
  • Blog
  • About
  • Images
Tiffin.jpg

50. Tiffin

February 16, 2020 by Sophie Faulkner in Recipe

As my rugby match today was cancelled AGAIN today, thanks to Storms Ciara and Dennis, I asked my Instagram followers what they’d like me to bake. An old friend suggested ‘best ever fridge cake’, which could only mean making some good old tiffin. Thanks Louisa (@loukdavis) for the suggestion! Mum used to make tiffin when I was younger and honestly it is the best fridge cake in my opinion, and very easy to do. Extremely doable for kids!

If you want a step by step with pictures/videos, I instagrammed the full recipe process and have it as a highlight on my Insta page. Have a look and a follow if you don’t already!

Makes 9 squares

Ingredients

  • 100g butter, cubed

  • 250g chocolate

  • 3 tbsp sugar

  • 3 tbsp golden syrup

  • 200g digestives

  • Handful of raisins, or sultanas

Method

  1. Line a small baking tin with clingfilm. This will make getting your tiffin out REALLY easy.

  2. Melt your butter, 50g of the chocolate, the sugar and golden syrup in a pan or bain marie (bowl over a pan of simmering water).

  3. Bash up your digestives until you have some bite size pieces of biscuit and lots of crumbs.

  4. Add the biscuits and raisins/sultanas to the melted chocolate/butter and mix until well combined.

  5. Press the biscuit mixture into your lined tin as flat as possible.

  6. Melt the remaining 200g of chocolate in the microwave or on a bain marie, then pour and spread over the biscuit layer.

  7. Put in the fridge to set for at least 2 hours.

  8. Take out of the tin and cut with a large sharp knife into squares and enjoy!

View fullsize IMG_5249.JPG
View fullsize IMG_5251.JPG
View fullsize IMG_5254.JPG
View fullsize IMG_5257.JPG
February 16, 2020 /Sophie Faulkner
Recipe, sweet, Chocolate, Biscuit, tiffin, raisins
Recipe
Comment
IMG_3734.JPG

39. Shortbread (Lavender optional)

July 03, 2019 by Sophie Faulkner in Recipe

I think it goes without saying that I love shortbread. You can find a link to my chocolate chip shortbread here. The recipe is all but the same, except this time, I decided to use LAVENDER SUGAR. *audience oooohhh*. I know! That’s what I thought too when I saw it. I have had good experiences and bad experiences when it comes to lavender in food, but as Mum and I were staying extremely close to the Norfolk Lavender Farm on our holiday, it seemed rude not to give it a go.

IMG_3706.JPG

My first experience of lavender in food was a lavender muffin in a cafe in Poland. I was utterly confused by the concept, but thought I might as well try it. It was unforgettably good. I wanted more, but they’d sold out by the time I had finished my first! Every time I went back to that cafe they had sold out. They were so good I dreamt about them.

My second experience with lavender in food was a lavender macaron that tasted like soap and old people. I promptly dropped the idea of lavender in baked goods all together.

Until now anyway.

Now shortbread, shortbread has never done me wrong, so if there was something to try out my lavender sugar on it was shortbread. That simple 1:2:3 ratio of sugar, butter and flour was strong enough to withhold any flavour I through at it, and these turned out great! Would recommend.

Makes around 15 biscuits

Ingredients

  • 50g (1.75oz) sugar (lavender optional)

  • 100g (3.5oz) butter (cold and diced)

  • 150g (5.25oz) plain flour

  • a pinch of salt

Method

  1. In a bowl, rub together the flour sugar and butter with your hands until all rubbed in and you have no lumps of butter remaining. You may have lumps of dough, but you can tell whether they are lumps of butter or dough by the colour. Once there are no more lumps of butter, stop.

  2. Squeeze the dough together into a ball and roll out on a lightly sugared or floured surface ( I like to sugar mine) to about 6mm thick.

  3. Use a cookie cutter to cut out your biscuits and transfer to a lined baking tray. Stab with a fork to create a nice shortbread pattern.

  4. Cool in the fridge for 20 minutes so that the dough will keep its form.

  5. Preheat the oven to 180C.

  6. Bake for 12-15 minutes until golden.

  7. Enjoy!

View fullsize IMG_3708.JPG
View fullsize IMG_3710.JPG
View fullsize IMG_3712.JPG
View fullsize IMG_3713.JPG
July 03, 2019 /Sophie Faulkner
Recipe, sweet, Shortbread, Biscuit
Recipe
Comment
IMG_2393.jpg

25. Gingerbread Sleigh

December 22, 2018 by Sophie Faulkner in Recipe

What is a more quintessentially Christmassy bake than a gingerbread house? With all the windows and roof tiles piped on with care, the roof dusted with icing sugar snow, chocolate fingers lining the doorway, maybe even some sweets as Christmas decorations.

I didn’t do that.

Who has time to make a house? Why not a sleigh that I could fill with “presents” (read, chocolates) instead? I cut out my own stencils from sheets of A5 paper, so it wasn’t huge, but I didn’t really want it to be, as I had to transport it up North.

Honestly, was pretty pleased with how this turned out, and the gingerbread is thoroughly tasty. Even after a few days sat holding chocolates. My only issue was that it was so pretty I didn’t want to break into it!

Merry Christmas!

Makes 1 gingerbread… whatever you like really. Only a small one though!

Ingredients

  • 125g butter

  • 100g demerara sugar (or other brown)

  • 4 tbsp golden syrup

  • 300g plain flour

  • 1 tsp bicarbonate of soda

  • 3 tsp ground ginger

  • 1 tsp cinnamon

  • 1 egg white

  • 200g icing sugar

  • 50g cocoa powder

  • 100g white chocolate, melted (optional)

Method

  1. Preheat the oven to 180C.

  2. In a pan, melt the butter, demerara sugar and golden syrup together.

  3. Mix the flour, bicarb, ginger and cinnamon together in a large bowl.

  4. Pour the melted wet ingredients into the flour bowl and mix well. If it doesn’t come together, add a splash of water. It should be quite a firm dough.

  5. Make/cut out your stencils while the dough firms up a little and cools down.

  6. On a piece of greaseproof/baking paper, roll out the dough to about 6-8mm thick. Cut your shapes out and remove the excess dough from the paper. Transfer the sheet of baking paper onto a baking tray.

  7. Bake for 12-14 minutes until firm and the edges have darkened a little.

  8. Allow to cool and firm up for a few minutes, and then using your stencil, cut around the edges again to make them neat. (I left this a little too long, so my sleigh wasn’t as neat as I would have liked.)

  9. Allow to cool completely.

  10. Prepare an icing bag with a medium nozzle, star shaped or plain, for the “cement”.

  11. Mix together the egg white, icing sugar and cocoa powder in a bowl, to a smooth paste. Fill your piping bag with this and pipe down the edges of your gingerbread pieces to stick them together.

  12. As you assemble your gingerbread house/sleigh/city, use a bowl or kitchen utensils to prop up the pieces as you go, as the icing will not set immediately.

  13. Once your house/sleigh/whatever is completely set, you can decorate with melted chocolate or anything else you like!

IMG_2376.JPG
IMG_2377.JPG
IMG_2383.JPG
IMG_2385.JPG
IMG_2389.JPG
December 22, 2018 /Sophie Faulkner
Ginger, gingerbread, Biscuit, Christmas, sweet, Recipe
Recipe
Comment
IMG_1677.JPG

20. Palmiers

October 31, 2018 by Sophie Faulkner in Recipe

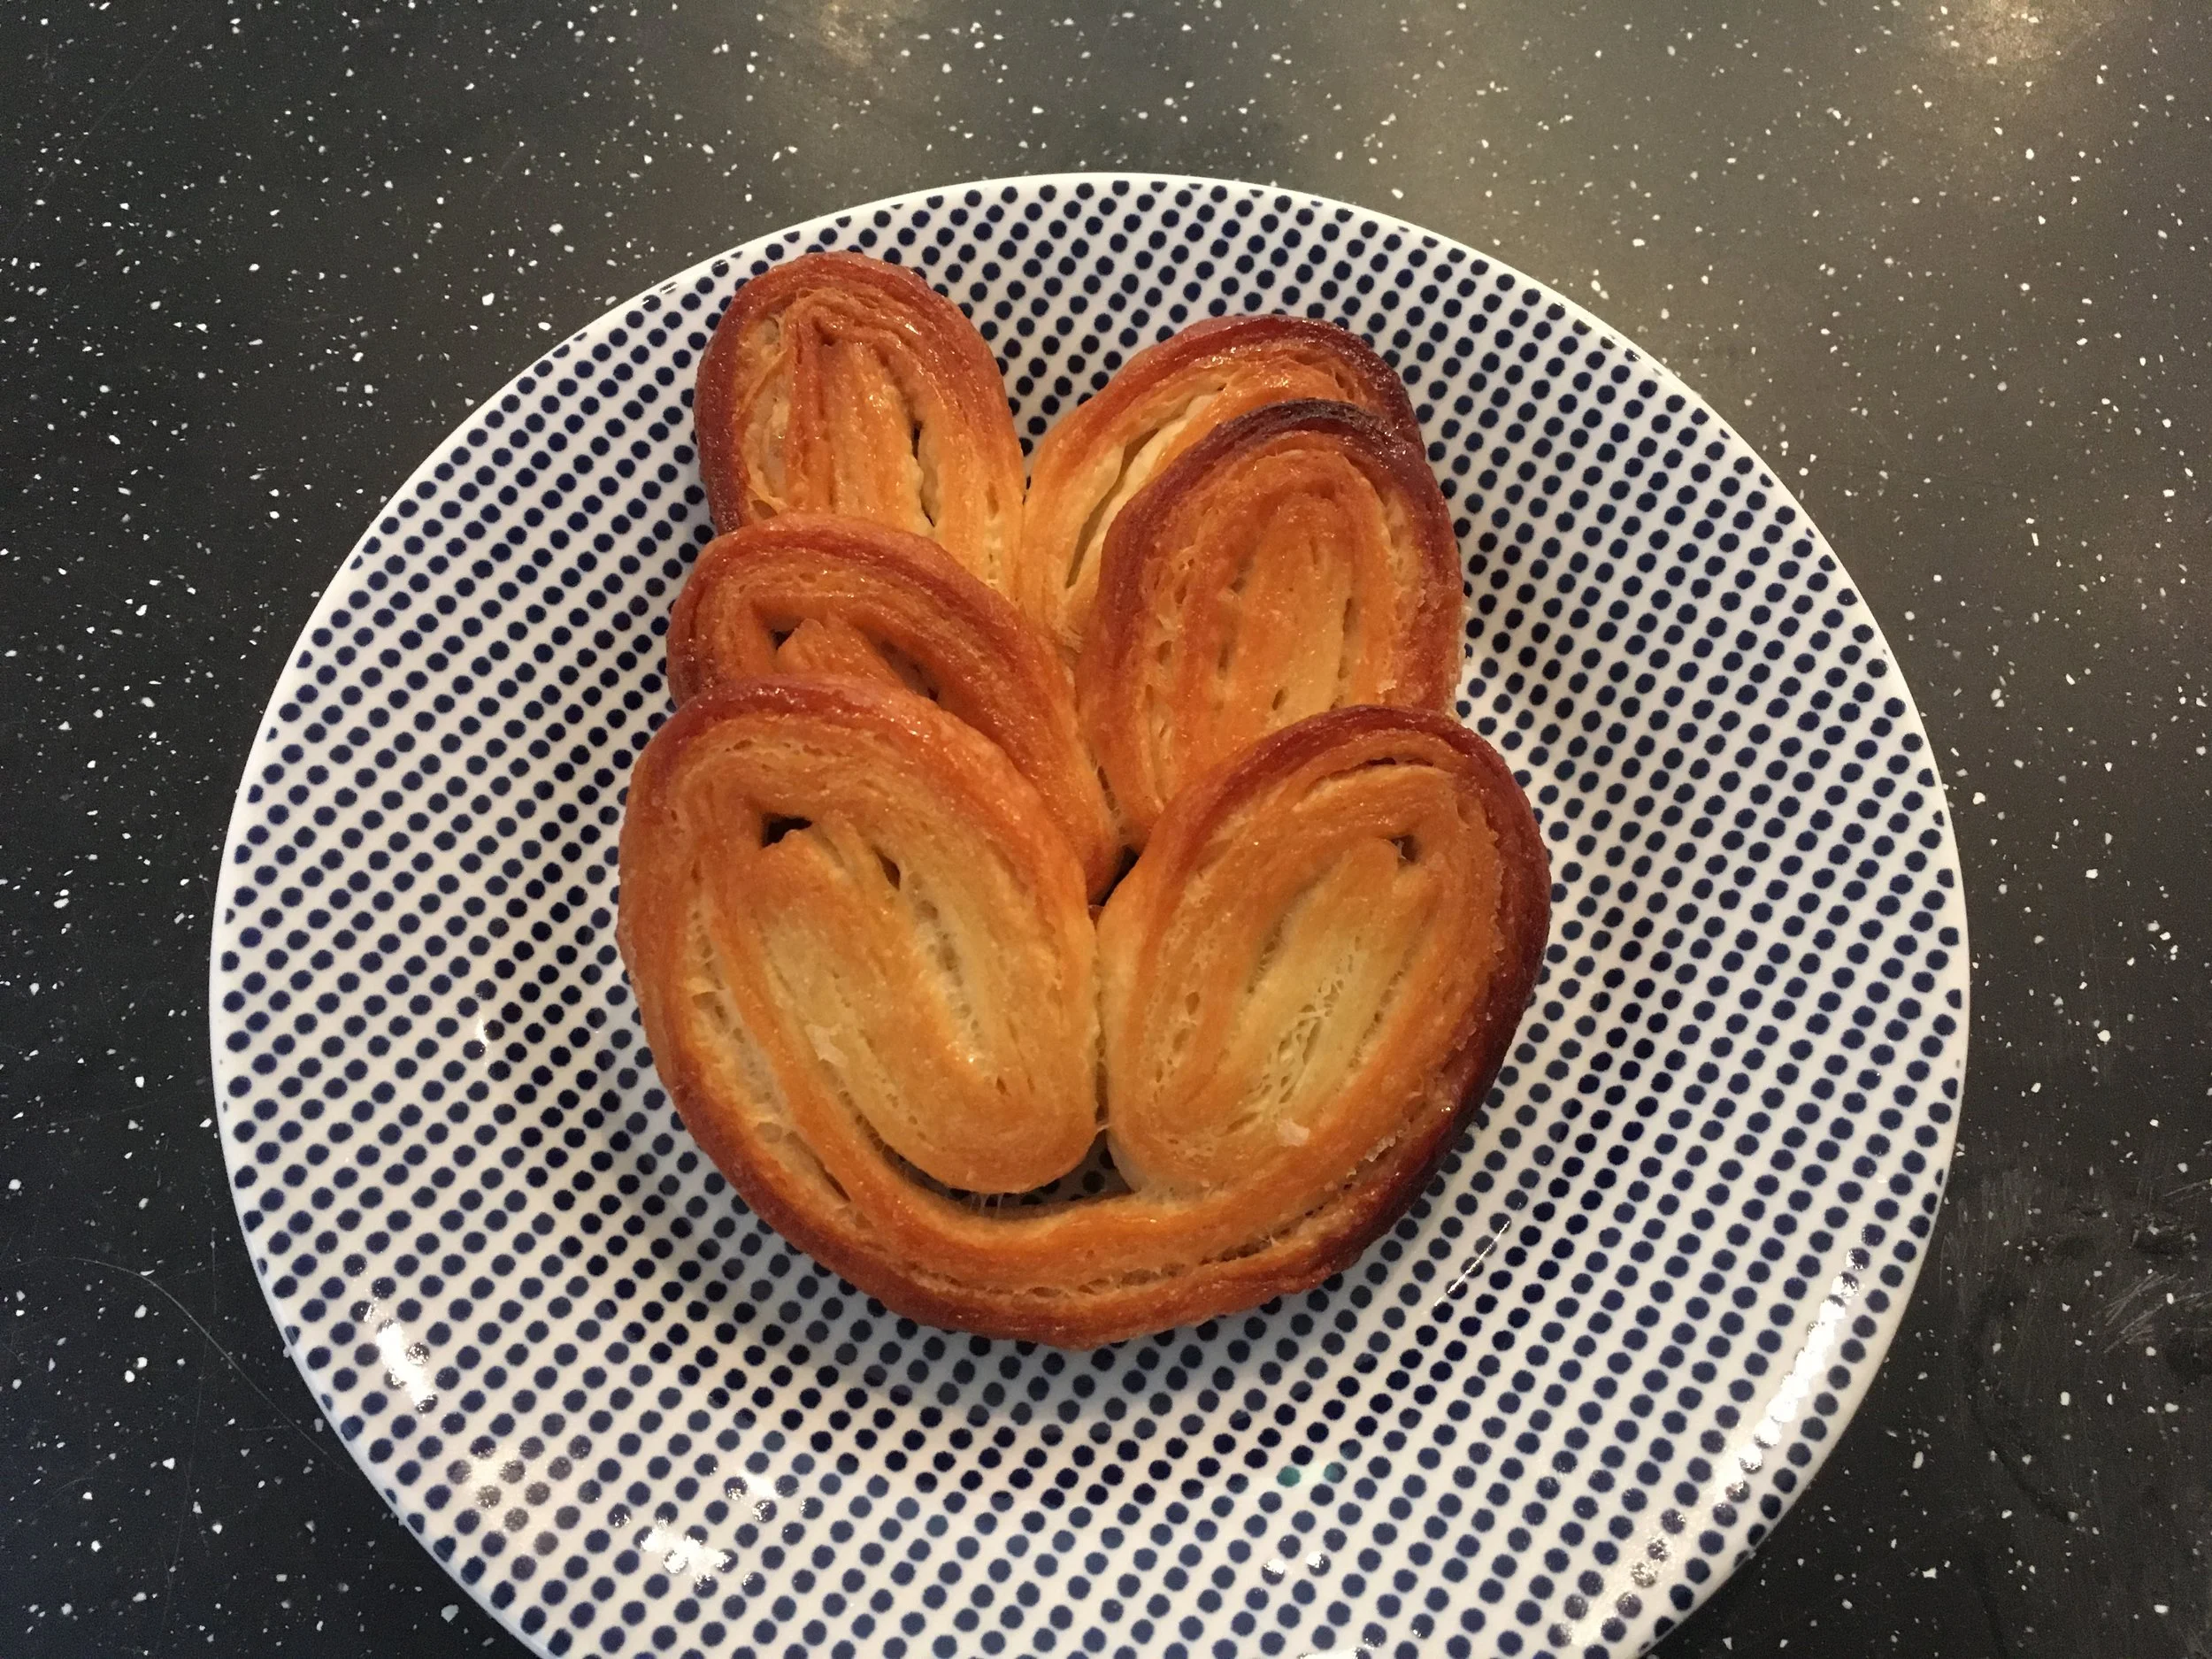
So last week at school we focussed on puff pastry and got to take home the puff that we made but didn’t use, which was quite a lot to be honest… I didn’t really want to freeze so thought I’d get it used up quickly by making palmiers, also known as elephant ears. I have to admit, it wasn’t an original idea. In our demonstration lessons the chefs always do extra than what we do in our practicals and the chef last week made palmiers, just to show us an additional use of puff pastry. I quite like palmiers, but it would never have really occurred to me to make them. Have to say, they are ridiculously easy to make if you already have puff pastry in. If you’re interested in making your own puff, I’ll put a recipe underneath, but shop bought puff pastry works absolutely fine, if not better.

Mine turned out alright, and have done two batches. The ones pictured ended up a little overdone, oops, but were still plenty tasty! The second batch I added some orange zest and cinnamon, and they were not bad. Not bad at all.

Makes roughly 12 palmiers.

Ingredients

  • 300-400g (10.5-14oz) puff pastry.

  • at least 100g (3.5oz) caster sugar

  • water

Method

  1. Instead of dusting your work surface with flour, use caster sugar in a fairly liberal covering. Roll out your puff pastry. Get that workout! Keep flipping it over and putting down more caster sugar so that the puff pastry gets thoroughly coated in sugar. Your final piece should be about 3mm thick and twice as long as wide.

  2. Trim the edges of your puff pastry to make them straight.

  3. Using the back of a knife make dents in one of the long sides to split it into 6 roughly even pieces. Using a pastry brush (if you have one) wet the outside sixths a little, not a lot. Fold over the outside sixths.

  4. Repeat with the folded over bits to fold in again until you get something that looks like the fifth picture below, and then fold it over one last time.

  5. Chill in the fridge for 30 minutes.

  6. Preheat the oven to 220C. Grease a baking tray with butter. This is important or else you won’t get any caramelisation.

  7. Cut your chilled puff pastry into slices just shy of a centimetre thick, roughly 8mm.

  8. Bake for 11-13 minutes until the bottom side is golden brown, and then flip them over and bake for a further 5 minutes until the other side is also golden brown and caramelised.

  9. Immediately transfer to a wire rack to cool, or else they will stick to the tray and be impossible to get off!

  10. Enjoy!

View fullsize
View fullsize
View fullsize
View fullsize
View fullsize
View fullsize
View fullsize
View fullsize

If you’re feeling fancy, you could pipe a little melted chocolate on top.

IMG_1680.JPG

Puff pastry recipe

  • 250g strong white flour

  • 225g butter, room temperature

  • 150ml water

  • Pinch of salt

  1. Sieve the flour and salt into a bowl and create a well. Pour your water into this well and mix together quickly using a dough scraper or mixer. If using a scraper use a chopping and twisting action. Once a dough starts to form, cover it in cling film and chill for at least 20 minutes.

  2. Whilst that is chilling, put your butter between two sheets of parchment paper and start rolling it into a rectangle, slightly smaller than a piece of A4 paper. If you can make an “envelope” in which to do this, so you get sharp corners, all the better.

  3. Chill your butter rectangle until two minutes before you are ready to use the dough.

  4. Dust the workbench with flour and roll out the dough until it is slightly wider than your piece of butter and about 1.5 times as long. Put the butter on top in line with the bottom edge of the dough and fold over the top third, so half the butter is covered. Then fold up the bottom third, so you have three layers of dough separated by two layers of butter.

  5. Turn the dough 90 degrees, and roll it out to roughly the size you just rolled out. Fold it in thirds again. This is called a “turn”

  6. Chill your dough for at least 20 minutes. If you don’t, your butter will become too soft and disappear into the dough and you won’t get the lamination.

  7. Repeat steps 5 and 6 another four times. You can, if you work quickly, do two “turns” in one go, but any more than that will make the butter far too soft and you’ll lose the lamination.

  8. Once done, chill the dough for at least 30 minutes before using.

October 31, 2018 /Sophie Faulkner
Biscuit, sweet, pastry, puff pastry, Recipe
Recipe
1 Comment
IMG_0678.JPG

14. Chocolate and Cinnamon Pinwheels

September 22, 2018 by Sophie Faulkner in Recipe

I’m back!!

After a much needed and long awaited holiday I am finally back in the UK with a decent wifi signal. I had a great time in Florida, but there was no possible way that I could get a blog post up without every photo taking hours to upload and process. Sorry for the radio silence!

I had planned on posting these while I was away and maybe doing a review whilst I was out there too, but all good plans. I made these just before I left and took them along to my most recent match for my team to enjoy. They seemed to go down ok.

Pinwheel cookies are just fun to make and you could do them in so many different flavour combinations, but, let’s be honest. I’ve been on a chocolate and cinnamon kick recently. I promise I’ll do something different soon! I know not everyone likes cinnamon… weirdos…

These are ideal to make with kids, cause they’re fun, easy and make PLENTY. Hope you enjoy!

Makes roughly 48 pinwheels.

Ingredients

  • 125g (4oz) butter

  • 100g (3.5oz) caster sugar

  • 200g (7oz) plain flour

  • 1 egg yolk

  • 40g (1.5oz) plain chocolate, melted

  • 1 tsp ground cinnamon

  • 2 tbsp milk

  • Pinch of salt

Method

  1. Start by making your cookie mixture by creaming together the butter and sugar and then add in the flour, a pinch of salt, an egg yolk and a tablespoon of milk.

  2. Move half of the dough into a new bowl and fold in the melted chocolate. In the original bowl add in the cinnamon.

  3. On a sheet of greaseproof paper roll out one of the doughs to be about 1/8” thick. Mine ended up being about 20cm by 40cm. Might want to try and roll them to be fairly rectangular if possible! Repeat with the other dough on another sheet of greaseproof paper. You want them to be roughly the same size and shape if possible.

  4. Brush the top of the cinnamon dough with a tablespoon of milk and then lay the chocolate dough on top. Use your rolling pin to roll with a gentle pressure a couple of times to get the doughs to adhere, but not so that you lose the definition of the divide.

  5. Roll the dough into a long sausage, starting at one of the longer sides. Once you have your roll, chill it in the fridge for half an hour. This will make it a lot easier to cut it into rounds.

  6. Preheat the oven to 180C.

  7. Slice your log into rounds, slightly thicker than a pound coin and place your pinwheels on a lined baking tray.

  8. Bake for 8-10 minutes.

  9. Allow to cool and enjoy!

View fullsize
View fullsize
View fullsize
View fullsize
View fullsize
View fullsize
View fullsize
View fullsize
IMG_0677.JPG

You could try all sorts of flavour combinations if chocolate and cinnamon aren’t your thing, e.g. peppermint and chocolate, vanilla and lemon or ginger and cinnamon. If you want to get the pinwheel effect using two similarly coloured doughs, why not try using a little bit of food colouring to keep the fun?

Let me know if you enjoy them! Give them a share on Twitter or Instagram (where I’m @sophiespiblog) or on the Facebook page (https://www.facebook.com/sophiespiblog). I love hearing from you guys and whether it went well!

September 22, 2018 /Sophie Faulkner
Chocolate, Cookies, Biscuit, Pinwheel, cinnamon, Recipe
Recipe
Comment
IMG_0446.JPG

10. Chocolate Chip Shortbread

August 31, 2018 by Sophie Faulkner in Recipe

Double digit recipes. Woo!!!!

For recipe 10, I thought I'd just keep it simple. Vanilla shortbread with chocolate chips. Easy as pi. Shortbread is one of those classic biscuits that everyone loves. It's sweet and crumbly and just delicious. When I was growing up, my grandma would always buy a box of Scottish shortbread if I was coming round, even if I was just popping over for lunch. Unfortunately this stopped after I lived with her for a while. It was probably a bit too much to ask for there to be a constant supply of shortbread, but there we go. 

Even now shortbread always reminds me of my grandma, and that's part of the reason I enjoy making it. I don't know if we ever actually made shortbread together in and amongst the baking we did when I was a kid, but even so, shortbread will always be linked with my grandma.

Makes roughly 24 biscuits

Ingredients

  • 4oz (115g) butter

  • 2oz (55g) caster sugar

  • 6oz (170g) plain flour

  • 1 tsp vanilla extract

  • 3.5oz (100g) chocolate chips

Method

  1. Preheat your oven to 180C.

  2. Cream together the butter and sugar until well combined.

  3. Add in the flour, then chocolate chips and vanilla extract. This should form a dough, but may be a bit short and crumbly. If this happens and it is TOO crumbly to deal with, add a splash of milk to help combine the ingredients.

  4. Roll out the dough to about 1cm thick and use a 2" diameter cutter to stamp out your biscuits.

  5. Transfer your rounds to a lined baking tray and bake for 15-20 minutes until just golden.

View fullsize
View fullsize
August 31, 2018 /Sophie Faulkner
Chocolate, Biscuit, Shortbread, Vanilla
Recipe
Comment
IMG_0197.JPG

2. Chocolate Espresso Snowcaps

July 25, 2018 by Sophie Faulkner in Recipe

To keep me occupied for the summer (and to make a bit of dollar) I’m temping in London. My current office is air conditioned, the people are good and it’s keeping me busy. During my first couple of days my coworkers asked me about my hobbies and I told them about baking. I may have gushed a little, because baking became a buzz word. The hints for me to bring stuff in became less and less subtle, eventually ending with my manager finishing off the weekly round up email saying: 

 “We are all a little disappointed we have yet to experience any of your famous baked goods... maybe next week?” 

 Alright. Hint taken.

My office has a reasonable age range, so I wanted something that’d appeal to the older crowd as well as satisfy the sweet tooth of, well, me. I also didn’t want to make just cookies, so I thought about snowcaps. I have been using the same recipe for snowcaps for ages, I have no idea where I got it from now, but it would do as a base for this modified recipe. I just had to make them more grown up. And what’s more grown up than coffee? 

These went down a storm at the office, with my favourite review coming in email form. Just one sentence.

 “Fuck me that is glorious” 

I’ll take that. 

Makes 24-30 cookies

Ingredients 

  • 1/2 cup (65g) self-raising flour

  • 1/4 cup (30g) cocoa

  • 4 tsp instant coffee/espresso powder

  • pinch of salt

  • 4 tbsp (55g) butter

  • 2/3 cup (130g) light brown sugar

  • 1 egg

  • 4 oz (115g) dark chocolate, melted and cooled

  • 1 tbsp milk

  • Icing sugar for rolling

Method 

  1. Cream together the butter and sugar until light and fluffy.

  2. Beat in the egg and milk.

  3. Fold in the flour, cocoa, coffee powder and salt. Once combined, fold in the melted chocolate.

  4. Turn your dough out onto a clingfilmed chopping board and smooth into a rectangle about 1/2” thick.

  5. Put your dough in the freezer for at least 45 minutes.

  6. Preheat oven to 175C

  7. Using a sharp knife, slice your dough into 24-30 squares and roll each square into a ball. (colder hands will get less messy! Marginally.)
  8. Roll each of your balls in icing sugar, making sure to get a thick covering, and place on a baking tray about 2 inches apart.

  9. Bake for 12-13 minutes.

  10. Allow to cool slightly before transferring to a cooling rack as they will be soft straight out of the oven.

Well. It’s roughly rectangular...

Well. It’s roughly rectangular...

IMG_0195.JPG
FullSizeRender.jpg

Hope you enjoy these as much as my office did! 

July 25, 2018 /Sophie Faulkner
Chocolate, Biscuit, Cookies, sweet, espresso, coffee, Recipe
Recipe
Comment

Powered by Squarespace