Sophie's Pi

Mathematical baking

Sophie’s Pi is a record of my adventures in baking, maths and the real world, hoping to make my way to having my own patisserie empire some day. Or just getting to lick the bowl now and again.

  • Blog Search
  • Blog
  • About
  • Images
IMG_1392.JPG

18. Cinnamon Apple Pie

October 14, 2018 by Sophie Faulkner in Recipe

Autumn is well and truly here. It’s rainy and windy and that awkward temperature where you need a jacket most of the time, but if you have to walk any distance you are going to get just that little too warm, but not warm enough to take the jacket off, but warm enough that when you finally get to where you’re going you suddenly notice that you’ve got a bit sweaty and maybe you should just keep the jacket on to hide that, but that’ll just make you more sweaty, oh no what have you done… just me?

Anyway, autumn means that the apple trees in my Great Aunt’s garden are ready for harvesting and honestly? They can be pretty damn tasty. With my shopping bag full of her apples, I decided there was nothing more autumnal than an apple pie with cinnamon. So I made one.

This may seem a very normal thing to do, but growing up I was not a baked fruit fan (apart from bananas, but that’s different). I found them mushy and the texture was just so wrong. Turns out, that if I’ve made it and can control how soft the fruit gets, I am A ok with apple pie, with or without custard. I hope you enjoy this as much as I did! I have about half of it left, so I’m taking it down to my rugby match today. I somehow doubt it’ll go to waste.

Make one pie, serves about 12.

Ingredients

Pastry

  • 360g (12.5oz) plain flour

  • pinch of salt

  • 1 tbsp ground cinnamon

  • 100g (3.5oz) golden caster sugar

  • 225g (8oz) butter, room temperature

  • 1 tsp vanilla extract

  • 2 large eggs

Filling

  • 4 or 5 medium sized apples

  • 100g (3.5oz) caster sugar

  • 1 tsp cinnamon

  • 3 tbsp plain flour

Method

  1. Beat the pastry sugar and butter together until creamy. Add in the vanilla extract and the eggs and beat until smooth.

  2. Fold in the flour, cinnamon and salt until a dough forms.

  3. Chill your dough in the fridge, wrapped in clingfilm for at least 15 minutes to make it easier to work with.

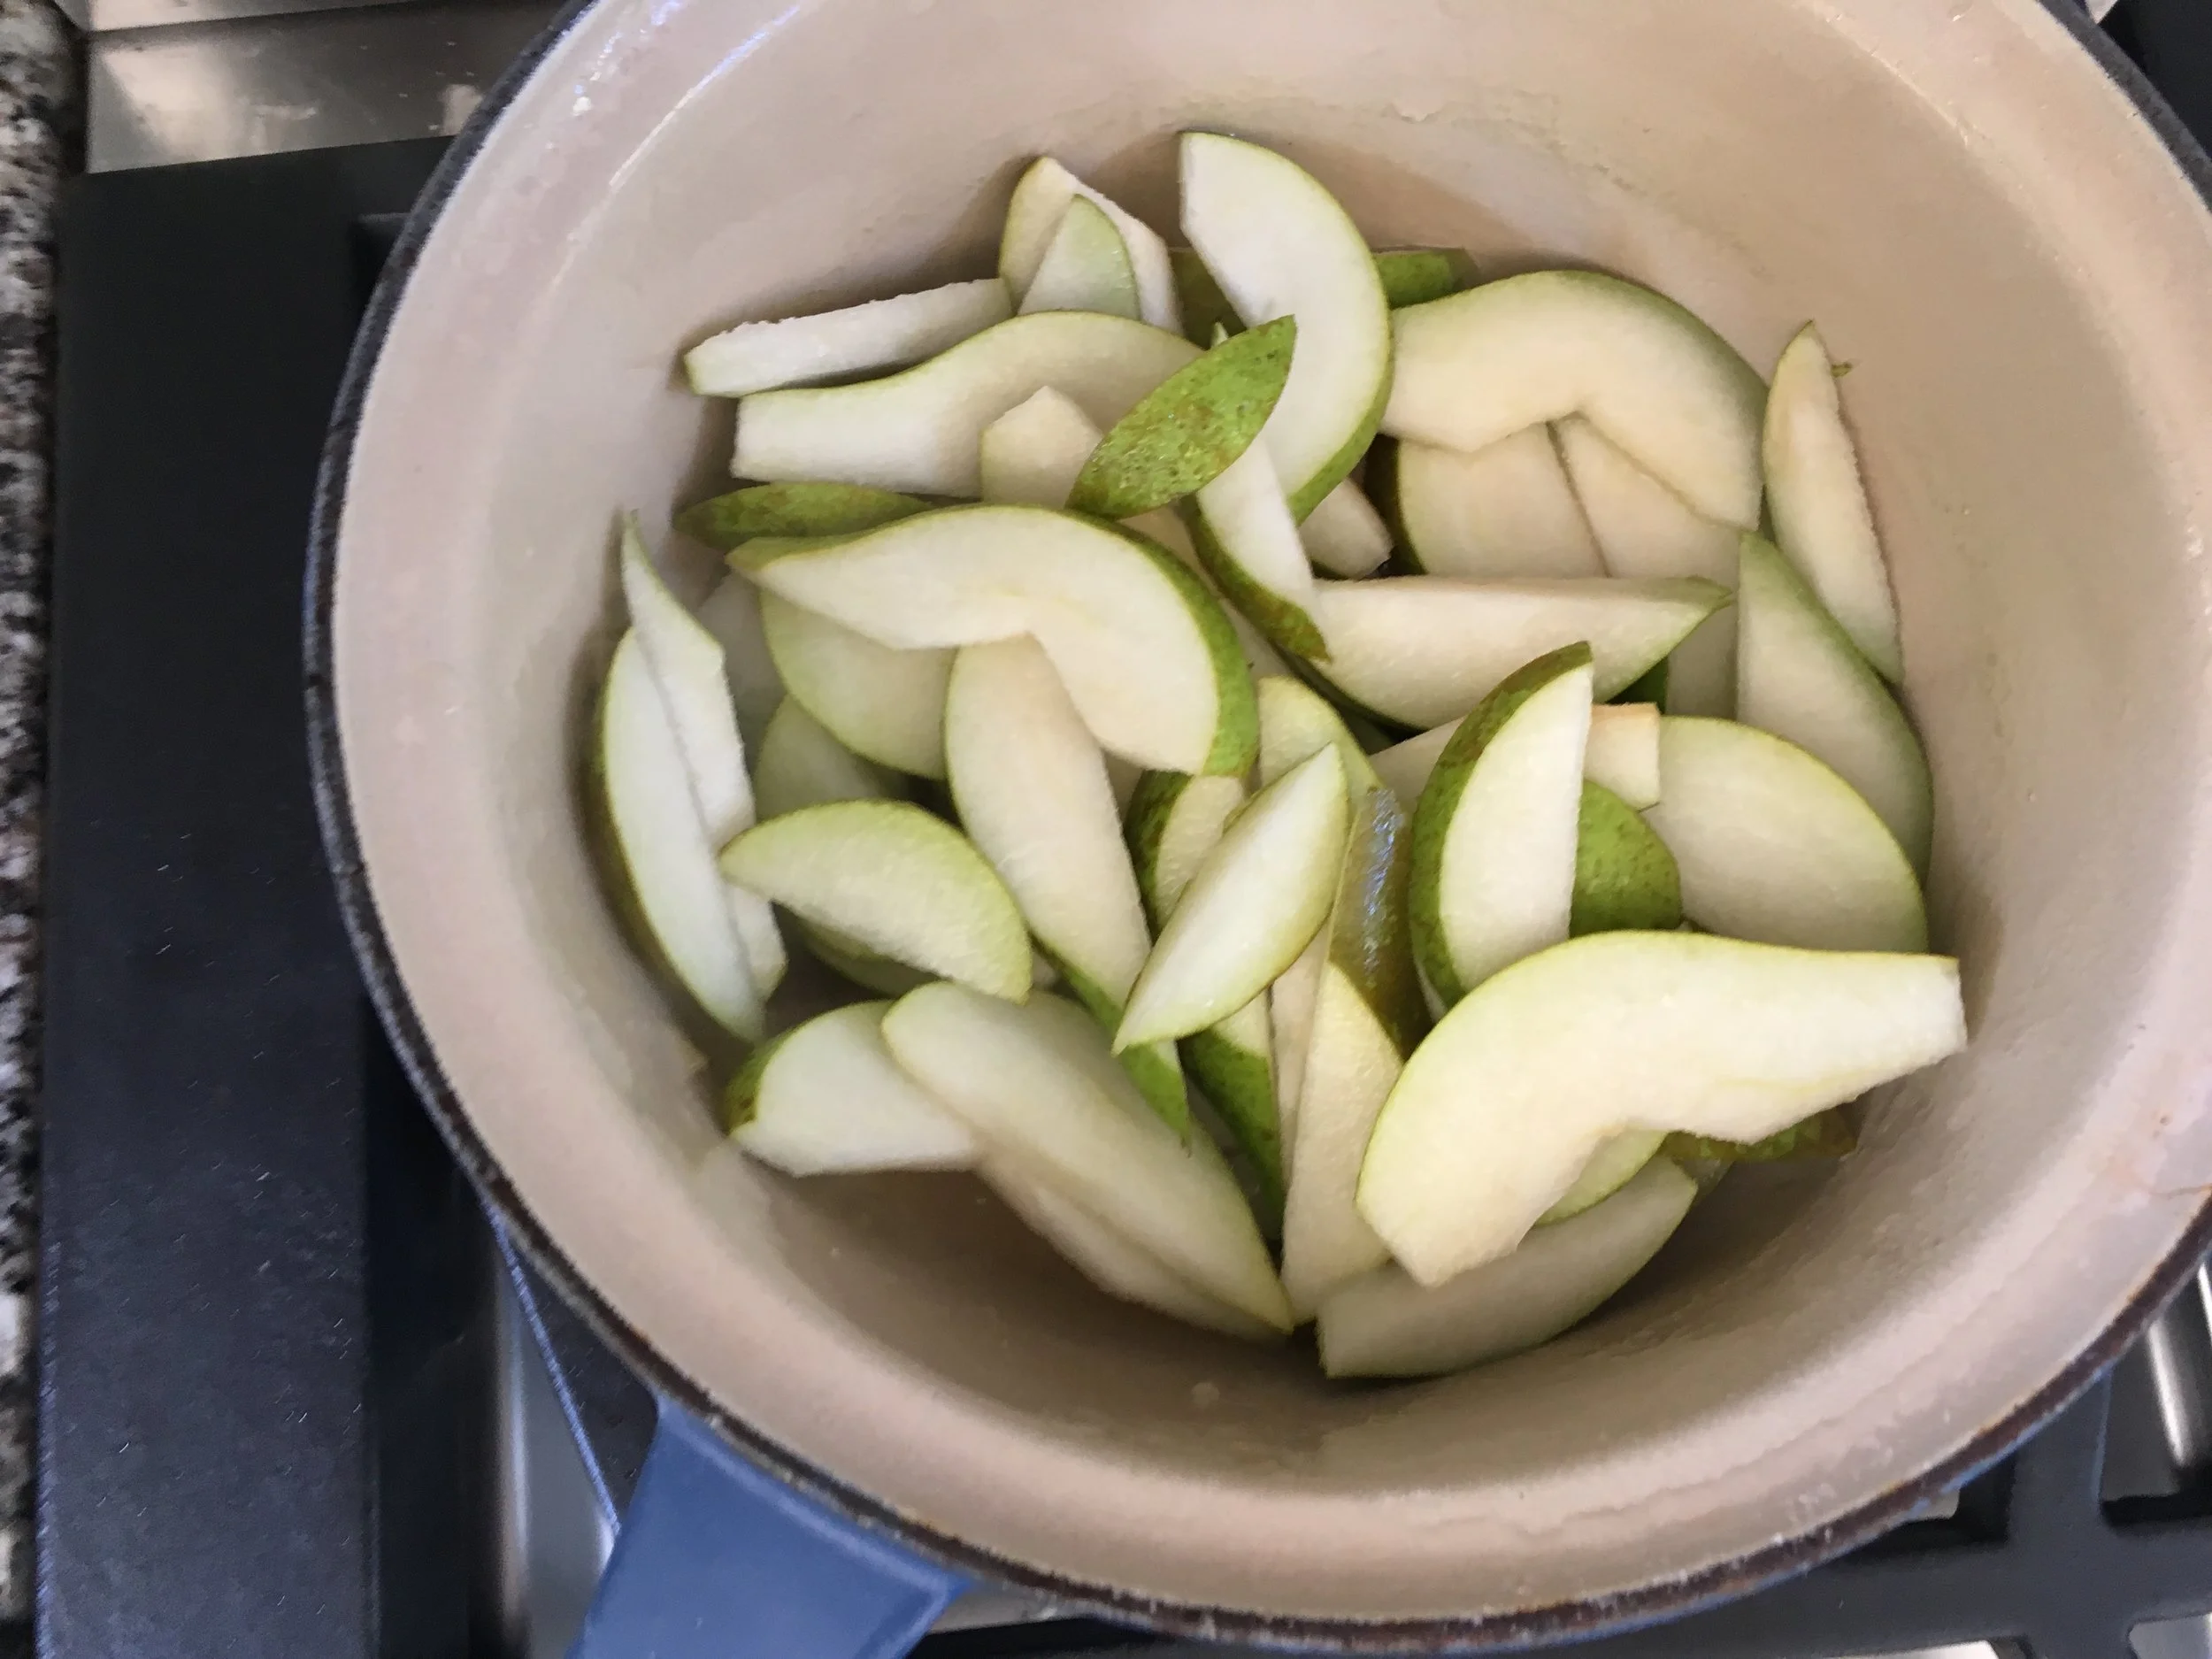
  4. Peel and core your apples. Then slice them into slices roughly 5mm thick. Place them in a bowl out of the way.

  5. Preheat the oven to 175C and lightly grease your pie/tart tin. Mine is 23cm diameter.

  6. On a lightly floured surface roll out two thirds of your dough into a rough circle about 1/6” thick. Use this to line your tart tin. Keep the overhang for now. Return the rest to the fridge while you do the filling.

  7. In a new bowl mix together the sugar, flour and cinnamon for the filling. Transfer the apples to this bowl using your hands or a slotted spoon, leaving behind any liquid that your apples may have released. Toss them well in the sugar mixture and then use them to fill your pie case. I did a rose pattern again, like I did for the chocolate pear tart, but I hard enough apples to do the same again as another layer. I also filled the middle with similar sized slices of apple, as due to not being as tender as the pears I could only get so close to the middle. (See pictures).

  8. Roll out the remaining dough into a rough circle and cut out the middle to make a steam hole.

  9. OPTIONAL. Slice the dough into 16 segments, cutting from about 1 cm away from the steam hole right to the edge. Twist these segments in alternating directions. (See pictures).

  10. Use a fork to crimp the edges together and then remove any overhang and excess dough.

  11. Use some egg wash if you desire (I did no do mine very evenly, oops) and bake for 40-45 minutes until golden. Allow to cool for 5-10 minutes before serving warm, or allow to cool completely and store in an airtight container.

IMG_1310.JPG
IMG_1315.JPG
IMG_1318.JPG
IMG_1324.JPG
IMG_1328.JPG
IMG_1331.JPG
IMG_1339.JPG
IMG_1370.JPG
IMG_1387.JPG
October 14, 2018 /Sophie Faulkner
recipe, pastry, tart, apple, cinnamon
Recipe
Comment
IMG_1232.JPG

17. Chocolate Pear Tart

October 08, 2018 by Sophie Faulkner in Recipe

The first week of pastry school has kept me pretty busy, so sorry it’s been a week! Here’s a pear tart I made earlier… about 2 weeks ago in fact.

I’ll put up a short update post tomorrow about my first week, but today I just want to get this tart posted and done. Finally check it off the list!

I unfortunately didn’t actually get to try this pie myself, as I made it for the Macmillan coffee morning and so couldn’t cut into it. However, I heard that it was goooooood. So I’ll be making this again soon to actually try some!

Makes one tart

Ingredients

Pastry

  • 260g (9oz) plain flour

  • 100g (3.5oz) cocoa powder

  • pinch of salt

  • 100g (3.5oz) golden caster sugar

  • 225g (8oz) butter, room temperature

  • 1 tsp vanilla extract

  • 2 large eggs

Filling

  • 4 or 5 pears

  • 1 egg

  • 25g (1oz) butter

  • 50g (1.75oz) melted chocolate

  • 50g (1.75oz) self raising flour

Method

  1. Beat the pastry sugar and butter together until creamy. Add in the vanilla extract and the eggs and beat until smooth.

  2. Fold in the flour, cocoa powder and salt until a dough forms.

  3. Chill your dough in the fridge, wrapped in clingfilm for at least 15 minutes to make it easier to work with.

  4. Preheat the oven to 175C.

  5. Roll out your dough until about 1/8” thick to fill your tart tin. The tin I used was actually an 8” round cake tin and I used about half of my dough, so there should be enough to make a lid if you so desire.

  6. Grease your tart tin and then line it with your chocolate pastry. Pierce your pastry with a fork multiple times and then blind bake in the oven for 15-20 minutes.

  7. Cut your pears in half and then in slices about 1/4” thick, removing the cores as you go.

  8. Simmer your pear slices in a large shallow pan for 3-5 minutes until tender. Drain and leave to cool.

  9. Beat together all the other filling ingredients to make a rudimentary cake mix, and then spread this in an even layer in your tart case. Then start arranging your pear slices around the edge, slightly overlapping. Keep doing this, spiralling further and further in until you have no more space to fill. (See the pictures)

  10. Bake your tart for 30-40 minutes at 165C until the cake batter has fully cooked.

  11. Allow to cool before cutting.

IMG_1185.JPG
IMG_1203.JPG
IMG_1204.JPG
IMG_1207.JPG
IMG_1209.JPG
IMG_1223.JPG
IMG_1226.JPG
IMG_1228.JPG
IMG_1230.JPG
October 08, 2018 /Sophie Faulkner
Chocolate, pear, fruit, tart, sweet, recipe
Recipe
Comment
IMG_0342.JPG

6. Mini Banoffee and Chocolate Strawberry Tarts

August 11, 2018 by Sophie Faulkner in Recipe

I made some banoffee tarts for my coworkers over the weekend to help use up some leftover caramel from a millionaire's shortbread. The shortbread didn't go great. I didn't thicken the caramel enough, so it didn't really hold together very well, but that doesn't matter in a tart!

Also helped me use up some bananas. The bananas weren't that brown when I used them, but the oxidisation of the slices made them look a bit off. Still tasty though! 

The banoffee tarts went down a treat, and as it turned out, I had made a load more pastry than was necessary, so I froze the leftovers for another day. When deciding what I wanted to do with the rest of it I had a real craving for chocolate, but I didn't want to do banoffee tarts (because obviously I would do them again with how well they'd gone) and chocolate banana tarts, so I went with the classic combo, chocolate and strawberries. These went down well too, but probably not as well as fan favourites banoffee. I think my coworkers just really like bananas?

Anyway, I hope you enjoy these. Two recipes for the price of one this week!

Yields 48 tarts, 24 of each.

Ingredients

  • One load of sweet shortcrust pastry, recipe in Lemon Tarts.

  • 75g (2.5oz) dark sugar (I used light, so my caramel was lighter than I wanted)

  • 75g (2.5 oz) butter

  • 1 can condensed milk (397g)

  • Pinch of salt

  • 1 banana

  • 50g (1.75oz) butter

  • 1 tsp honey

  • 100g (3.5oz) dark/milk chocolate (or 50g of each)

  • 1 tbsp icing sugar

  • 1 tsp vanilla extract

  • 100ml double cream

  • 1 punnet of strawberries

Method

  1. For both tarts I used the same recipe as in Mini Lemon Tarts to get my tart shells, as follows.

  2. Preheat oven to 175C.

  3. Roll your pastry to about 1/6-1/8" thick and use a round cookie cutter to cut out your tart cases. I used one about 3" in diameter, but you should adapt to the size of your tray/cases.

  4. Line your tray/cases with your freshly cut circles, making sure you push them down to the bottom so that they have a flat bottom when baked.

  5. Bake your cases for 15-20 minutes until they are golden brown and allow to cool.

Banoffee

  1. For your banoffee "toffee" melt 75g of butter with the dark sugar and pinch of salt over a low heat until the butter is completely melted and the sugar is completely dissolved.

  2. Add in your can of condensed milk and bring up to a rapid boil, stirring all the time.

  3. Keep stirring and boiling your caramel mixture until it thickens and turns golden (or not if you used light sugar like me). If you're wondering if it's thickened yet, it hasn't. This should take 1-2 minutes.

  4. Let your caramel cool a little and then pour into your tart cases, filling to the brim or just below.

  5. Slice your banana and lay a slice on top of each of your tarts.

  6. Chill in the fridge until the caramel is completely set.

Chocolate Strawberry

  1. Melt your chocolate either in the microwave or a bain marie (bowl over a pot of simmering water).

  2. Once your chocolate is completely melted, mix in the icing sugar and vanilla extract.

  3. Whilst your chocolate is cooling a little, whip your double cream until it just holds its shape. Use an electric beater, or use it as a work out. My muscles recommend the electric beater.

  4. Fold the melted chocolate into your whipped cream until combined, try not to knock out the air though!

  5. Using a spoon fill your mini tarts up to the brim with your chocolate mixture, trying to smooth over the tops as you go.

  6. Decide how you want to add your strawberries to the top. Personally I sliced the tops off, cut each one in half and then cut most of the way through each half from top to tip a couple of times so that I could fan it out to get "three" slices. I thought it looked good, but was probably more effort than necessary!

  7. Chill your tarts, and keep chilled if they don't all go immediately!


IMG_0346.JPG
IMG_0347.JPG

Sorry for terrible photos, I forgot to take any until I got to work. Oops.

August 11, 2018 /Sophie Faulkner
Chocolate, banana, strawberry, fruit, tart, caramel, Recipe
Recipe
Comment
IMG_0267.JPG

4. Mini Lemon Tarts

July 31, 2018 by Sophie Faulkner in Recipe

I think it is fair to say that summer is well and truly here.

The heat has been scorching, there's been barely a cloud in the sky, and the rain this weekend was a welcome change (not something we get to say often in England). But whilst I was born in the summer, I was not made for this heat. I have been sweltering.

I am very, very grateful that my office is air conditioned and my bedroom does not get direct sun and so stays a temperature I can actually sleep in. The tube to and from work has been disgusting and my lunch breaks have been spent searching for the shadiest patch in the park to eat my lunch in. 

But, we had a brief reprieve from the heat this weekend, and so I decided to try a new summery recipe out while I could bare to use the hob. 

What's more summery than a lemon tart?

These little babies also got the office treatment. I sent out the email saying they were in the kitchen and they were gone within the hour. I couldn't believe they'd gone so fast. I wanted one with my lunch...

I don't have the most experience with pastry, and I think I could've rolled mine a little thinner, but it went pretty well! Crumbly but could hold its own. 

Makes 18-24 mini tarts depending on size.

Ingredients

Pastry

  • 3 cups (360g) plain flour

  • Pinch of salt

  • 1/2 cup (100g) golden caster sugar

  • 225g butter, room temperature

  • 1 tsp vanilla extract

  • 2 large eggs

Lemon Curd

  • 2 eggs

  • 2 egg yolks

  • 1/2 cup (100g) golden caster sugar

  • 2 lemons, zest and juice

  • Pinch salt

  • 85g butter

Method

  1. Beat the pastry sugar and butter together until well combined and creamy. Add the vanilla extract and eggs. Beat until smooth.

  2. Fold in the flour and salt until the dough forms. (Mine was a little short, but I added a tiny splash of milk to make it hold. I think my butter was just a little too cold). Don't overwork the dough!

  3. Chill your dough for 15-20 mins in the fridge to make it easier to work with.

  4. Grease your mini muffin tray/tart cases and preheat the oven to 175C.

  5. Roll your pastry to about 1/6-1/8" thick and use a round cookie cutter to cut out your tart cases. I used one about 3" in diameter, but you should adapt to the size of your tray/cases.

  6. Line your tray/cases with your freshly cut circles, making sure you push them down to the bottom so that they have a flat bottom when baked.

  7. Bake your cases for 15-20 minutes until they are golden brown and allow to cool.

  8. To make the lemon curd, beat the eggs, egg yolks, sugar and lemon zest together in a pyrex/glass mixing bowl until it is smooth and pales in colour a bit. Then add the lemon juice and salt in, mixing well.

  9. Half fill a pan with water and bring it to a simmer before putting your curd on top to bain marie. Make sure the water doesn't touch the bottom of the bowl.

  10. Keep it simmering and stir your curd regularly until it thickens enough to coat the back of a spoon (about 15 minutes for me). If you don't stir it regularly enough your egg can coagulate. If it does this a little bit, don't worry. Pass your curd through a sieve after the next step.

  11. Take your curd off the heat and add in your butter a bit at a time, stirring until it has melted in and your curd is glossy.

  12. Pour your curd into a bowl and cover with clingfilm, making sure the clingfilm is on the surface of the curd to stop it forming a skin.

  13. Chill your curd for 20 minutes or so.

  14. Fill a piping bag with your curd and fill your tart cases to the brim with curd!

  15. Enjoy! Keep refrigerated if they don't all go in one sitting.


IMG_0242.JPG
IMG_0246.JPG
IMG_0257.JPG
IMG_0261.JPG
IMG_0265.JPG
July 31, 2018 /Sophie Faulkner
lemon, citrus, recipe, tart
Recipe
Comment

Powered by Squarespace