Sophie's Pi

Mathematical baking

Sophie’s Pi is a record of my adventures in baking, maths and the real world, hoping to make my way to having my own patisserie empire some day. Or just getting to lick the bowl now and again.

  • Blog Search
  • Blog
  • About
  • Images
IMG_7240.JPG

59. Roast Plum French Toast

February 14, 2021 by Sophie Faulkner in Recipe

Well, here we are nearly half a year later. Things have massively changed in my life, and it’s been a pretty rough couple of months. But, I’m back on the blog, hopefully mostly due to this brunch I made myself. It was frankly too good not to share, and hopefully you’ll enjoy it too. It was easy to do, and the results were amazing. the balance of the roast plum and the decadence of the french toast and cream, balanced by the slight acidity of the lime zest will transform your brunch.

This recipe is for one, but you can double up or triple up the recipe very easily! The bread I used was some homemade Challah, using this recipe from Georgia’s Cakes, which you should definitely give a go, and I mentioned in a previous blog post here. It worked really well, but you could use any good bread!

Makes brunch for 1

Ingredients

  • 1 firm ripe plum

  • 2 tsp sugar

  • 1 knob of butter

  • 2 thick slices of bread

  • 1 egg

  • 2-3 tbsp milk

  • A splash of cream

  • Zest of 1/2 a lime

Method

  1. Halve and pit your plum and place each half in an unlined muffin tray, cut side up. Sprinkle over 1/2 a teaspoon of sugar over each half and leave to macerate for 15 minutes.

  2. Preheat the oven to 200C.

  3. Put a splash of water in each of the plum’s cupcake holes so that it comes about halfway up the plum. This will stop it burning and sticking to the cupcake tray.

  4. Roast for 25-30 minutes until soft.

  5. When the plums are almost done, start the French toast. Melt the knob of butter in a frying pan over a medium heat. While melting, in a shallow bowl, whisk together the egg, milk and remaining teaspoon of sugar. Dip the bread in this for a few seconds on each side so that it soaks up as much as possible without falling apart.

  6. Fry the bread for a couple of minutes on each side until golden.

  7. Plate the bread, with half a plum on each side, a splash of cream over the top and a sprinkling of lime zest.

IMG_7252.JPG
IMG_7255.JPG
IMG_7258.JPG
IMG_7259.JPG
IMG_7261.JPG
IMG_7262.JPG
February 14, 2021 /Sophie Faulkner
Recipe, bread, brunch, plum, fruit, sweet
Recipe
1 Comment
IMG_1232.JPG

17. Chocolate Pear Tart

October 08, 2018 by Sophie Faulkner in Recipe

The first week of pastry school has kept me pretty busy, so sorry it’s been a week! Here’s a pear tart I made earlier… about 2 weeks ago in fact.

I’ll put up a short update post tomorrow about my first week, but today I just want to get this tart posted and done. Finally check it off the list!

I unfortunately didn’t actually get to try this pie myself, as I made it for the Macmillan coffee morning and so couldn’t cut into it. However, I heard that it was goooooood. So I’ll be making this again soon to actually try some!

Makes one tart

Ingredients

Pastry

  • 260g (9oz) plain flour

  • 100g (3.5oz) cocoa powder

  • pinch of salt

  • 100g (3.5oz) golden caster sugar

  • 225g (8oz) butter, room temperature

  • 1 tsp vanilla extract

  • 2 large eggs

Filling

  • 4 or 5 pears

  • 1 egg

  • 25g (1oz) butter

  • 50g (1.75oz) melted chocolate

  • 50g (1.75oz) self raising flour

Method

  1. Beat the pastry sugar and butter together until creamy. Add in the vanilla extract and the eggs and beat until smooth.

  2. Fold in the flour, cocoa powder and salt until a dough forms.

  3. Chill your dough in the fridge, wrapped in clingfilm for at least 15 minutes to make it easier to work with.

  4. Preheat the oven to 175C.

  5. Roll out your dough until about 1/8” thick to fill your tart tin. The tin I used was actually an 8” round cake tin and I used about half of my dough, so there should be enough to make a lid if you so desire.

  6. Grease your tart tin and then line it with your chocolate pastry. Pierce your pastry with a fork multiple times and then blind bake in the oven for 15-20 minutes.

  7. Cut your pears in half and then in slices about 1/4” thick, removing the cores as you go.

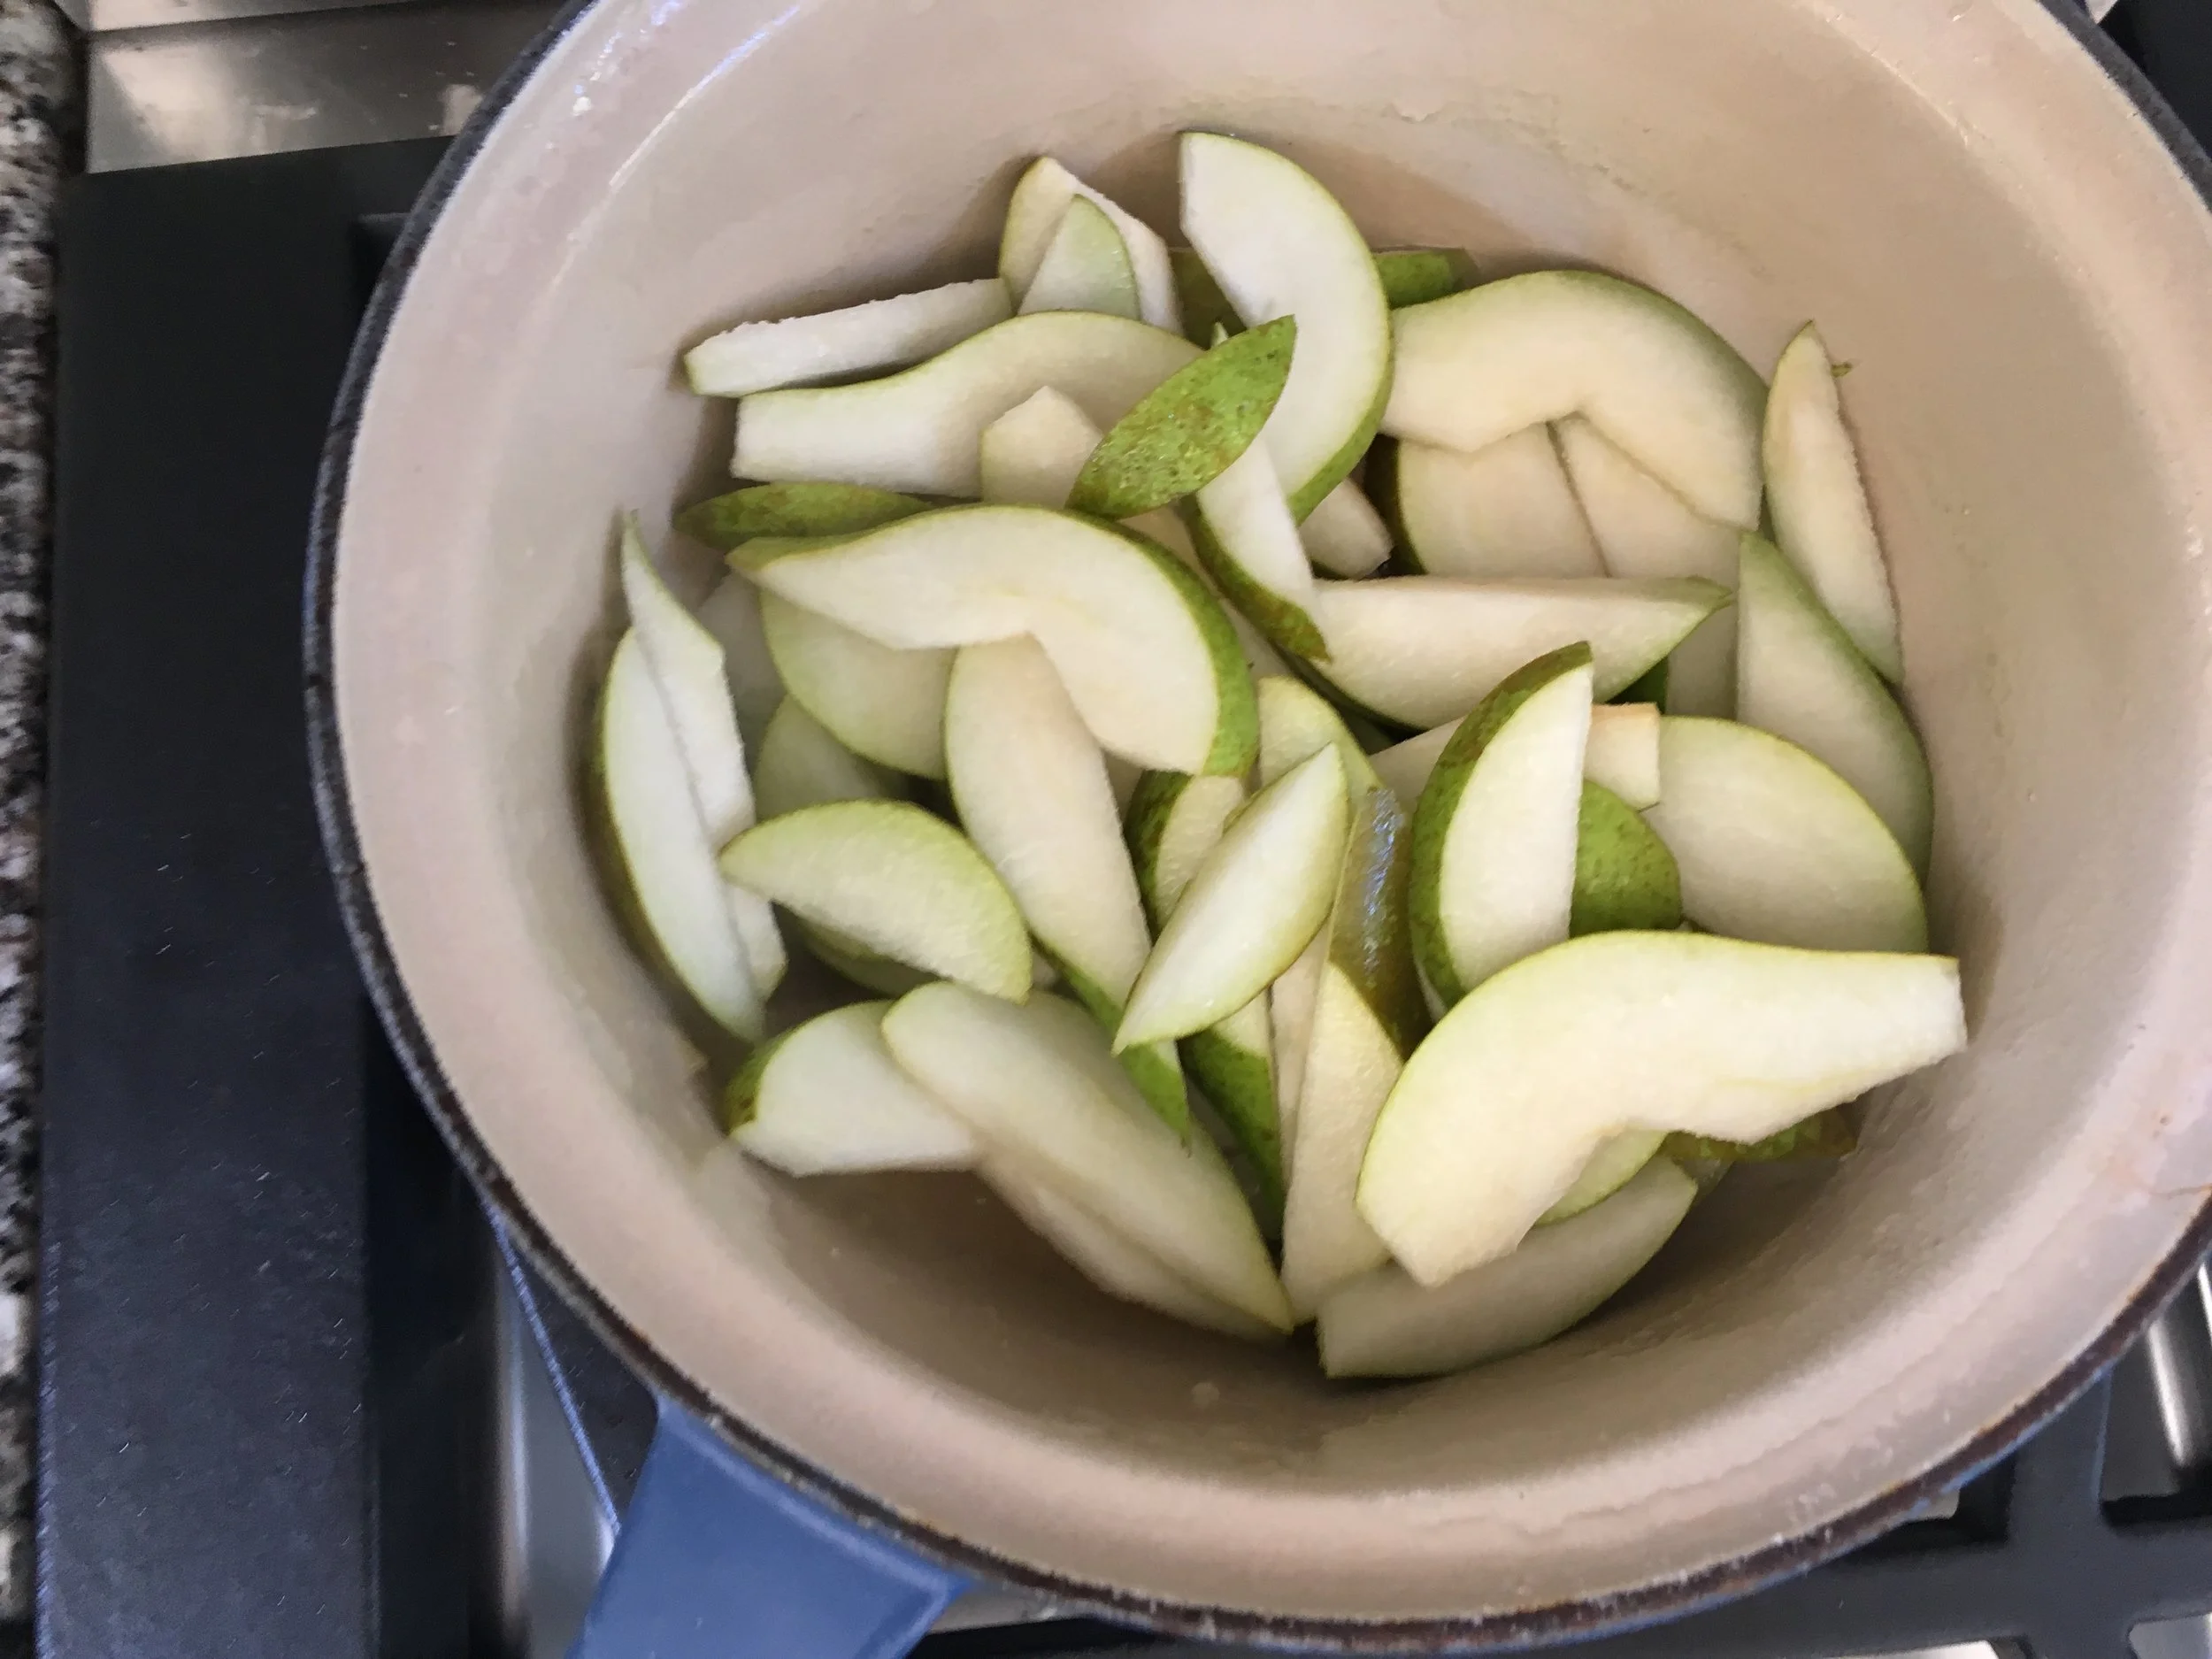
  8. Simmer your pear slices in a large shallow pan for 3-5 minutes until tender. Drain and leave to cool.

  9. Beat together all the other filling ingredients to make a rudimentary cake mix, and then spread this in an even layer in your tart case. Then start arranging your pear slices around the edge, slightly overlapping. Keep doing this, spiralling further and further in until you have no more space to fill. (See the pictures)

  10. Bake your tart for 30-40 minutes at 165C until the cake batter has fully cooked.

  11. Allow to cool before cutting.

IMG_1185.JPG
IMG_1203.JPG
IMG_1204.JPG
IMG_1207.JPG
IMG_1209.JPG
IMG_1223.JPG
IMG_1226.JPG
IMG_1228.JPG
IMG_1230.JPG
October 08, 2018 /Sophie Faulkner
Chocolate, pear, fruit, tart, sweet, recipe
Recipe
Comment
IMG_0342.JPG

6. Mini Banoffee and Chocolate Strawberry Tarts

August 11, 2018 by Sophie Faulkner in Recipe

I made some banoffee tarts for my coworkers over the weekend to help use up some leftover caramel from a millionaire's shortbread. The shortbread didn't go great. I didn't thicken the caramel enough, so it didn't really hold together very well, but that doesn't matter in a tart!

Also helped me use up some bananas. The bananas weren't that brown when I used them, but the oxidisation of the slices made them look a bit off. Still tasty though! 

The banoffee tarts went down a treat, and as it turned out, I had made a load more pastry than was necessary, so I froze the leftovers for another day. When deciding what I wanted to do with the rest of it I had a real craving for chocolate, but I didn't want to do banoffee tarts (because obviously I would do them again with how well they'd gone) and chocolate banana tarts, so I went with the classic combo, chocolate and strawberries. These went down well too, but probably not as well as fan favourites banoffee. I think my coworkers just really like bananas?

Anyway, I hope you enjoy these. Two recipes for the price of one this week!

Yields 48 tarts, 24 of each.

Ingredients

  • One load of sweet shortcrust pastry, recipe in Lemon Tarts.

  • 75g (2.5oz) dark sugar (I used light, so my caramel was lighter than I wanted)

  • 75g (2.5 oz) butter

  • 1 can condensed milk (397g)

  • Pinch of salt

  • 1 banana

  • 50g (1.75oz) butter

  • 1 tsp honey

  • 100g (3.5oz) dark/milk chocolate (or 50g of each)

  • 1 tbsp icing sugar

  • 1 tsp vanilla extract

  • 100ml double cream

  • 1 punnet of strawberries

Method

  1. For both tarts I used the same recipe as in Mini Lemon Tarts to get my tart shells, as follows.

  2. Preheat oven to 175C.

  3. Roll your pastry to about 1/6-1/8" thick and use a round cookie cutter to cut out your tart cases. I used one about 3" in diameter, but you should adapt to the size of your tray/cases.

  4. Line your tray/cases with your freshly cut circles, making sure you push them down to the bottom so that they have a flat bottom when baked.

  5. Bake your cases for 15-20 minutes until they are golden brown and allow to cool.

Banoffee

  1. For your banoffee "toffee" melt 75g of butter with the dark sugar and pinch of salt over a low heat until the butter is completely melted and the sugar is completely dissolved.

  2. Add in your can of condensed milk and bring up to a rapid boil, stirring all the time.

  3. Keep stirring and boiling your caramel mixture until it thickens and turns golden (or not if you used light sugar like me). If you're wondering if it's thickened yet, it hasn't. This should take 1-2 minutes.

  4. Let your caramel cool a little and then pour into your tart cases, filling to the brim or just below.

  5. Slice your banana and lay a slice on top of each of your tarts.

  6. Chill in the fridge until the caramel is completely set.

Chocolate Strawberry

  1. Melt your chocolate either in the microwave or a bain marie (bowl over a pot of simmering water).

  2. Once your chocolate is completely melted, mix in the icing sugar and vanilla extract.

  3. Whilst your chocolate is cooling a little, whip your double cream until it just holds its shape. Use an electric beater, or use it as a work out. My muscles recommend the electric beater.

  4. Fold the melted chocolate into your whipped cream until combined, try not to knock out the air though!

  5. Using a spoon fill your mini tarts up to the brim with your chocolate mixture, trying to smooth over the tops as you go.

  6. Decide how you want to add your strawberries to the top. Personally I sliced the tops off, cut each one in half and then cut most of the way through each half from top to tip a couple of times so that I could fan it out to get "three" slices. I thought it looked good, but was probably more effort than necessary!

  7. Chill your tarts, and keep chilled if they don't all go immediately!


IMG_0346.JPG
IMG_0347.JPG

Sorry for terrible photos, I forgot to take any until I got to work. Oops.

August 11, 2018 /Sophie Faulkner
Chocolate, banana, strawberry, fruit, tart, caramel, Recipe
Recipe
Comment
IMG_0165.JPG

1. Pear Nutmeg Muffins

July 22, 2018 by Sophie Faulkner in Recipe

So, two weeks into living in my new place and I've barely picked up a mixing bowl. Pretty appalling really. I can try and excuse it by saying I've been settling into my new place, finding a temp job, exploring London life. But, I've had so much time in the evenings to bake and I haven't I've just been lazy. Which is kinda what you need sometimes. But anyway.

New place, new blog, new recipe.

Well, new recipe to me anyway.

The blog Pastry Affair is one of my favourite baking blogs out there. She's been at it for years. YEARS. Scrolling through her backlog is one of my favourite things to do. It's so so good. I've made stuff from her site before, but she's American, so sometimes I have to adapt a recipe from her original one, as we can't get some of that stuff here in the UK. For example, this recipe called for applesauce. Americans use applesauce as a spread on toast or in cakes or as a dessert. In the UK we use it as a sauce with roast pork. It's a bit different. So as I trawled the aisles of Tesco looking for applesauce and found two options. Apple sauce with cider vinegar or Apple sauce with sage and cider vinegar. Neither seemed like they would work. I even checked the baby food aisle for pureed apple, but there was nothing. So whilst these muffins don't follow the original recipe (which you can find here) they are still delicious.

Makes 12 muffins

Ingredients

  • 1 1/2 cups (200g) self-raising flour

  • 1/4 tsp nutmeg

  • Pinch of salt

  • 2 large eggs

  • 2 tbsp vanilla extract

  • 1 cup (200g) light brown sugar

  • 5 tbsp (70g) unsalted butter, melted

  • 1/4 cup (60ml) vegetable oil

  • 3 tbsp (45ml) apple juice

  • 1 conference pear, thinly sliced

Method

  1. Preheat oven to 190C

  2. Mix the melted butter, vanilla, sugar, apple juice, oil and eggs in a bowl until smooth and well combined.

  3. Add in your flour a bit at a time, folding it in, and then add your nutmeg and salt.

  4. Distribute the batter between 12 muffin cases.

  5. Add your sliced pear pieces into the top of your batter (as below). If you can slice your pear thin enough you can try and shape them into roses, as I did for a couple (and sort of failed), or just stick them in.

  6. Bake for 18-20 minutes until tops are golden brown and bounce back. Serve hot or at room temperature.

Some roses were more successful than others...

Some roses were more successful than others...

New place means a new oven, which meant that unfortunately I turned my temperature dial just a little too far. While still tasty, my muffins were browner than I'd meant for them to be. Oops.

IMG_0160.JPG

For my first bake in the new place, these were pretty damn good. Hope you enjoy them!

July 22, 2018 /Sophie Faulkner
pear, fruit, nutmeg, Muffins, cake, sweet, recipe
Recipe
Comment

Powered by Squarespace