Sophie's Pi

Mathematical baking

Sophie’s Pi is a record of my adventures in baking, maths and the real world, hoping to make my way to having my own patisserie empire some day. Or just getting to lick the bowl now and again.

  • Blog Search
  • Blog
  • About
  • Images
IMG_0437.JPG

9. Marble Muffins

August 23, 2018 by Sophie Faulkner in Recipe

Chocolate and vanilla. The staples of the sweet tooth world. The richness of chocolate, the sweetness of vanilla. They just work. It's no wonder that when people think of cake or ice cream or cookies they think of these two core flavours. What's better than a classic vanilla victoria sponge or a rich chocolate fudge cake or chocolate chip cookies? Not a lot when you're looking for a readily available baked good.

So this week I decided that I would celebrate the simple stuff and just make marble muffins and chocolate chip shortbread (recipe coming soon).

I like the aesthetic of marble muffins (although mine are less impressive than some...). The mix of chocolate batter and vanilla batter to combine and create one tasty muffin is a thing of beauty. The office agreed.

Makes 12 muffins

Ingredients

  • 6oz (170g) butter

  • 6oz (170g) caster sugar

  • 6oz (170g) self-raising flour

  • 3 eggs

  • 2.5oz (70g) plain chocolate, melted

  • 1 tsp vanilla extract

Method

  1. Preheat the oven to 175C

  2. In a bowl, cream together the butter and sugar until light and fluffy.

  3. Add in the eggs and flour, and combine.

  4. Divide the dough in two and place half of it in another bowl.

  5. Fold in the melted chocolate to the first batch of dough and the vanilla extract to the other.

  6. Line a muffin tray with cases and alternate adding in a teaspoon of each mixture to each case. Chocolate vanilla, chocolate, vanilla etc.

  7. Once done, grab a knife or skewer and gently swirl through the mixture in the muffin cases to give them the marbled effect.

  8. Bake for 18-20 minutes.

View fullsize
View fullsize
View fullsize
View fullsize
IMG_0435.JPG
August 23, 2018 /Sophie Faulkner
Chocolate, Vanilla, Cake, Muffins, marble
Recipe
Comment
IMG_0419.JPG

8. Focaccia

August 19, 2018 by Sophie Faulkner in Recipe

Despite my very present sweet tooth, now and again I like to make something that doesn't involve sugar. No sugar at all. Well, alright, a little bit of honey, but that doesn't count. Not even a teaspoon's worth. 

I started making focaccia earlier this year, using a recipe from Taste Inspired (original recipe here) which I haven't really deviated from to be perfectly honest. The bread it makes is light and full of flavour. On occasion if I get overzealous with the honey you do get a slight sweet hint, but this is definitely a savoury bake. Or I try to keep it savoury. I might have a problem...

Bread always seemed to be an extremely difficult thing to make, and so I never really tried. Paul Hollywood of Bake Off fame had put me off a little with his terrifying judgement of the contestants seemingly tasty attempts. So when a friend of mine made focaccia, I decided maybe it wasn't so scary after all. I've been making it every couple of weeks since.

Makes one 13" by 9" "loaf"

Ingredients

  • 1/2 cup (120ml) extra-virgin olive oil

  • 2 garlic cloves, diced finely

  • 1 tsp dried thyme

  • 1 tsp dried rosemary

  • a pinch of black pepper

  • 1 cup (240ml) warm water

  • 2 1/4 tsp (1 packet) active dry yeast

  • 1/4 tsp honey

  • 2 1/2 cups (325g) plain flour

  • 1 tsp salt

Method

  1. In a pan, combine the olive oil, garlic, thyme, rosemary and pepper. Place on a low heat and stir occasionally to infuse the oil. This should be 5 to 10 minutes, before the garlic browns.

  2. In a large bowl (I've used a jug before) combine the water, yeast and honey. Stir it a little to moisten the yeast and leave for 5 minutes.

  3. Add 1 cup (125g) of the flour and 1/4 cup (60ml) of the infused oil. Stir a couple times to moisten the flour and leave another 5 minutes.

  4. Add the rest of the flour (1 1/2 cup, 200g) and the salt. Mix it until the dough comes together. After that knead the dough 10 to 15 times until it is smooth. (I have done this on a floured surface or in the bowl/jug if my mixture is already floury enough).

  5. Transfer your dough to a large oiled bowl (doesn't need to be a lot of oil. A splash on a piece of kitchen roll and wipe that around the bowl will do) and cover with a tea towel. Leave to rise at room temperature for an hour.

  6. Use two tbsp of the remaining oil to coat the bottom of a 9" by 13" rimmed baking tray and transfer your dough across, spreading it out to cover the tray evenly. Using your fingers "dimple" the dough several times (see picture). Drizzle the final 2 tbsp of oil over the top of your dough.

  7. Leave to rise for 20 minutes. Preheat oven to 230C.

  8. Bake your focaccia for 15 to 20 minutes until golden brown.

  9. Serve hot or cold, with or without olive oil and balsamic vinegar. Keep leftovers in an airtight container to prevent it from going stale.


View fullsize IMG_0398.JPG
View fullsize IMG_0400.JPG
View fullsize IMG_0402.JPG
View fullsize IMG_0406.JPG
View fullsize IMG_0408.JPG
View fullsize IMG_0411.JPG
IMG_0416.JPG
August 19, 2018 /Sophie Faulkner
bread, focaccia, rosemary, garlic, Recipe
Recipe
Comment
IMG_0375.JPG

7. Sachertorte

August 15, 2018 by Sophie Faulkner in Recipe

Isn't it annoying when you have a full weekend planned and then everything gets cancelled last minute? No, not really. Gave me more time to bake! 

When I have a long weekend or any large amount of time looming ahead of me, I like to make something new, try out a new recipe. I just need to decide what to make first. A few facebook messages later, a friend suggested I make a sachertorte. It ticked a lot of boxes, something new, something a bit different and choc full of chocolate. Where was the downside? They'd even made it on Bake Off before, so it must be good.

And seeing as it had been made on Bake Off, Queen of baking Mary Berry had a recipe. What a hero.

Baking the sachertorte actually wasn't as hard as I was expecting it to be. The difficulty of sachertorte comes in the form of no raising agent. The only "rise" on this cake comes from well whisked egg whites, but once you get over that, there's very little difference from a normal chocolate cake. Oh, and that it traditionally uses ground almonds as a substitute for some of the flour, but who has ground almonds in their cupboard? (not me, but I probably should). I also added a little pinch of coffee to the icing to enhance the flavour. It oesn't taste of coffee at all, it just makes the icing taste a little rich, even a little bit boozy.

So, for Mary Berry's original recipe with ground almonds and apricot jam, click here, or continue for my slightly altered recipe below.

Makes one 8" cake

Ingredients

  • 8oz (225g) dark chocolate

  • 3oz (85g) milk chocolate

  • 5oz (140g) butter

  • 4oz (115g) caster sugar

  • 1/2 tsp vanilla extract

  • 5 eggs, separated into yolks and whites

  • 4.5oz (130g) plain flour

  • 250ml double cream

  • Pinch of coffee

  • Strawberries for decoration (optional)

Method

  1. Preheat the oven to 180C and grease/line two 8" sandwich tins.

  2. Break 5oz of the dark chocolate into small pieces and melt in the microwave or in a bain marie. Let it cool slightly.

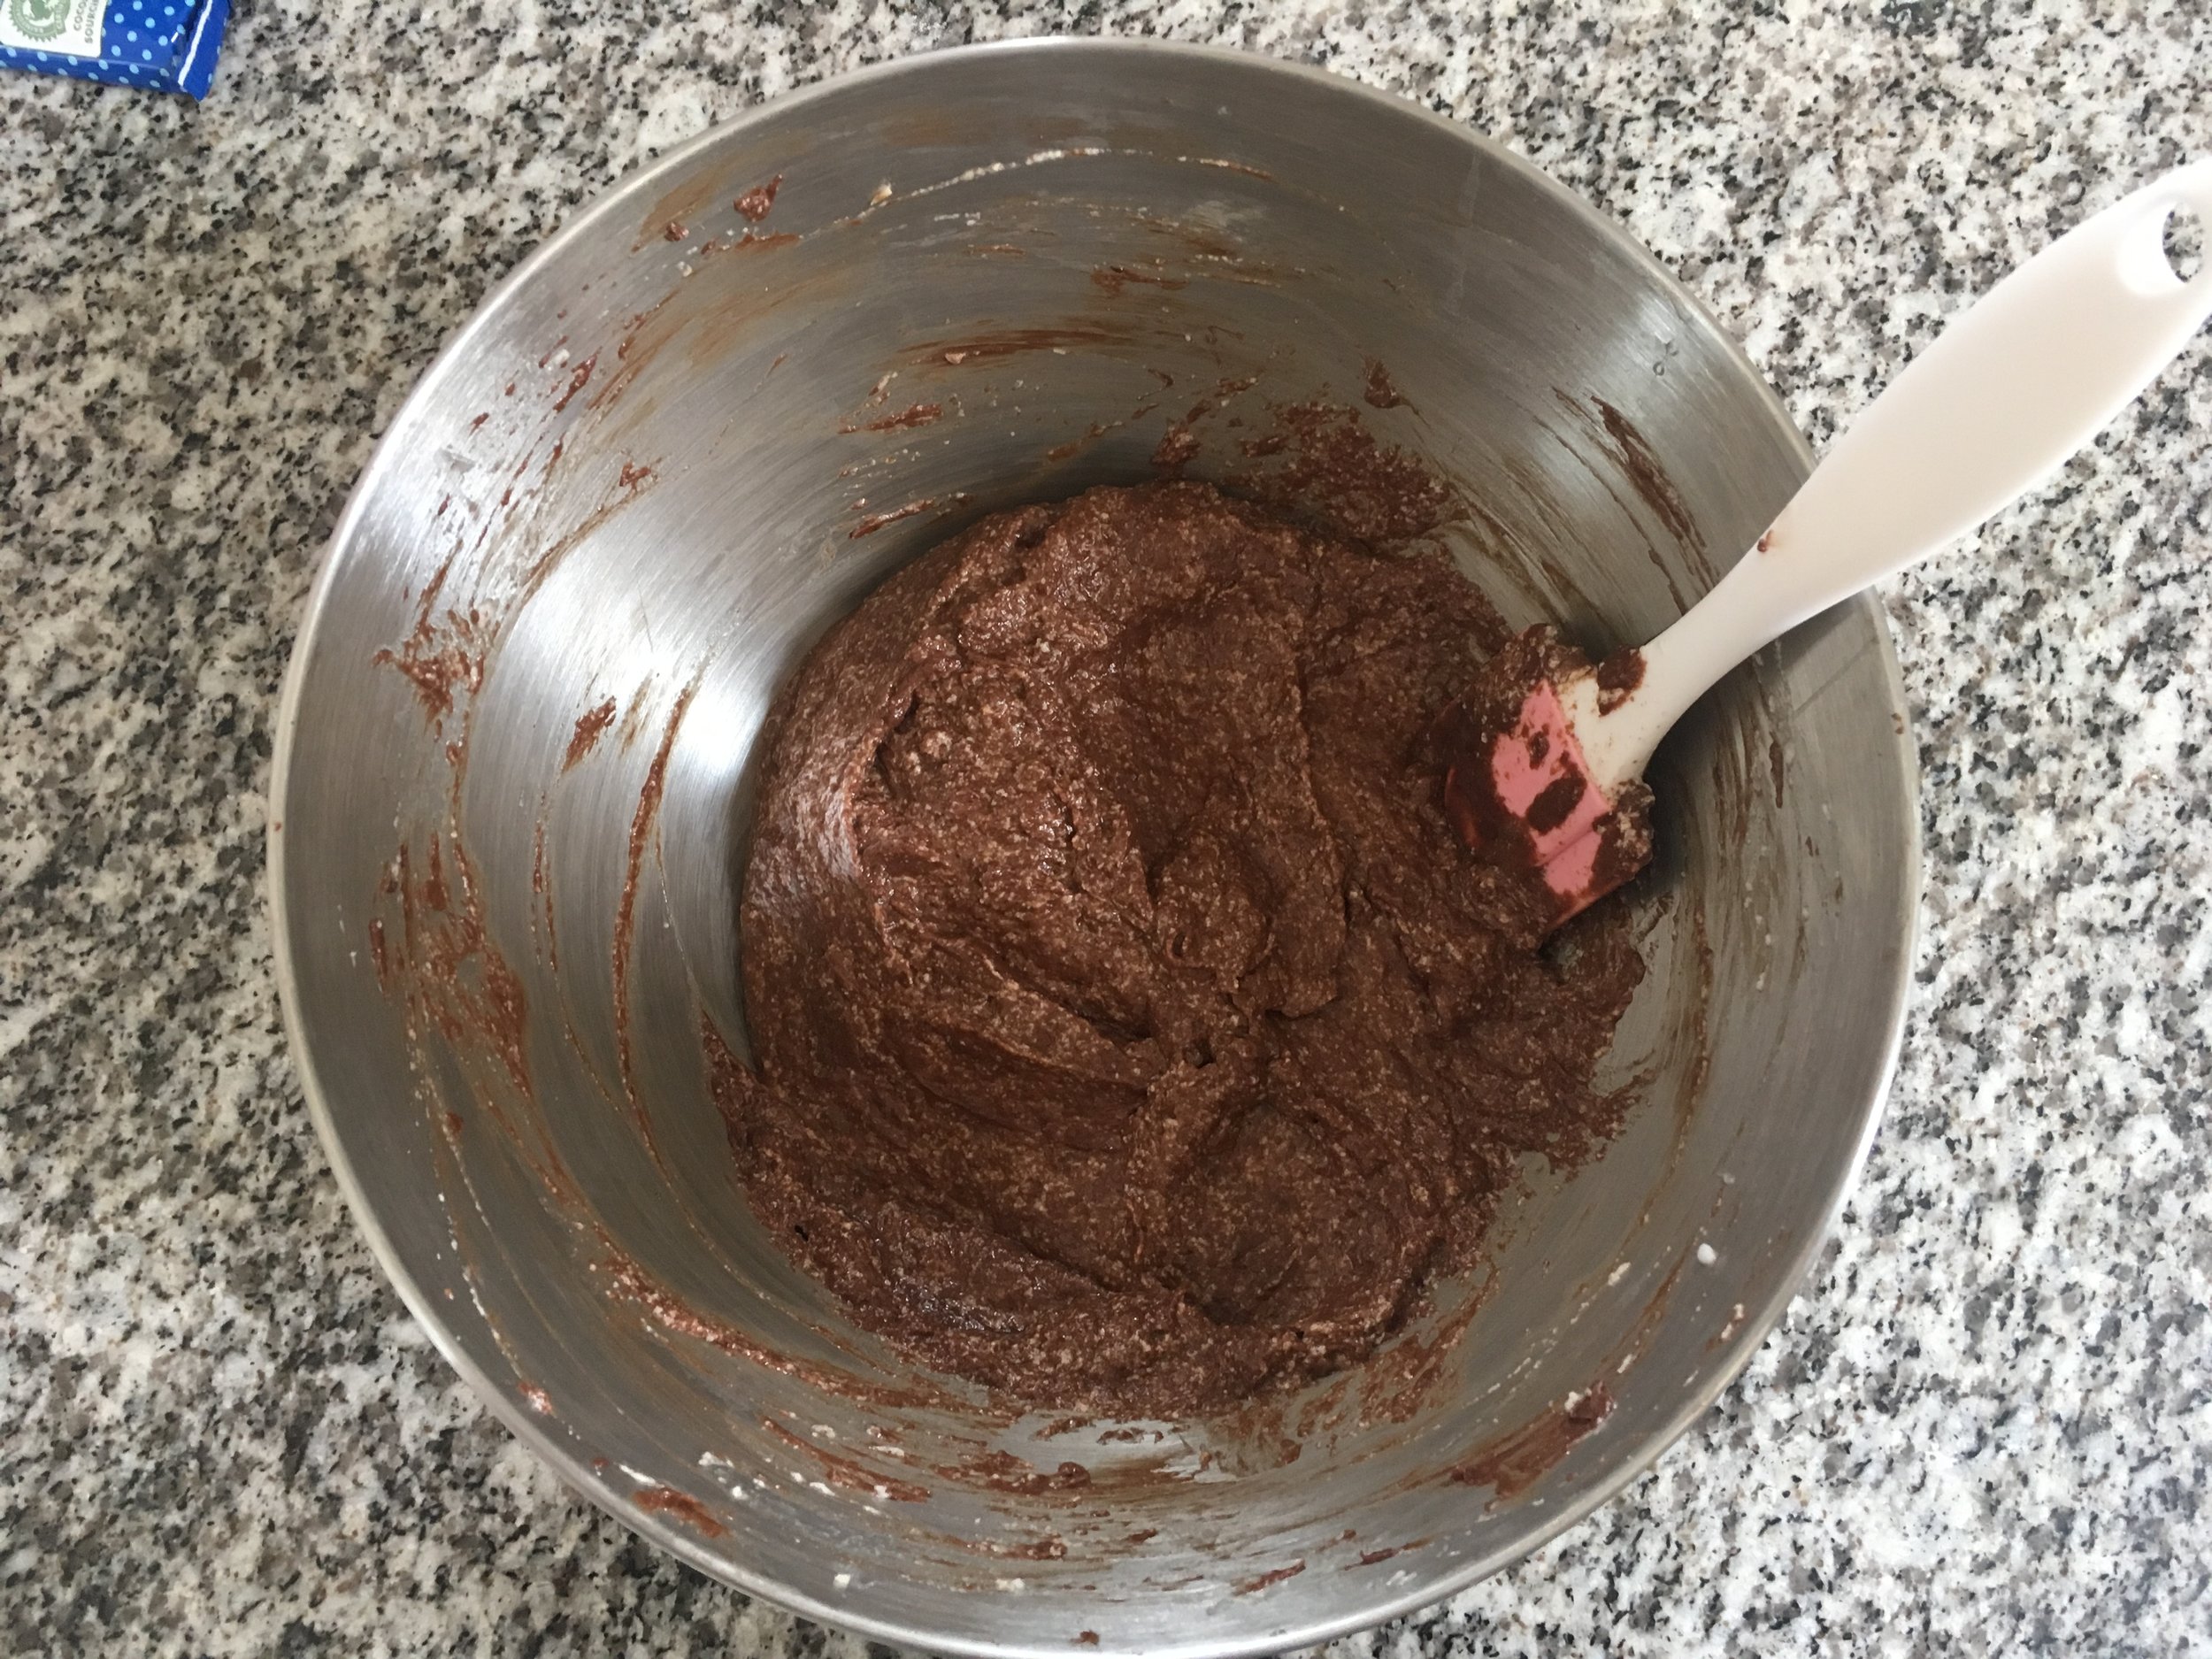
  3. Cream your butter and sugar together until fluffy, then add in the melted chocolate and vanilla extract. Mix until well combined. Then add in the egg yolks and mix.

  4. Fold in the plain flour until well combined.

  5. In another bowl whisk the egg whites until they just form stiff peaks. Add one third of the egg whites into the chocolate mixture and beat well. This will loosen the mixture some. Fold the remaining two thirds in carefully until just combined.

  6. Pour into the prepared tins and bake for 40-45 minutes "until well risen at the top" (what does this mean Mary??)

  7. Let the cakes cool on a wire rack.

  8. Break the rest of the chocolate into small pieces.

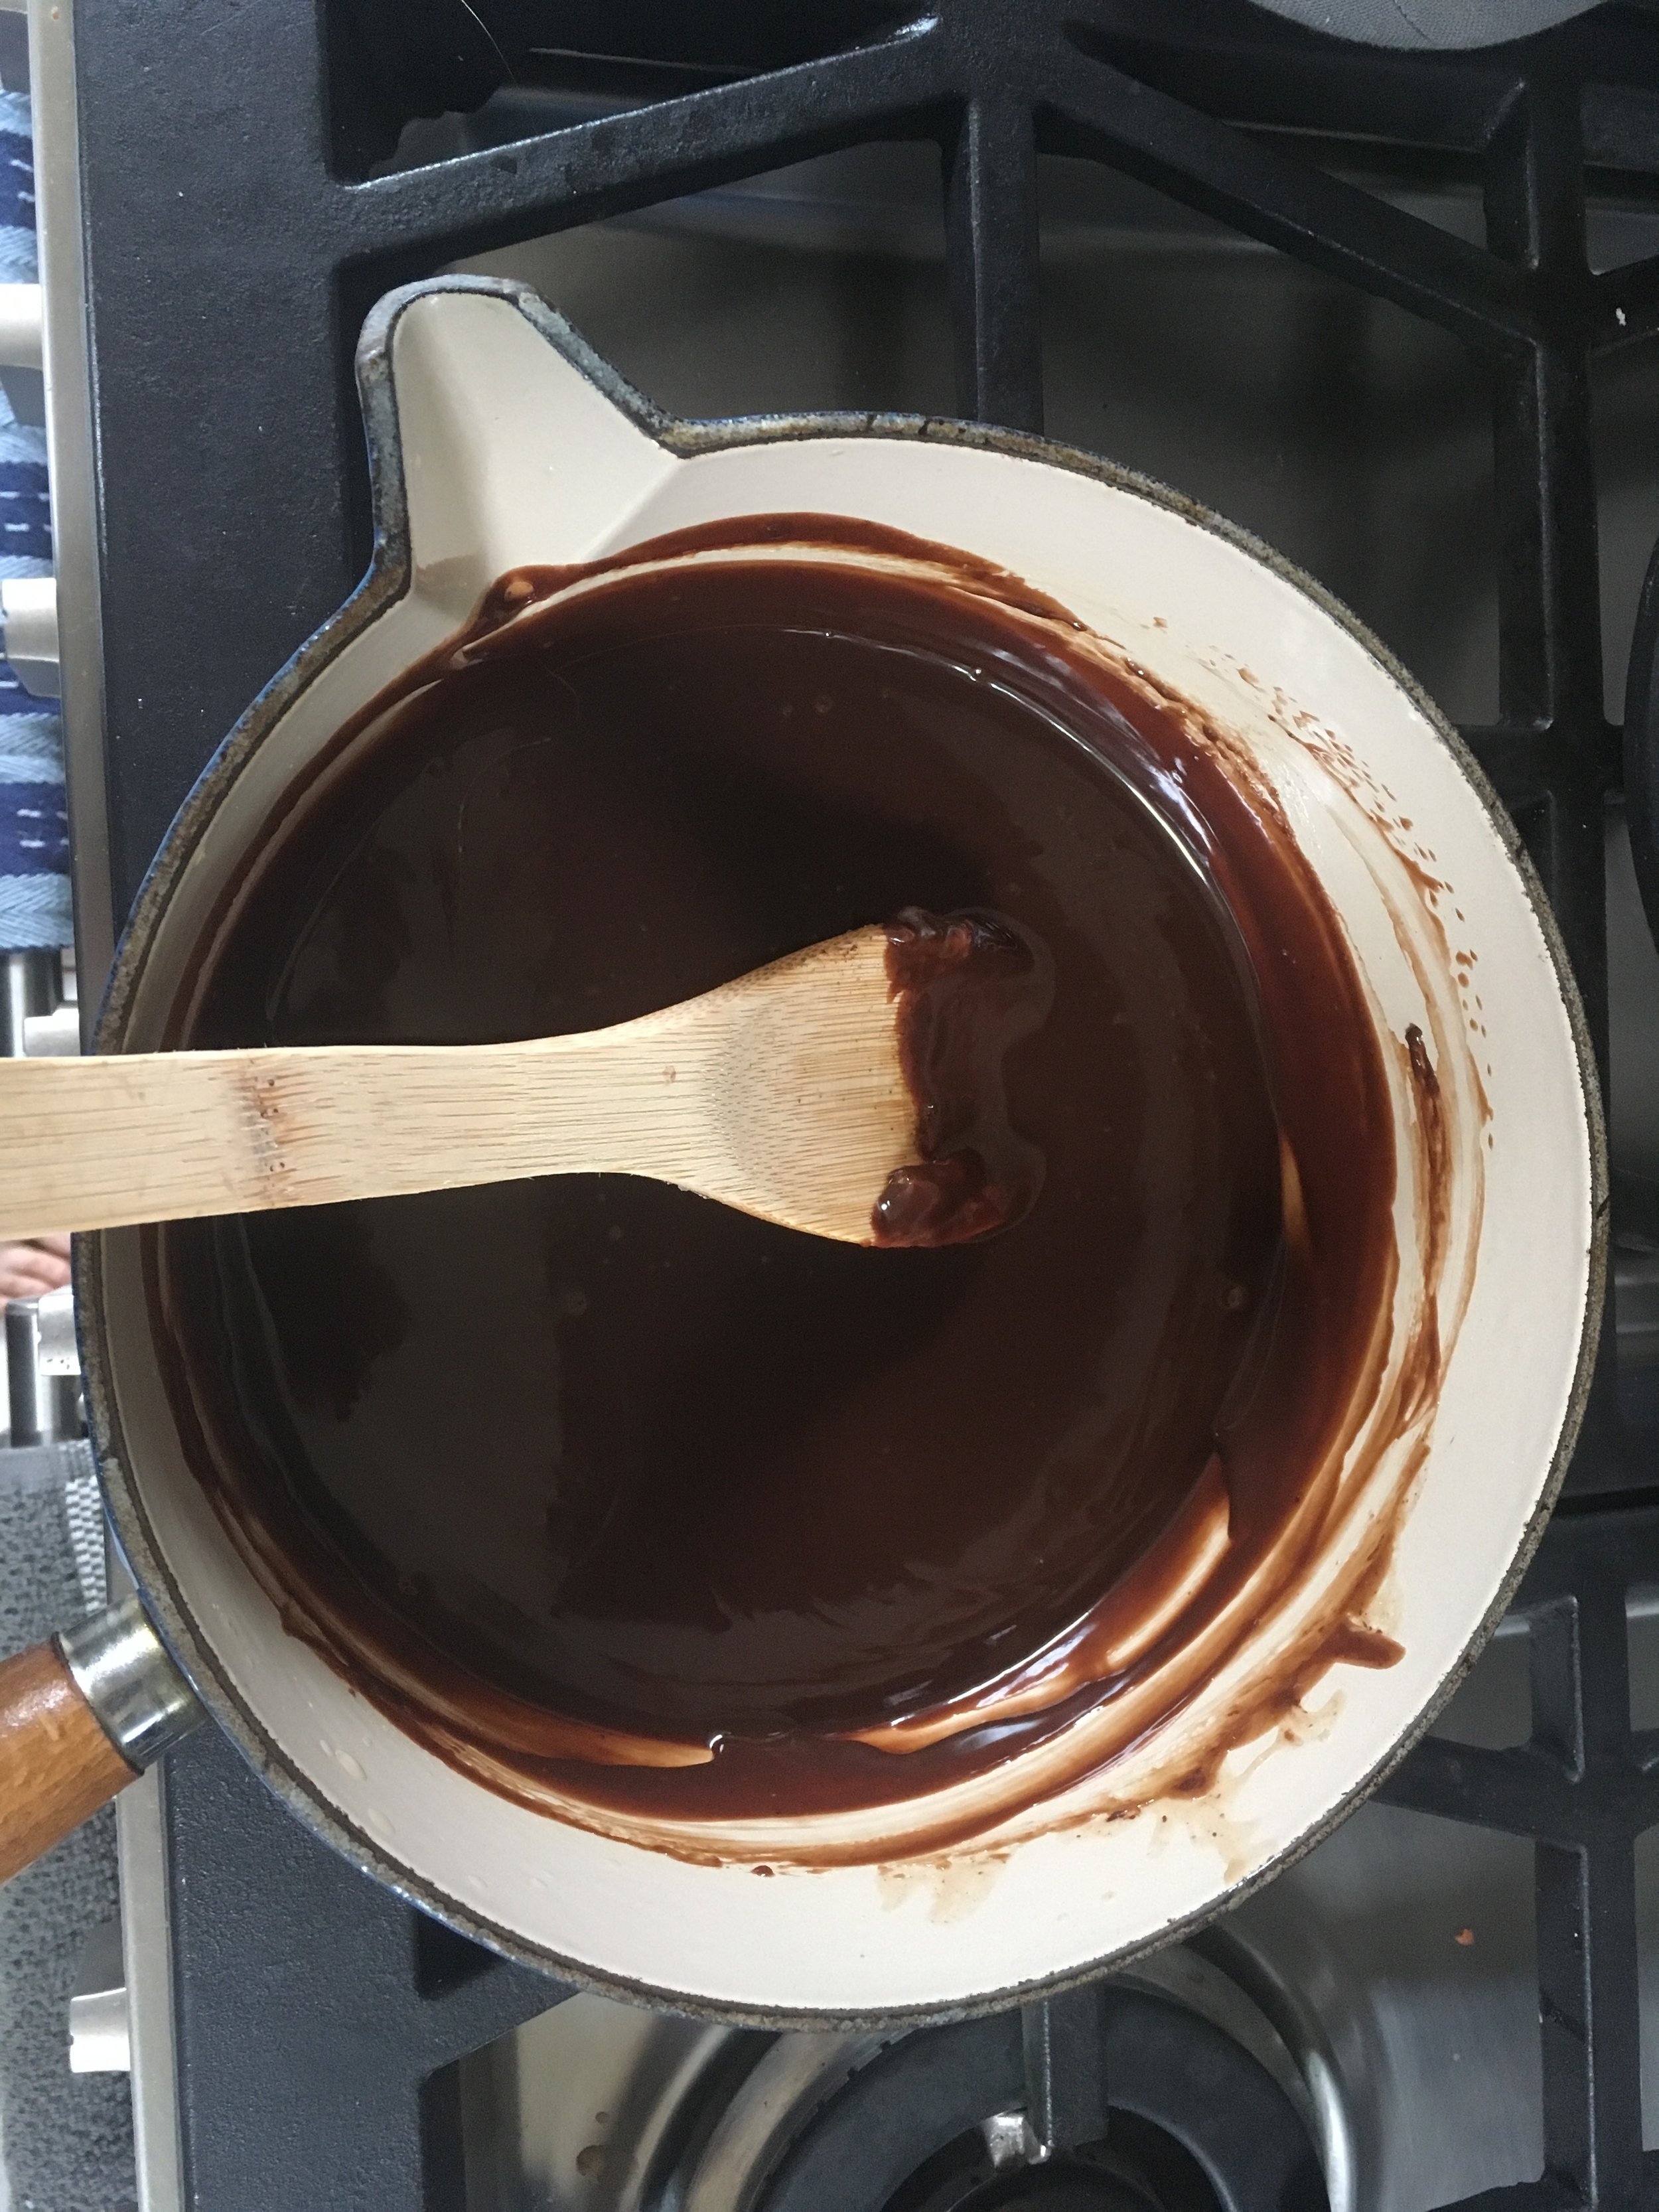
  9. Heat the cream in a pan until piping hot and remove from the heat. Add in the chocolate a bit at a time, mixing until the chocolate is melted and well combined. Add in a pinch of coffee. Allow to cool until the icing is a coating consistency. (Still slightly warm, but pretty thick.

  10. Place a plate under the cooling rack to catch drips.

  11. Pour half the icing onto the centre of your bottom cake and spread across the top and down the sides evenly. Then place the top cake on top and repeat so the cake is completely covered.

  12. Leave to set.

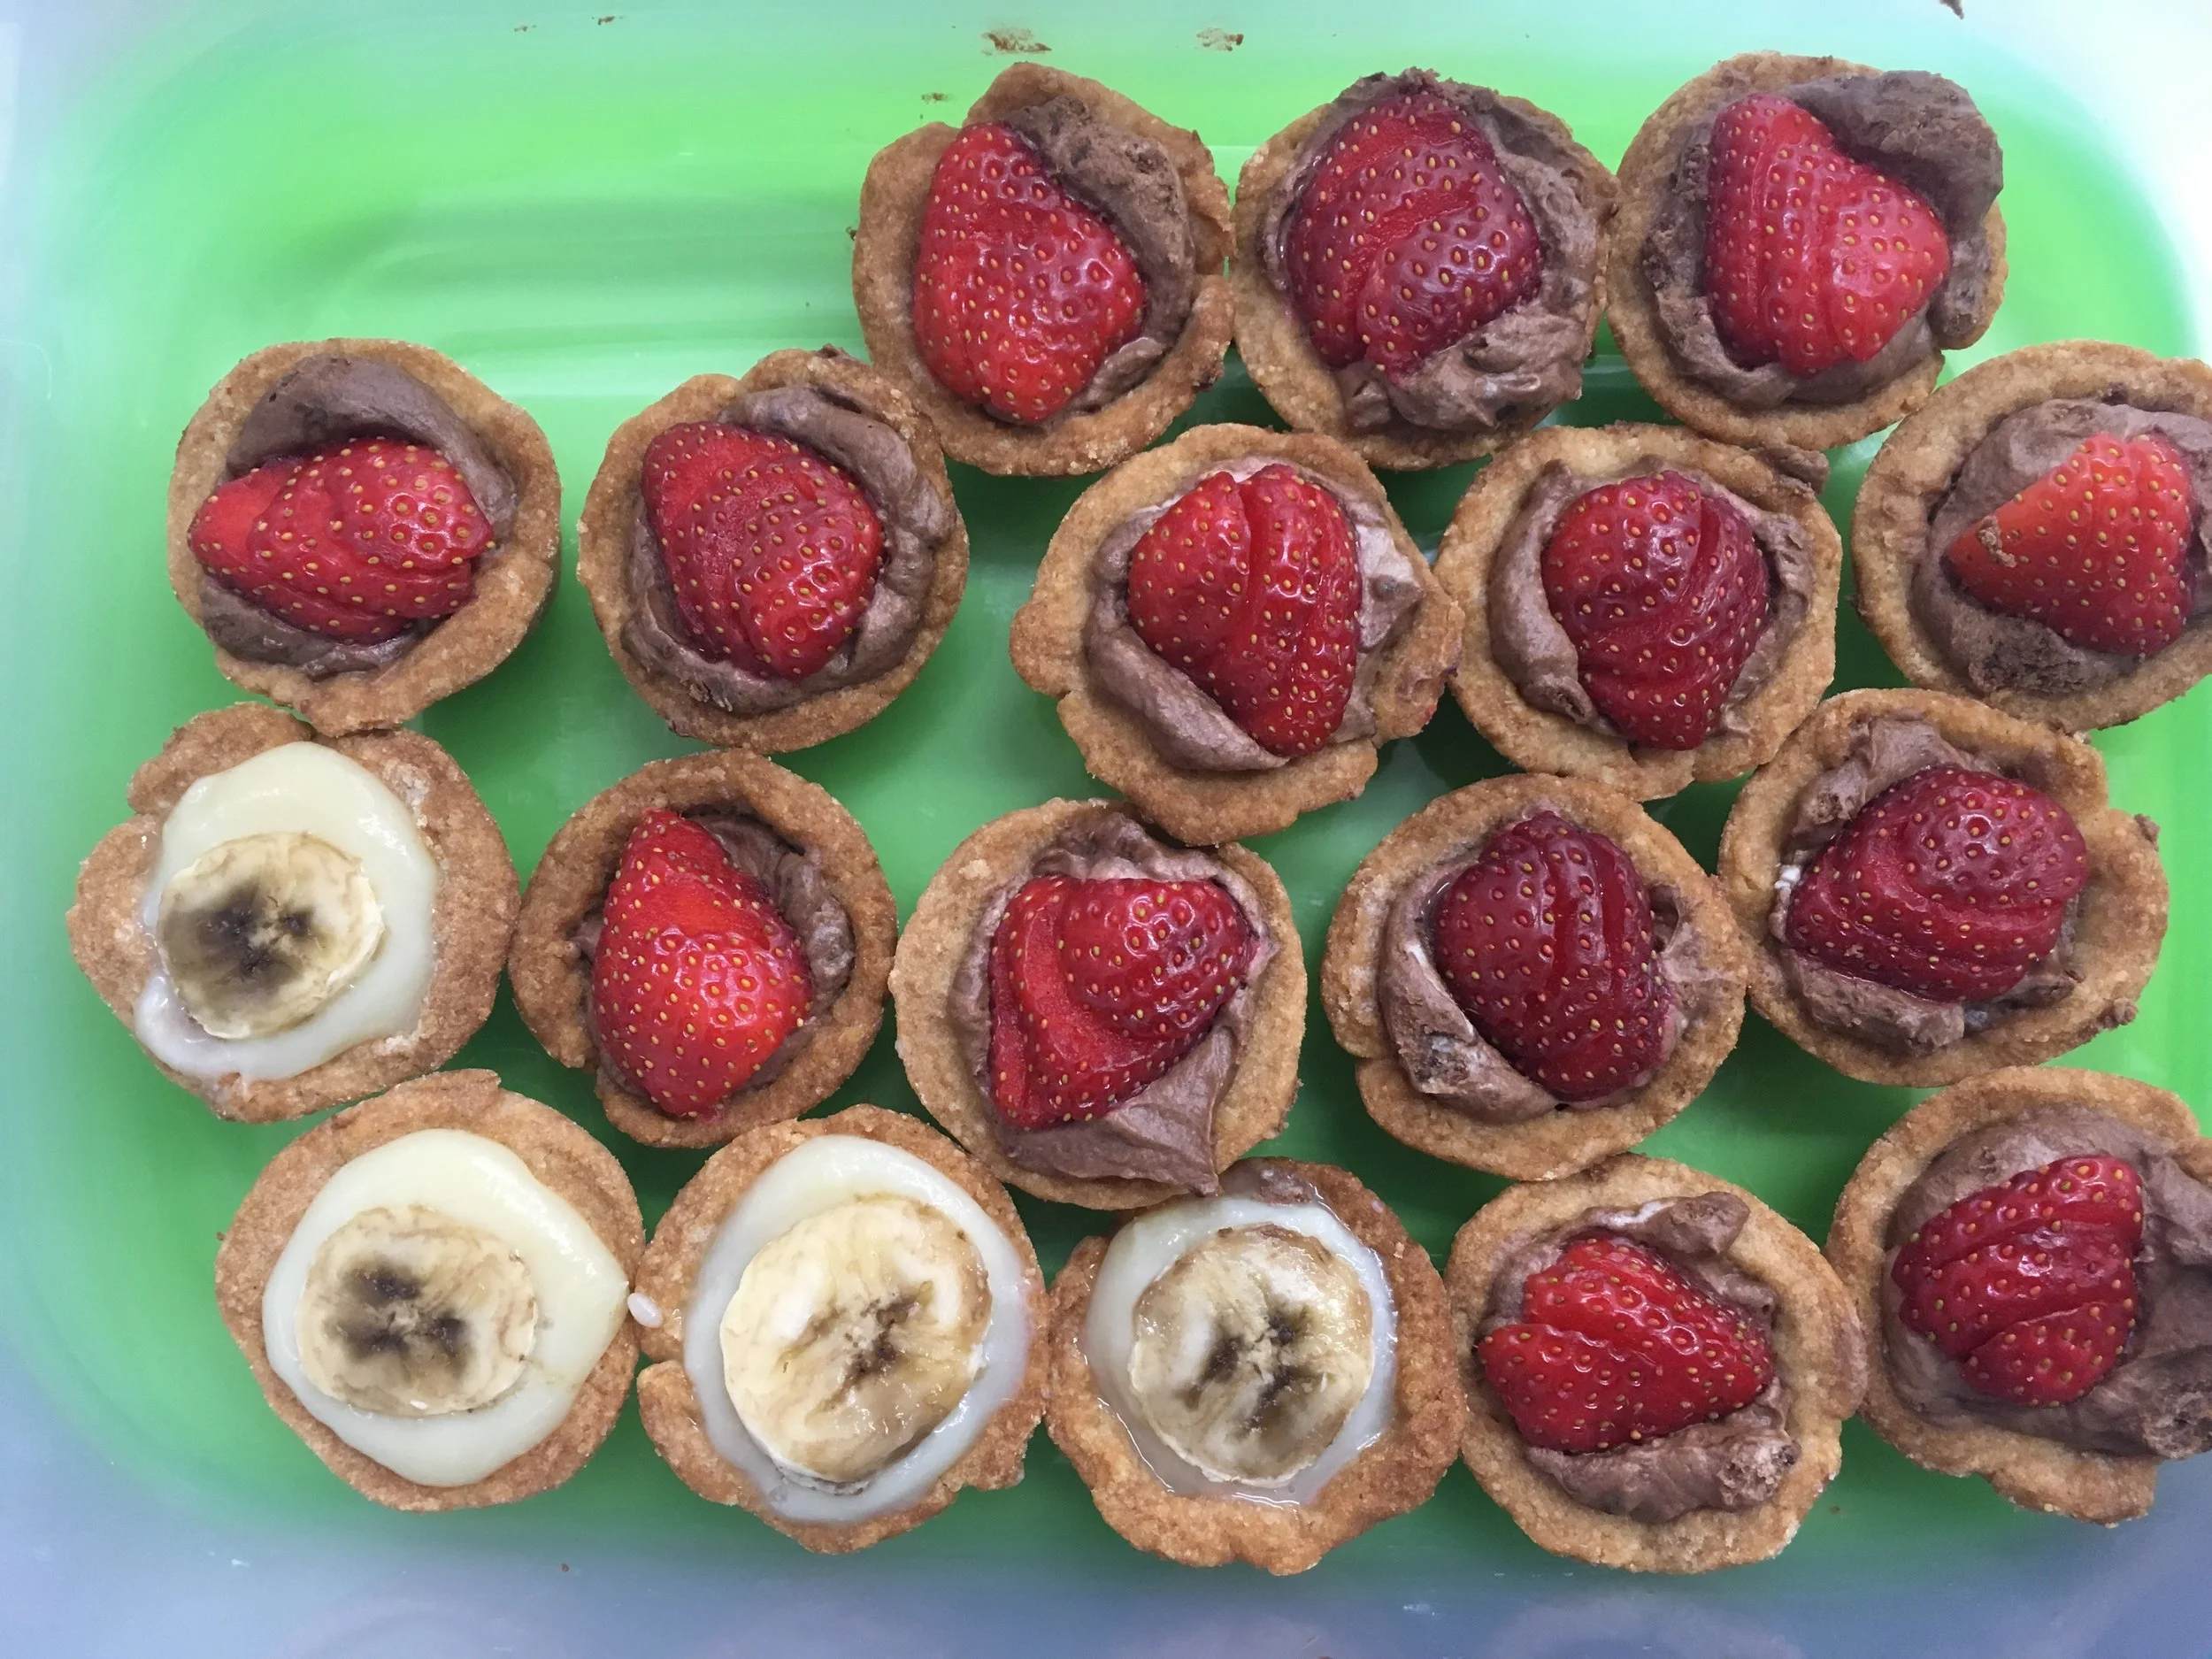
  13. If you have strawberries, cut them in half and place on top of cake.

  14. This cake is easier to slice the day after baking. If you can wait that long.

View fullsize
View fullsize
View fullsize
View fullsize
August 15, 2018 /Sophie Faulkner
Cake, Chocolate
Recipe
Comment
IMG_0342.JPG

6. Mini Banoffee and Chocolate Strawberry Tarts

August 11, 2018 by Sophie Faulkner in Recipe

I made some banoffee tarts for my coworkers over the weekend to help use up some leftover caramel from a millionaire's shortbread. The shortbread didn't go great. I didn't thicken the caramel enough, so it didn't really hold together very well, but that doesn't matter in a tart!

Also helped me use up some bananas. The bananas weren't that brown when I used them, but the oxidisation of the slices made them look a bit off. Still tasty though! 

The banoffee tarts went down a treat, and as it turned out, I had made a load more pastry than was necessary, so I froze the leftovers for another day. When deciding what I wanted to do with the rest of it I had a real craving for chocolate, but I didn't want to do banoffee tarts (because obviously I would do them again with how well they'd gone) and chocolate banana tarts, so I went with the classic combo, chocolate and strawberries. These went down well too, but probably not as well as fan favourites banoffee. I think my coworkers just really like bananas?

Anyway, I hope you enjoy these. Two recipes for the price of one this week!

Yields 48 tarts, 24 of each.

Ingredients

  • One load of sweet shortcrust pastry, recipe in Lemon Tarts.

  • 75g (2.5oz) dark sugar (I used light, so my caramel was lighter than I wanted)

  • 75g (2.5 oz) butter

  • 1 can condensed milk (397g)

  • Pinch of salt

  • 1 banana

  • 50g (1.75oz) butter

  • 1 tsp honey

  • 100g (3.5oz) dark/milk chocolate (or 50g of each)

  • 1 tbsp icing sugar

  • 1 tsp vanilla extract

  • 100ml double cream

  • 1 punnet of strawberries

Method

  1. For both tarts I used the same recipe as in Mini Lemon Tarts to get my tart shells, as follows.

  2. Preheat oven to 175C.

  3. Roll your pastry to about 1/6-1/8" thick and use a round cookie cutter to cut out your tart cases. I used one about 3" in diameter, but you should adapt to the size of your tray/cases.

  4. Line your tray/cases with your freshly cut circles, making sure you push them down to the bottom so that they have a flat bottom when baked.

  5. Bake your cases for 15-20 minutes until they are golden brown and allow to cool.

Banoffee

  1. For your banoffee "toffee" melt 75g of butter with the dark sugar and pinch of salt over a low heat until the butter is completely melted and the sugar is completely dissolved.

  2. Add in your can of condensed milk and bring up to a rapid boil, stirring all the time.

  3. Keep stirring and boiling your caramel mixture until it thickens and turns golden (or not if you used light sugar like me). If you're wondering if it's thickened yet, it hasn't. This should take 1-2 minutes.

  4. Let your caramel cool a little and then pour into your tart cases, filling to the brim or just below.

  5. Slice your banana and lay a slice on top of each of your tarts.

  6. Chill in the fridge until the caramel is completely set.

Chocolate Strawberry

  1. Melt your chocolate either in the microwave or a bain marie (bowl over a pot of simmering water).

  2. Once your chocolate is completely melted, mix in the icing sugar and vanilla extract.

  3. Whilst your chocolate is cooling a little, whip your double cream until it just holds its shape. Use an electric beater, or use it as a work out. My muscles recommend the electric beater.

  4. Fold the melted chocolate into your whipped cream until combined, try not to knock out the air though!

  5. Using a spoon fill your mini tarts up to the brim with your chocolate mixture, trying to smooth over the tops as you go.

  6. Decide how you want to add your strawberries to the top. Personally I sliced the tops off, cut each one in half and then cut most of the way through each half from top to tip a couple of times so that I could fan it out to get "three" slices. I thought it looked good, but was probably more effort than necessary!

  7. Chill your tarts, and keep chilled if they don't all go immediately!


IMG_0346.JPG
IMG_0347.JPG

Sorry for terrible photos, I forgot to take any until I got to work. Oops.

August 11, 2018 /Sophie Faulkner
Chocolate, banana, strawberry, fruit, tart, caramel, Recipe
Recipe
Comment
IMG_0251.JPG

5. White Choc Chip Banana Muffins

August 05, 2018 by Sophie Faulkner in Recipe

When I asked my coworkers last week if they had any requests, I got a couple of quite specific and quite vague requests. One happened to mention they loved banana bread with walnuts, hint hint, nudge nudge. Another said they wanted everything (as long as it's not chocolate... unless it's white chocolate... please). Another asked for the chocolate espresso snowcaps again, which I happily provided (I love them too much not to fill that request). 

So I thought about how I could best fill my coworkers' requests. I can't make a banana bread at the moment, because I don't have a loaf tin in the new place. And I don't especially like walnuts. I also couldn't make everything, due to logistical problems, such as, I had only the weekend and a limited amount of tupperware to store it in. 

White chocolate chip banana muffins seemed the way to go.

They went down pretty well and certainly made the office happy, but I don't feel they've been my best bake. Still, who doesn't like some banana-y goodness in cake form?

Makes 12 muffins

Ingredients

  • 4oz (115g) butter

  • 4oz (115g) golden caster sugar

  • 6oz (170g) self raising flour

  • 2 eggs

  • 1 banana, ripe or over ripe

  • 3.5 oz (100g) white chocolate chips

  • 1 tsp vanilla extract

Method

  1. Preheat the oven to 180C.

  2. Cream together the butter and sugar.

  3. Add in the eggs and the banana, either mashed or cut into small pieces (doesn't matter too much either way if you're using an electric mixer).

  4. Add in the flour, then the chocolate chips and vanilla extract.

  5. Line your muffin tray with muffin cases and divide it up until your cases are about 2/3 full.

  6. Bake for 18-20 minutes.

  7. Let cool and enjoy!

No pictures... I got too excited about eating them...

August 05, 2018 /Sophie Faulkner
white chocolate, banana, cake, Muffins, Recipe, sweet
Recipe
1 Comment
IMG_0267.JPG

4. Mini Lemon Tarts

July 31, 2018 by Sophie Faulkner in Recipe

I think it is fair to say that summer is well and truly here.

The heat has been scorching, there's been barely a cloud in the sky, and the rain this weekend was a welcome change (not something we get to say often in England). But whilst I was born in the summer, I was not made for this heat. I have been sweltering.

I am very, very grateful that my office is air conditioned and my bedroom does not get direct sun and so stays a temperature I can actually sleep in. The tube to and from work has been disgusting and my lunch breaks have been spent searching for the shadiest patch in the park to eat my lunch in. 

But, we had a brief reprieve from the heat this weekend, and so I decided to try a new summery recipe out while I could bare to use the hob. 

What's more summery than a lemon tart?

These little babies also got the office treatment. I sent out the email saying they were in the kitchen and they were gone within the hour. I couldn't believe they'd gone so fast. I wanted one with my lunch...

I don't have the most experience with pastry, and I think I could've rolled mine a little thinner, but it went pretty well! Crumbly but could hold its own. 

Makes 18-24 mini tarts depending on size.

Ingredients

Pastry

  • 3 cups (360g) plain flour

  • Pinch of salt

  • 1/2 cup (100g) golden caster sugar

  • 225g butter, room temperature

  • 1 tsp vanilla extract

  • 2 large eggs

Lemon Curd

  • 2 eggs

  • 2 egg yolks

  • 1/2 cup (100g) golden caster sugar

  • 2 lemons, zest and juice

  • Pinch salt

  • 85g butter

Method

  1. Beat the pastry sugar and butter together until well combined and creamy. Add the vanilla extract and eggs. Beat until smooth.

  2. Fold in the flour and salt until the dough forms. (Mine was a little short, but I added a tiny splash of milk to make it hold. I think my butter was just a little too cold). Don't overwork the dough!

  3. Chill your dough for 15-20 mins in the fridge to make it easier to work with.

  4. Grease your mini muffin tray/tart cases and preheat the oven to 175C.

  5. Roll your pastry to about 1/6-1/8" thick and use a round cookie cutter to cut out your tart cases. I used one about 3" in diameter, but you should adapt to the size of your tray/cases.

  6. Line your tray/cases with your freshly cut circles, making sure you push them down to the bottom so that they have a flat bottom when baked.

  7. Bake your cases for 15-20 minutes until they are golden brown and allow to cool.

  8. To make the lemon curd, beat the eggs, egg yolks, sugar and lemon zest together in a pyrex/glass mixing bowl until it is smooth and pales in colour a bit. Then add the lemon juice and salt in, mixing well.

  9. Half fill a pan with water and bring it to a simmer before putting your curd on top to bain marie. Make sure the water doesn't touch the bottom of the bowl.

  10. Keep it simmering and stir your curd regularly until it thickens enough to coat the back of a spoon (about 15 minutes for me). If you don't stir it regularly enough your egg can coagulate. If it does this a little bit, don't worry. Pass your curd through a sieve after the next step.

  11. Take your curd off the heat and add in your butter a bit at a time, stirring until it has melted in and your curd is glossy.

  12. Pour your curd into a bowl and cover with clingfilm, making sure the clingfilm is on the surface of the curd to stop it forming a skin.

  13. Chill your curd for 20 minutes or so.

  14. Fill a piping bag with your curd and fill your tart cases to the brim with curd!

  15. Enjoy! Keep refrigerated if they don't all go in one sitting.


IMG_0242.JPG
IMG_0246.JPG
IMG_0257.JPG
IMG_0261.JPG
IMG_0265.JPG
July 31, 2018 /Sophie Faulkner
lemon, citrus, recipe, tart
Recipe
Comment
IMG_0209.JPG

3. Cinnamon Brioche Knot

July 29, 2018 by Sophie Faulkner in Recipe

Bread is not my forte. If Paul Hollywood were to taste my attempts at bread, at best I'd get an ok response. My bread would not earn me any handshakes. I make a decent focaccia and that's about it. Everything else I either haven't tried or has been average at best. So with my bread making expertise, I decided to make a cinnamon brioche knot. Because why start easy? 

When making this, the recipe I followed suggested baking it in a 8" cake tin. My knot was about 8" diameter before it had proved. This should have been my first inkling that I was creating a monster. But rather than let that put me off I just put it in a deep baking tray and hoped for the best.

It. Was. Huge.

This monster was bigger than my head. By a fair amount. 8" diameter? Not a chance. More like 16". I have no idea how this recipe created so much bread. I really don't. I couldn't finish it. Some of it went stale. It was pretty good for a first attempt, it tasted decent and the texture wasn't bad, but the sheer quantity of it. I have no words. 

I got this recipe for brioche dough from Artisan Bread in Five, which you can find here.

Ingredients

  • 700g brioche dough, chilled (Artisan Bread in Five link above)

  • 1/2 cup (100g) light brown sugar

  • 1 tbsp ground cinnamon

  • 2 tbsp (30g) melted butter

Method

  1. Mix together the sugar and cinnamon.

  2. Roll the dough on a floured surface to a rectangle that is about 1/4" thick.

  3. Brush the dough with the butter and sprinkle over the cinnamon sugar to get an even covering.

  4. Roll the dough into a log, rolling along the long edge.

  5. Chill the log for 20 minutes or so. It's a lot easier to handle when chilled!

  6. Slice the log down the middle, starting about 1/2" from one end, so that it is still attached at the top.

  7. Turn your two halves out so that the cut edges are facing up.

  8. Lift one half over the other and repeat until it is all braided.

  9. Starting with the cut end, start spiralling your log into a circle.

  10. Place in a greased cake tin/baking tray (it's going to get bigger so choose one that it doesn't fill already!)

  11. Cover with a tea towel and allow to rise at room temperature for an hour and a half.

  12. Preheat the oven to 175C.

  13. Bake for 25-30 minutes.

  14. Allow to cool a bit before serving.

IMG_0169.JPG
IMG_0172.JPG
IMG_0174.JPG
IMG_0179.JPG
IMG_0193.JPG
July 29, 2018 /Sophie Faulkner
cinnamon, bread, brioche, sweet, recipe
Recipe
Comment
IMG_0197.JPG

2. Chocolate Espresso Snowcaps

July 25, 2018 by Sophie Faulkner in Recipe

To keep me occupied for the summer (and to make a bit of dollar) I’m temping in London. My current office is air conditioned, the people are good and it’s keeping me busy. During my first couple of days my coworkers asked me about my hobbies and I told them about baking. I may have gushed a little, because baking became a buzz word. The hints for me to bring stuff in became less and less subtle, eventually ending with my manager finishing off the weekly round up email saying: 

 “We are all a little disappointed we have yet to experience any of your famous baked goods... maybe next week?” 

 Alright. Hint taken.

My office has a reasonable age range, so I wanted something that’d appeal to the older crowd as well as satisfy the sweet tooth of, well, me. I also didn’t want to make just cookies, so I thought about snowcaps. I have been using the same recipe for snowcaps for ages, I have no idea where I got it from now, but it would do as a base for this modified recipe. I just had to make them more grown up. And what’s more grown up than coffee? 

These went down a storm at the office, with my favourite review coming in email form. Just one sentence.

 “Fuck me that is glorious” 

I’ll take that. 

Makes 24-30 cookies

Ingredients 

  • 1/2 cup (65g) self-raising flour

  • 1/4 cup (30g) cocoa

  • 4 tsp instant coffee/espresso powder

  • pinch of salt

  • 4 tbsp (55g) butter

  • 2/3 cup (130g) light brown sugar

  • 1 egg

  • 4 oz (115g) dark chocolate, melted and cooled

  • 1 tbsp milk

  • Icing sugar for rolling

Method 

  1. Cream together the butter and sugar until light and fluffy.

  2. Beat in the egg and milk.

  3. Fold in the flour, cocoa, coffee powder and salt. Once combined, fold in the melted chocolate.

  4. Turn your dough out onto a clingfilmed chopping board and smooth into a rectangle about 1/2” thick.

  5. Put your dough in the freezer for at least 45 minutes.

  6. Preheat oven to 175C

  7. Using a sharp knife, slice your dough into 24-30 squares and roll each square into a ball. (colder hands will get less messy! Marginally.)

  8. Roll each of your balls in icing sugar, making sure to get a thick covering, and place on a baking tray about 2 inches apart.

  9. Bake for 12-13 minutes.

  10. Allow to cool slightly before transferring to a cooling rack as they will be soft straight out of the oven.

Well. It’s roughly rectangular...

Well. It’s roughly rectangular...

IMG_0195.JPG
FullSizeRender.jpg

Hope you enjoy these as much as my office did! 

July 25, 2018 /Sophie Faulkner
Chocolate, Biscuit, Cookies, sweet, espresso, coffee, Recipe
Recipe
Comment
IMG_0165.JPG

1. Pear Nutmeg Muffins

July 22, 2018 by Sophie Faulkner in Recipe

So, two weeks into living in my new place and I've barely picked up a mixing bowl. Pretty appalling really. I can try and excuse it by saying I've been settling into my new place, finding a temp job, exploring London life. But, I've had so much time in the evenings to bake and I haven't I've just been lazy. Which is kinda what you need sometimes. But anyway.

New place, new blog, new recipe.

Well, new recipe to me anyway.

The blog Pastry Affair is one of my favourite baking blogs out there. She's been at it for years. YEARS. Scrolling through her backlog is one of my favourite things to do. It's so so good. I've made stuff from her site before, but she's American, so sometimes I have to adapt a recipe from her original one, as we can't get some of that stuff here in the UK. For example, this recipe called for applesauce. Americans use applesauce as a spread on toast or in cakes or as a dessert. In the UK we use it as a sauce with roast pork. It's a bit different. So as I trawled the aisles of Tesco looking for applesauce and found two options. Apple sauce with cider vinegar or Apple sauce with sage and cider vinegar. Neither seemed like they would work. I even checked the baby food aisle for pureed apple, but there was nothing. So whilst these muffins don't follow the original recipe (which you can find here) they are still delicious.

Makes 12 muffins

Ingredients

  • 1 1/2 cups (200g) self-raising flour

  • 1/4 tsp nutmeg

  • Pinch of salt

  • 2 large eggs

  • 2 tbsp vanilla extract

  • 1 cup (200g) light brown sugar

  • 5 tbsp (70g) unsalted butter, melted

  • 1/4 cup (60ml) vegetable oil

  • 3 tbsp (45ml) apple juice

  • 1 conference pear, thinly sliced

Method

  1. Preheat oven to 190C

  2. Mix the melted butter, vanilla, sugar, apple juice, oil and eggs in a bowl until smooth and well combined.

  3. Add in your flour a bit at a time, folding it in, and then add your nutmeg and salt.

  4. Distribute the batter between 12 muffin cases.

  5. Add your sliced pear pieces into the top of your batter (as below). If you can slice your pear thin enough you can try and shape them into roses, as I did for a couple (and sort of failed), or just stick them in.

  6. Bake for 18-20 minutes until tops are golden brown and bounce back. Serve hot or at room temperature.

Some roses were more successful than others...

Some roses were more successful than others...

New place means a new oven, which meant that unfortunately I turned my temperature dial just a little too far. While still tasty, my muffins were browner than I'd meant for them to be. Oops.

IMG_0160.JPG

For my first bake in the new place, these were pretty damn good. Hope you enjoy them!

July 22, 2018 /Sophie Faulkner
pear, fruit, nutmeg, Muffins, cake, sweet, recipe
Recipe
Comment
  • Newer
  • Older

Powered by Squarespace