Sophie's Pi

Mathematical baking

Sophie’s Pi is a record of my adventures in baking, maths and the real world, hoping to make my way to having my own patisserie empire some day. Or just getting to lick the bowl now and again.

  • Blog Search
  • Blog
  • About
  • Images
IMG_3457.jpg

34. Cookie Sandwiches

May 11, 2019 by Sophie Faulkner in Recipe

You hungry? I’m hungry. And I have leftover icing. Let’s make cookie sandwiches.

I LOVE making chocolate chip cookies. I mean, they’re a classic for a reason. They’re quick, they’re easy, and they are DELICIOUS. I don’t know if there’s anything more moreish than a good chocolate chip cookie. Did you know that they were a completely happy accident? Someone was trying to make chocolate cookies (or cake, I forget which) and had run out of cocoa powder, so they decided to use chopped up chunks of chocolate, because they would melt and combine with the rest of the dough right? WRONG. The chocolate chip was born. Happy accidents exist!

Whilst cookies are great entirely on their own (don’t feel pressured to make the icing too, just eat these on their own for something just as yummy!), paired with Oreo buttercream icing to make a cookie sandwich? Amazing. Hits that sweet tooth so hard the dentist might suggest braces.

Makes 30 cookies or 15 sandwiches

Ingredients

For the cookies

  • 150g (5.25oz) butter

  • 80g (2.75oz) golden caster sugar

  • 80g (2.75oz) light brown sugar

  • 1 egg

  • 200g (7oz) plain flour

  • 2 tsp vanilla extract

  • 1/2 tsp baking powder

  • Pinch of salt

  • 150g (5.25oz) chocolate chips

For the icing

  • 400g (14oz) icing sugar

  • 200g (7oz) butter

  • 6 Oreos

Method

  1. Preheat the oven to 190C and line two baking trays with baking paper (You need two. Mine merged. I should know better by now.)

  2. Cream together the butter and sugars for the cookies. Add in the egg, flour, salt and baking powder and combine.

  3. Mix in the vanilla and chocolate chips.

  4. Roll a teaspoon worth of dough into a ball at a time, place on the baking tray and slightly flatten. (If you’re slightly more anal, like me, use 22g of dough for each cookie)

  5. Bake for 10-12 minutes until the edges start to go golden, then take out and leave to cool. (OR EAT THEM WARM BECAUSE THEY’RE TOO GOOD TO WAIT)

  6. Cream your butter, then add in the icing sugar a bit at a time, so it won’t go everywhere. If it doesn’t quite all combine, add in a teaspoon of milk or water.

  7. In a ziploc bag or similar, bash your Oreos to a fine crumb, then add in to your buttercream icing.

  8. Take a cooled cookie, and cover the flat side with icing, potentially using a piping bag with a pretty nozzle.

  9. Add another cookie on top for an excellent sandwich.

  10. ENJOY!

IMG_3439.JPG
IMG_3446.JPG
IMG_3448.JPG
IMG_3457.JPG
May 11, 2019 /Sophie Faulkner
sweet, Recipe, Cookies, Chocolate, Vanilla
Recipe
Comment
IMG_3033.JPG

32. (Not Very) Red Velvet Cupcakes

March 08, 2019 by Sophie Faulkner in Recipe

I don’t often think about red velvet when making cakes. It’s not my go to in any way shape or form. If I was at a cupcake shop and had to choose what I wanted, I would most likely not choose red velvet.

BUT turns out that other people don’t feel the same way. When I asked my coworker if he had a preference what I baked and brought in, he almost immediately said red velvet. I am just a little torn as to why. It’s neither chocolate nor vanilla, just a sort of halfway point between the two. Based on flavour alone, why wouldn’t you go full chocolate or vanilla?

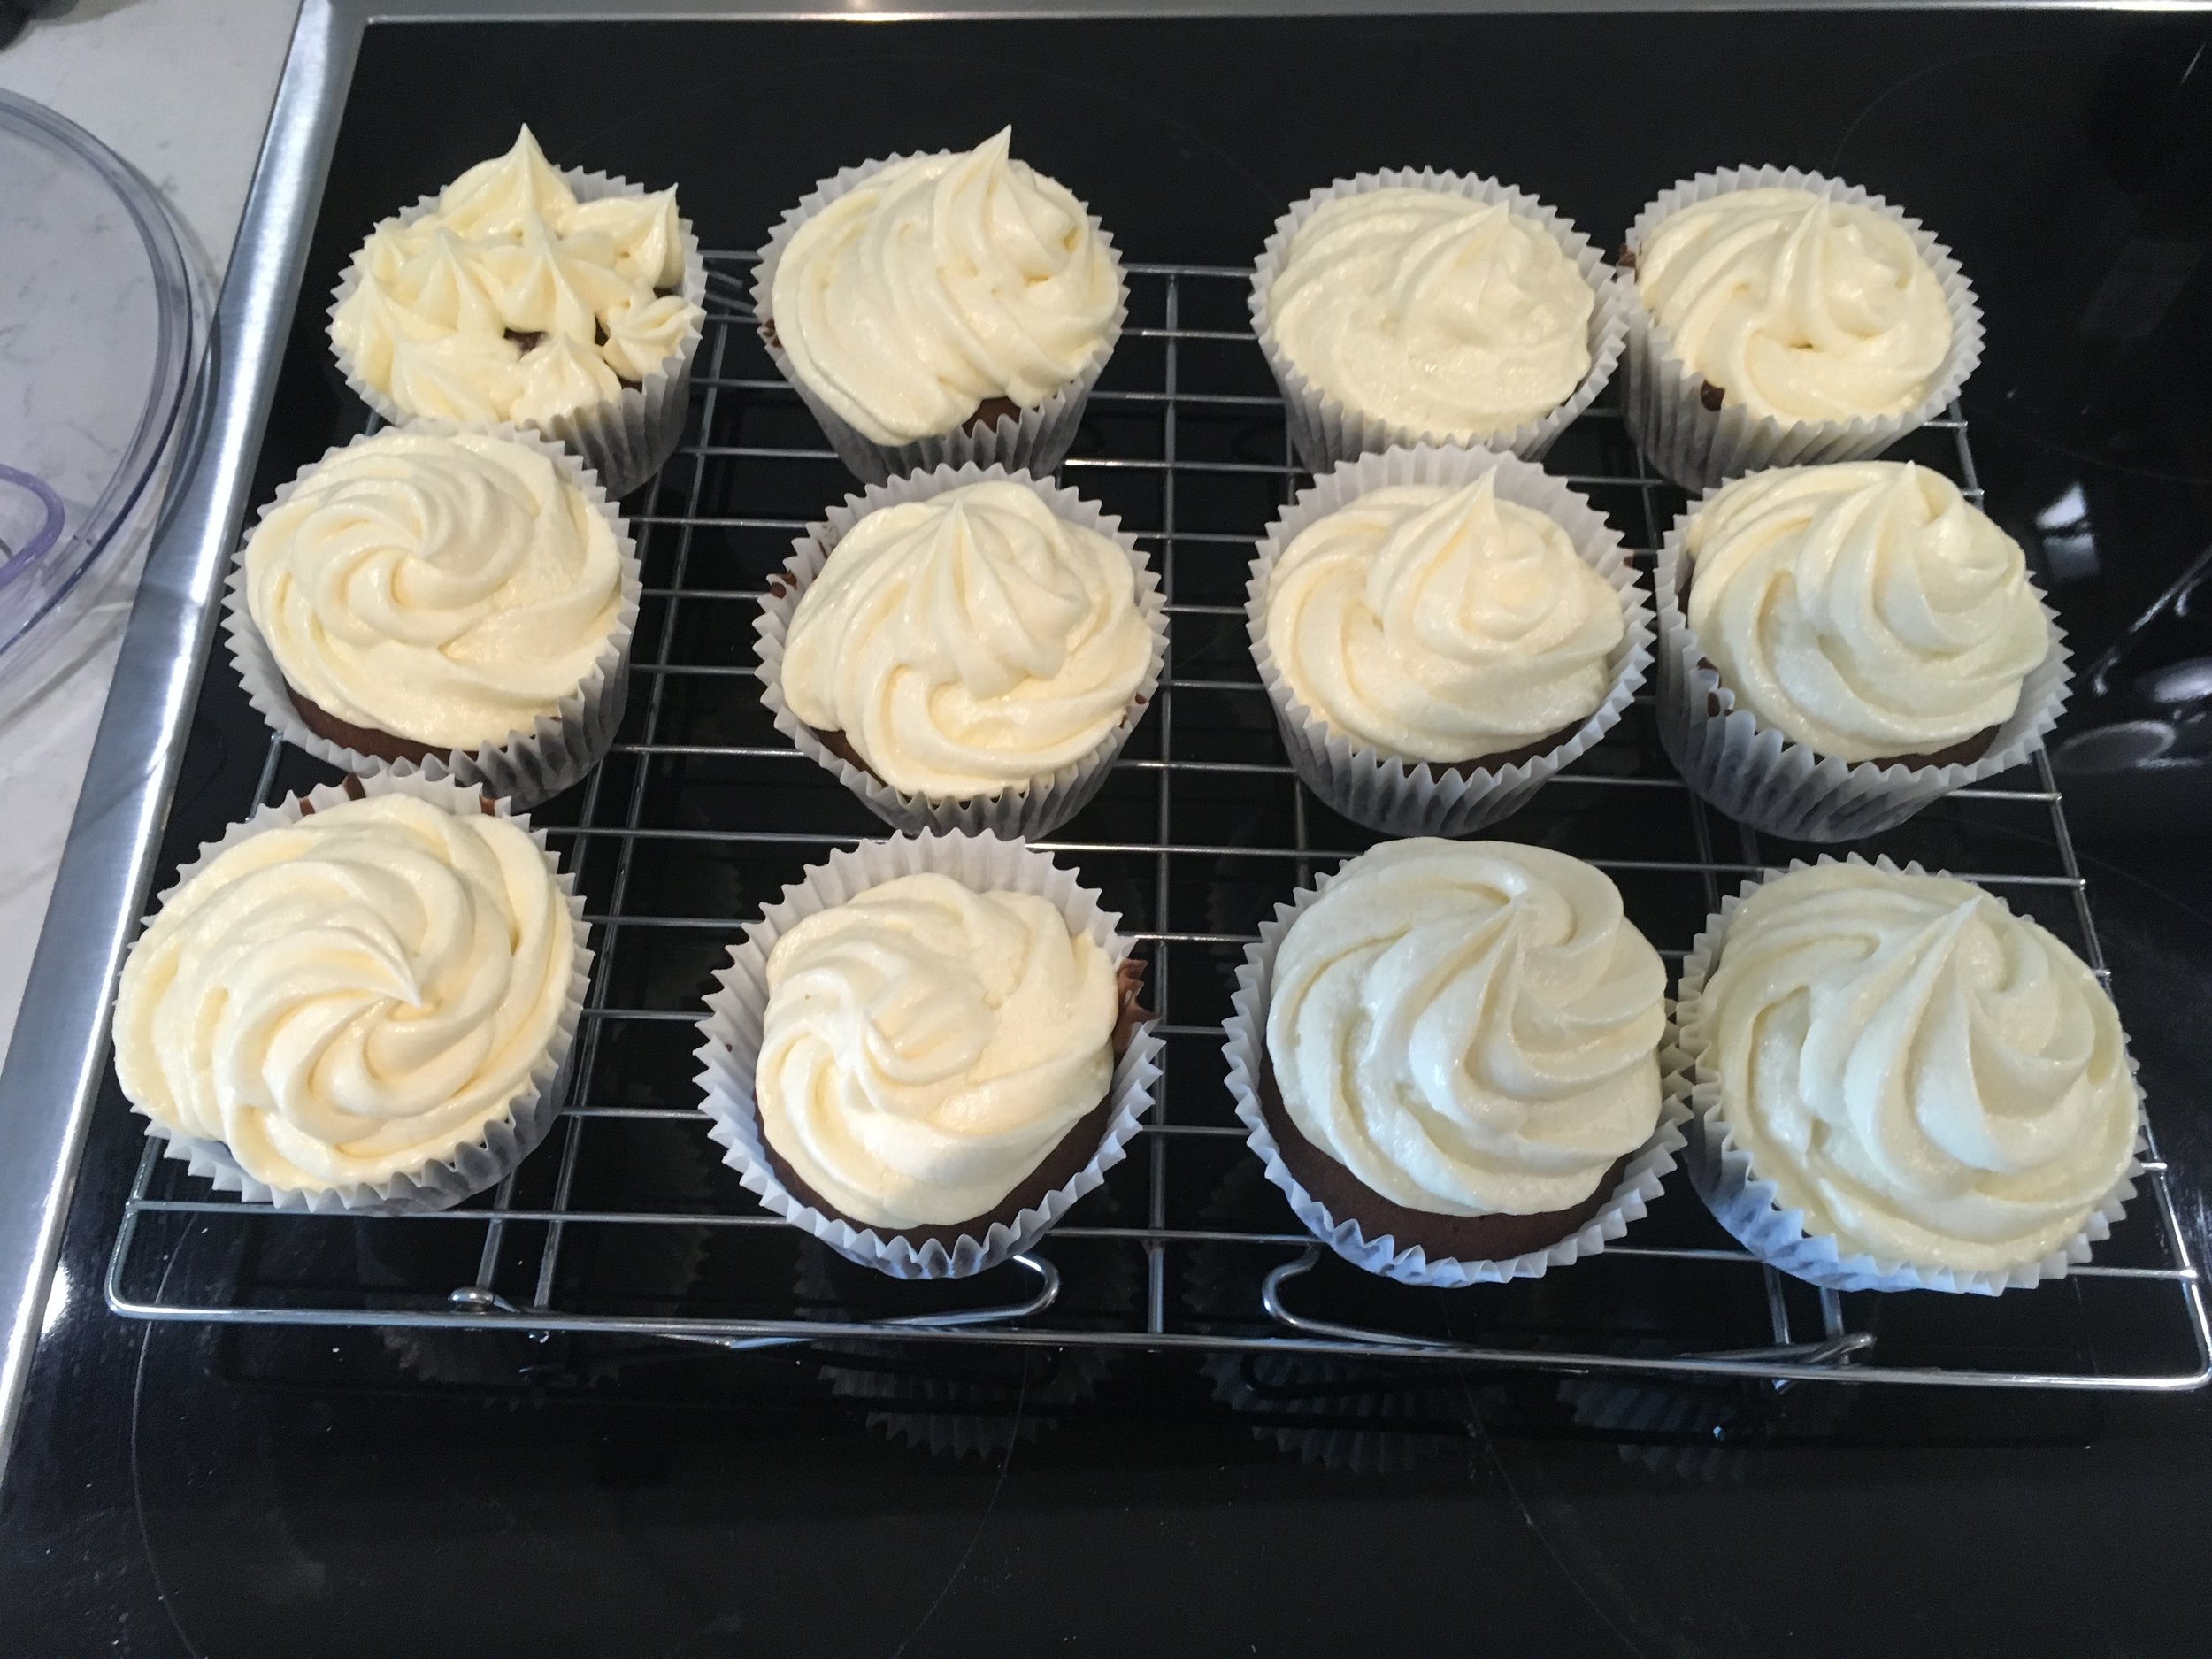
HOWEVER, red velvet gets its name from its velvety texture, created by using buttermilk and oil to make a smooth batter that stays moist and rich. And when paired with a vanilla cream cheese icing? Yeah, I guess I can kinda see why someone MIGHT pick a red velvet cupcake.

So I gave them a go. Unfortunately my red food colouring didn’t really do the trick and they turned out pretty brown, but they still tasted pretty great. Hopefully yours will be redder.

So with that in mind, for all you red velvet lovers out there, here’s your recipe.

Makes 12 cupcakes

Ingredients

For the cupcakes

  • 120g (4 1/4oz) butter

  • 300g (10 1/2oz) caster sugar

  • 2  eggs

  • 60ml olive/vegetable oil

  • 1 tbsp cocoa powder

  • 2 1/2 tbsp red food colouring

  • 1 tbsp vanilla extract

  • 350g (12oz) plain flour

  • 1 tsp bicarbonate of soda

  • Pinch of salt

  • 250ml buttermilk (OR 250ml milk with a tbsp lemon juice left for ten minutes)

For the cream cheese icing

  • 200g (7oz) cream cheese

  • 60g (2oz) butter

  • 250g (9oz) icing sugar

  • 1 tsp vanilla extract

Method

  1. Preheat oven to 175C and prep your cupcake tray.

  2. Cream the butter and sugar together until light and fluffy. Add the eggs.

  3. In another bowl, mix together the eggs, oil, cocoa powder, vanilla and red food colouring. Mix until well combined.

  4. Add the oil mixture to creamed butter and mix.

  5. Add the dry ingredients to the butter along with half the buttermilk and mix well. Once well combined, add in the remaining buttermilk.

  6. Transfer your batter to a jug and fill your cupcake cases about 3/4 full.

  7. Bake for 25-30 minutes and allow to cool on a wire rack.

  8. Beat together the cream cheese and butter until light and fluffy.

  9. Add in the vanilla and a third of the icing sugar and beat well.

  10. Add in another third of the icing sugar, mix and then add the final third in and beat until well combined.

  11. Fill a piping bag with your icing and ice your cooled cakes however you like.

  12. Enjoy!

IMG_3004.JPG
IMG_3010.JPG
IMG_3011.JPG
IMG_3024.JPG
IMG_3038.JPG
March 08, 2019 /Sophie Faulkner
Recipe, sweet, Vanilla, Chocolate, cupcake
Recipe
Comment
IMG_2954.JPG

30. Baguettes

February 23, 2019 by Sophie Faulkner in Recipe

Bread is just the best.

It’s such a staple of every day life. I mean, “give me this day our daily bread” is a line straight from the Lord’s prayer. Back in the day when only one out of a couple would go to work, they were the “breadwinner”. To “break bread with someone” means to share ANY meal with another person. And of course, something amazing is “the best thing since sliced bread”.

Unfortunately, this bread does not come pre-sliced. You will have to tear or cut off hunks of this to have with olive oil and balsamic vinegar yourself. Real shame that… (You could do the same with this focaccia recipe too if you wanted something slightly different.)

Having never made baguettes before, I didn’t have a recipe to use, so I went to the British king of bread (and Bake Off turncoat) Paul Hollywood. You can find his recipe and all his advice here. It might be a little more comprehensive than what I’m about to put below, but what I did turned out ok.

Makes 4 baguettes

Ingredients

  • 500g (17.5oz) strong white flour, plus some for dusting.

  • 10g (0.35oz) salt

  • 7g (0.25oz) yeast (1 packet)

  • 370ml water (cool/room temp. Not hot)

  • Olive oil

Method

  1. USE A DOUGH HOOK ON A STAND MIXER. Your arms will get very tired… Add in the flour, salt and yeast to a bowl on your stand mixer, not putting the salt directly on top of the yeast or vice versa.

  2. Add in about three quarters of your water and start it mixing. Once it has started to actually come together as a dough, add in the rest of your water.

  3. Leave the stand mixer to do its thing for 5-7 minutes until your dough is glossy and elastic.

  4. Lightly grease a square container with some olive oil.

  5. Tip your dough into the oiled container, cover with a tea towel and leave to prove for an hour.

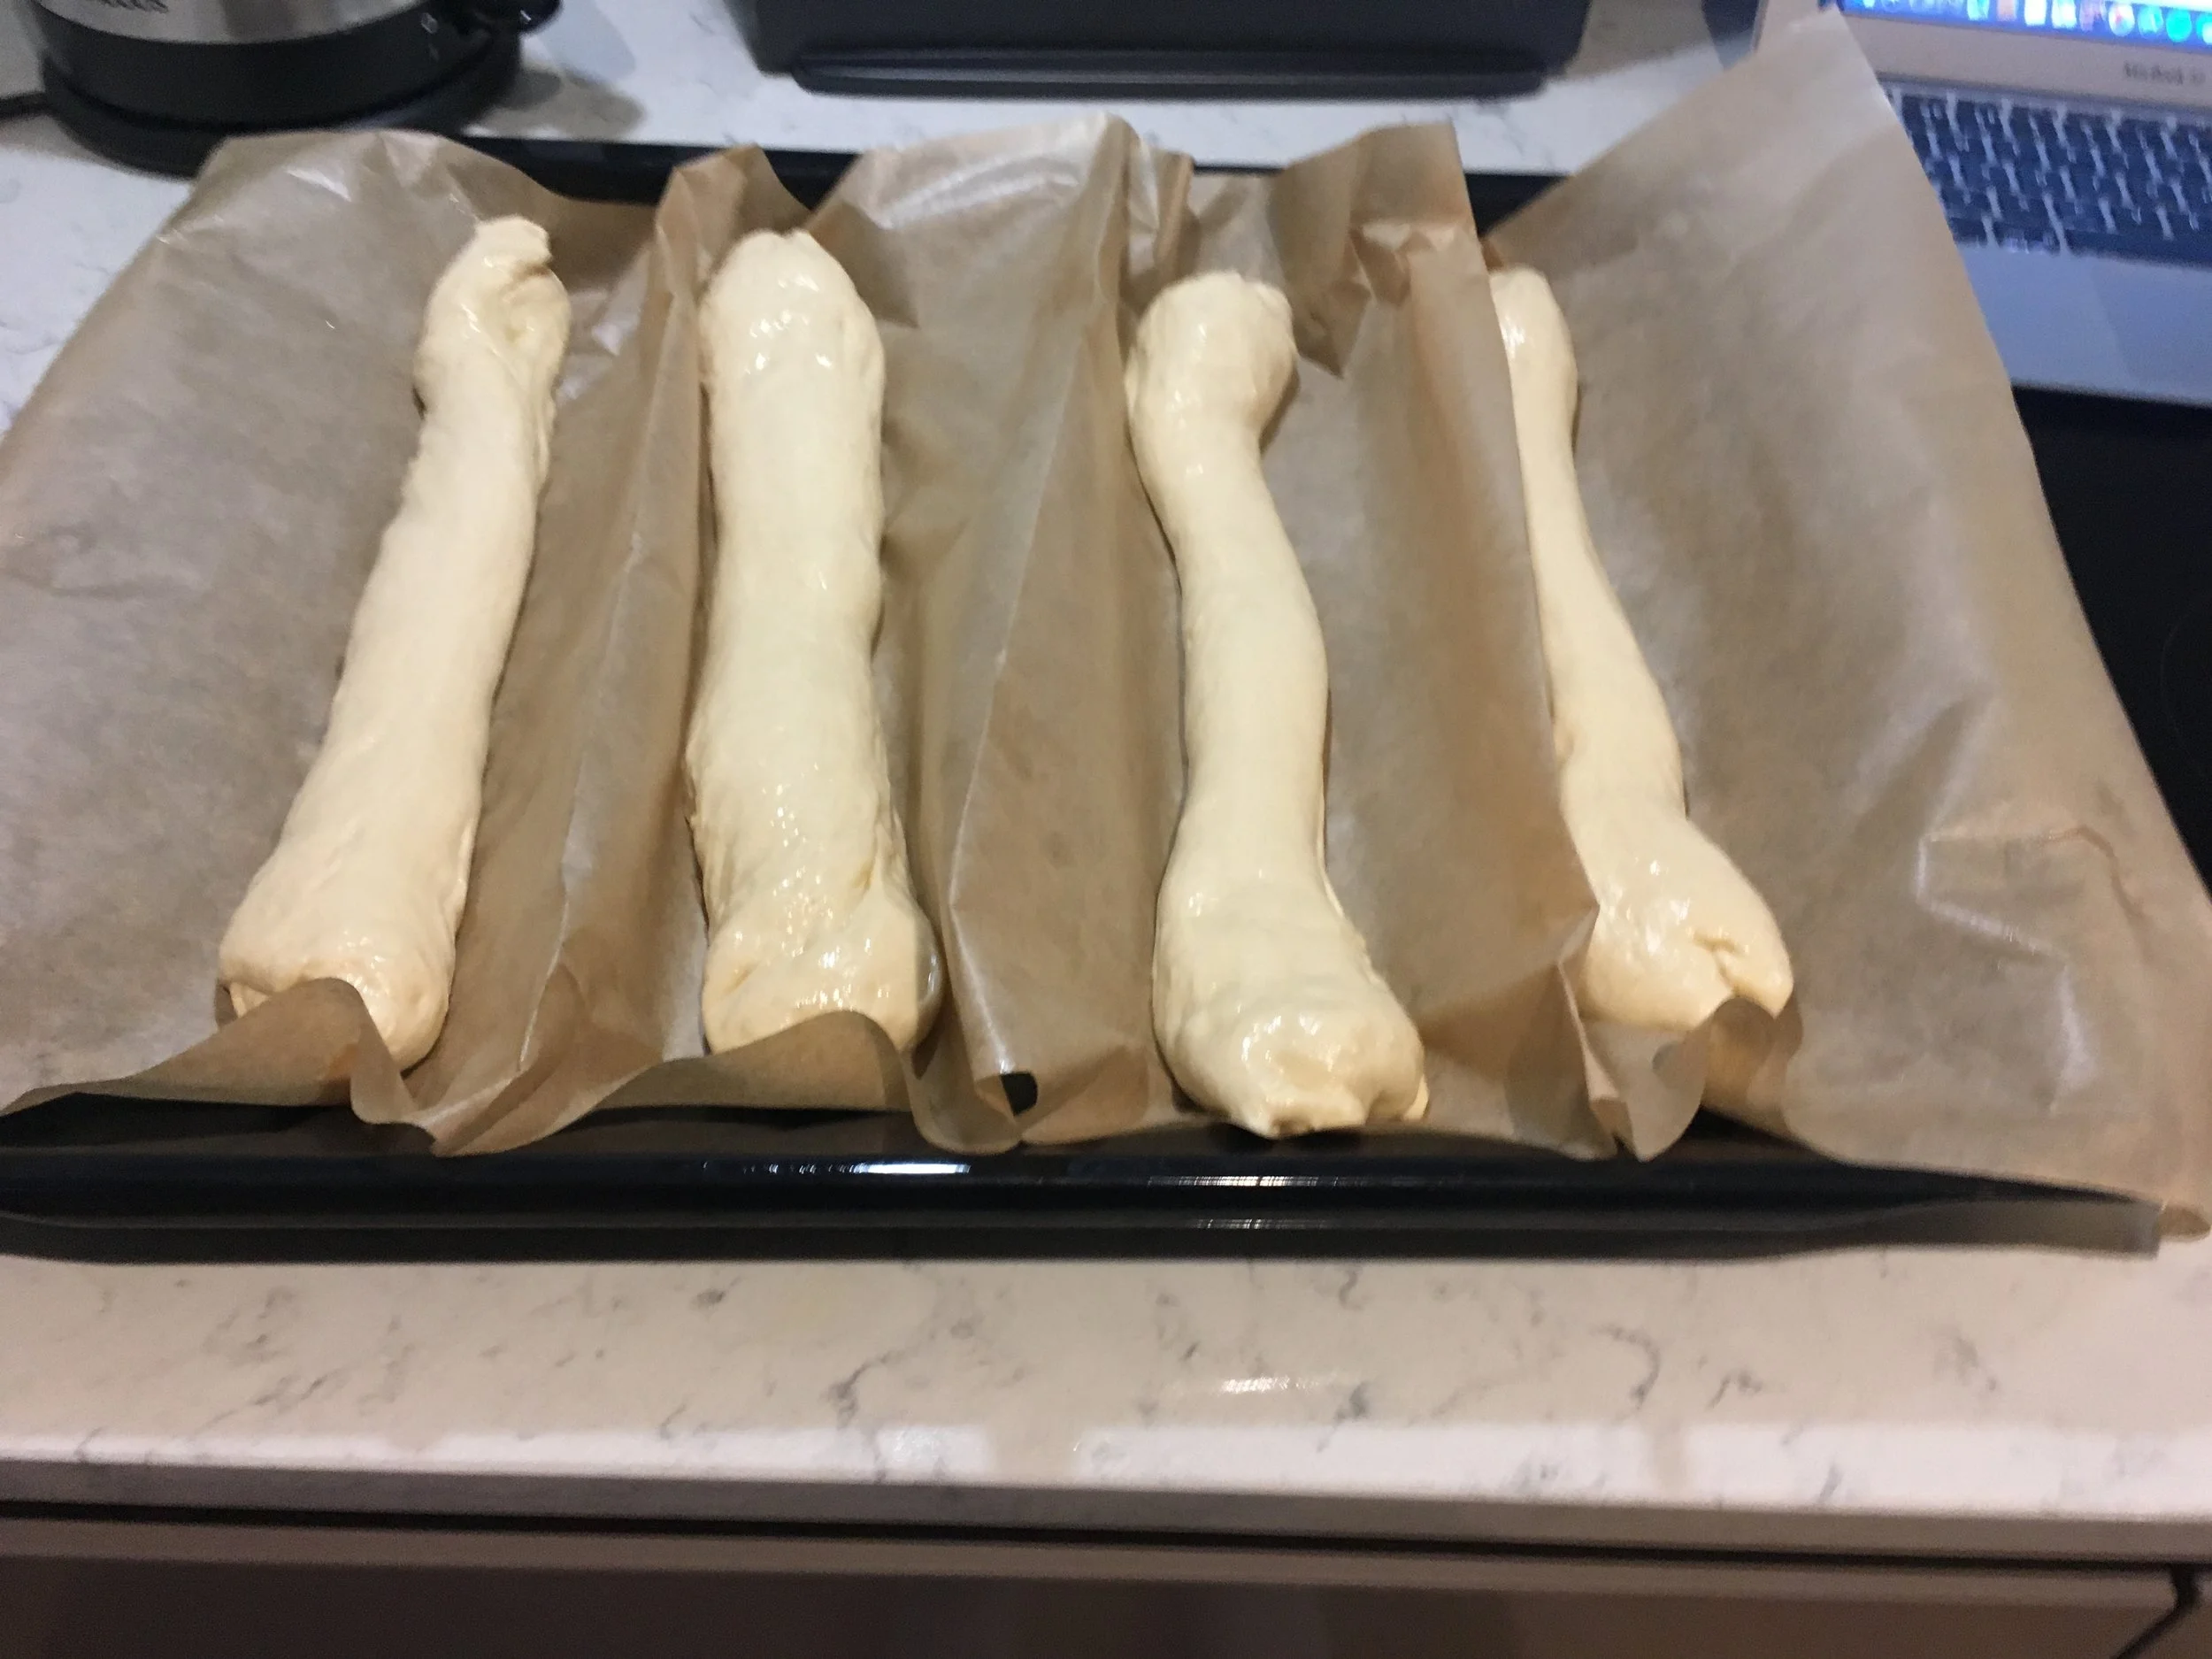
  6. Whilst it’s proving, line your baking tray with some baking paper. I folded mine so that it would form little “beds” for my baguettes to keep them from spreading into each other.

  7. Once your dough has doubled in size, tip it out of the container onto a lightly oiled surface and divide it into four. Fold two of the edges in on each square to make a rectangle, trying to keep as much air in as possible. Roll this into a long sausage, with the join on the bottom.

  8. Start rolling each sausage to the length of your baking tray. Start with your hands in the middle and slowly work them outwards as you roll. DON’T pull your dough to the length of the tray. It seems like a shortcut, but will make your dough inconsistent and tough and your bread will not be as good.

  9. Put your baguettes on your tray and, if you have one big enough, put your trays inside a plastic bag to prove for another hour.

  10. When the hour is almost over, start preheating your oven to 220C and put a roasting tray/cake tin/something that will hold liquid and is oven proof, in the bottom of the oven to warm up.

  11. When your baguettes have finished their second prove, slash them three times with a sharp knife in the iconic baguette style, and dust them with flour.

  12. Fill your hot roasting tray at the bottom of your oven with water to make steam.

  13. Bake your baguettes for 25-28 minutes, until golden brown. Leave them to cool on a cooling rack.

  14. Enjoy with olive oil and balsamic vinegar, plenty of butter or even make your own bruschetta with chopped tomatoes.

  15. Or wait until tomorrow’s recipe to get the most out of your leftover baguettes!

IMG_2941.JPG
IMG_2943.JPG
IMG_2946.JPG
IMG_2950.JPG
IMG_2953.JPG
February 23, 2019 /Sophie Faulkner
Recipe, Savoury, bread, baguette
Recipe
IMG_2889.JPG

29. Vegan Chocolate Cupcakes

February 16, 2019 by Sophie Faulkner in Recipe

I’m finally settled in my new apartment, all the IKEA furniture has been built, the internet sorted, the kitchen reorganised and the oven broken in. Let’s bake.

I’d like to say I chose to make vegan cupcakes for a decent reason, but that would be an utter lie. I made vegan cupcakes because I didn’t have any butter in, so… still counts? Turns out that you can use olive oil instead of butter, swapping one fat for another. It gives you a more liquid batter, but that’s A ok. Still gives you a solid cake. The olive oil makes the chocolate taste richer than it actually is, which is extremely nice to be honest. My boyfriend had some and said they were great. Didn’t even know they were vegan. So not bad all around.

Wasn’t a big fan of the icing, but probably didn’t help that I didn’t wait for my buns to cool completely before icing. My icing melted just a little lot. Nevermind! Still tasty.

Makes 12 cupcakes

Ingredients

  • 280g self-raising flour

  • 200g sugar

  • 25g cocoa powder

  • 150ml olive oil

  • 300ml water

  • pinch of salt

  • vanilla extract (to taste)

  • 200g vegetable spread

  • 350g icing sugar

Method

  1. Preheat the oven to 180C.

  2. Combine the self-raising flour, sugar, cocoa powder and salt in a bowl.

  3. Add in the olive oil, vanilla extract and water.

  4. Line a cupcake tray and fill the cases about 2/3rds full.

  5. Bake for 15-18 minutes until they spring back.

  6. Mix together the non-dairy spread and icing sugar in a bowl to make an icing. Flavour with vanilla extract if desired.

  7. Pipe your icing onto your COOLED buns and enjoy!

IMG_2872.JPG
IMG_2878.JPG
IMG_2885.JPG
IMG_2887.JPG
February 16, 2019 /Sophie Faulkner
Chocolate, vegan, cupcake, Vanilla, Recipe
Recipe
Comment
IMG_2710.JPG

28. Coconut Orange Genoise Cupcakes

January 31, 2019 by Sophie Faulkner in Recipe

Who’s ready for an upper arm workout?!

Oh, no one? That’s a shame. Better hope you have an electric whisk then.

This week I decided to put it to an Instagram poll as to what to make. The categories were light/fruity vs spiced/chocolate, something big to share vs bitesized treats and vegan vs dairy. I slightly jumped the gun on the first poll which eventually had a close win with spiced/chocolate, but let’s be honest, I’ll likely do that soon anyway! So I though with light/fruity that I would veer away from my usual lemon based things and go a bit more exotic and combine coconut and orange as my flavours. Ooh it worked well. Would recommend.

I was also out of self raising flour this week, and rather slog to the shops to get some, I decided to make a genoise sponge mix instead, which made my arm very very sore from the whisking. Why I didn’t decide to use an electric whisk I do not know. I should hit the gym more. Genoise sponges only get their raise and lightness from the air trapped inside from whisking, which is why it is so important to whisk A LOT. Worth it though. They’re gooooood.

Makes 12 cupcakes

Ingredients

For the genoise sponge

  • 4 eggs

  • 125g (4.5 oz) caster sugar

  • 110g (4oz) plain flour

  • 50g (1.75oz) butter, melted

  • 20g (0.75oz) dessicated coconut

For the orange sugar syrup

  • 50g (1.75oz) caster sugar

  • 30ml water

  • juice of one orange

For the chantilly cream

  • 300ml double cream

  • 15g (0.5oz) icing sugar

  • zest of one orange

  • dessicated coconut to sprinkle

Method

  1. Preheat the oven to 180C

  2. On a simmering bain marie, whisk your eggs and sugar together until pale and thick, almost mousse like. Once thickened, take off the bain marie and whisk until the ribbon stage is reached and the mixture has cooled. (The ribbon stage is where if you take the whisk out and dribble a figure of 8 onto the mix, the 8 stays there for a couple of seconds before sinking back in).

  3. Sieve and fold in the flour a bit at a time. Be careful not to knock out too much air when folding! Fold in the dessicated coconut too.

  4. Pour in the melted butter around the edges of the bowl and fold that in gently.

  5. Line a cupcake tin and fill with your mixture.

  6. Bake at 180C for 18-20 minutes until golden and they spring back.

  7. Leave to cool.

  8. Put all the ingredients for the sugar syrup in a pan and bring to a boil, then remove from the heat, providing that the sugar has all dissolved.

  9. Brush the sugar syrup onto the cupcakes while still in the tin and liners so they can really soak in the syrup.

  10. Whisk the cream and sugar together until it forms soft peaks, then add in the orange zest.

  11. Remove the cupcakes from the tin and liners, if so desired.

  12. Pipe the cream onto the cupcakes and sprinkle over the dessicated coconut.

  13. Enjoy!

IMG_2686.JPG
IMG_2688.JPG
IMG_2691.JPG
IMG_2695.JPG
IMG_2699.JPG
IMG_2705.JPG
IMG_2706.JPG
IMG_2711.JPG
January 31, 2019 /Sophie Faulkner
cupcake, Recipe, sweet, orange, coconut, genoise sponge
Recipe
Comment
IMG_2393.jpg

25. Gingerbread Sleigh

December 22, 2018 by Sophie Faulkner in Recipe

What is a more quintessentially Christmassy bake than a gingerbread house? With all the windows and roof tiles piped on with care, the roof dusted with icing sugar snow, chocolate fingers lining the doorway, maybe even some sweets as Christmas decorations.

I didn’t do that.

Who has time to make a house? Why not a sleigh that I could fill with “presents” (read, chocolates) instead? I cut out my own stencils from sheets of A5 paper, so it wasn’t huge, but I didn’t really want it to be, as I had to transport it up North.

Honestly, was pretty pleased with how this turned out, and the gingerbread is thoroughly tasty. Even after a few days sat holding chocolates. My only issue was that it was so pretty I didn’t want to break into it!

Merry Christmas!

Makes 1 gingerbread… whatever you like really. Only a small one though!

Ingredients

  • 125g butter

  • 100g demerara sugar (or other brown)

  • 4 tbsp golden syrup

  • 300g plain flour

  • 1 tsp bicarbonate of soda

  • 3 tsp ground ginger

  • 1 tsp cinnamon

  • 1 egg white

  • 200g icing sugar

  • 50g cocoa powder

  • 100g white chocolate, melted (optional)

Method

  1. Preheat the oven to 180C.

  2. In a pan, melt the butter, demerara sugar and golden syrup together.

  3. Mix the flour, bicarb, ginger and cinnamon together in a large bowl.

  4. Pour the melted wet ingredients into the flour bowl and mix well. If it doesn’t come together, add a splash of water. It should be quite a firm dough.

  5. Make/cut out your stencils while the dough firms up a little and cools down.

  6. On a piece of greaseproof/baking paper, roll out the dough to about 6-8mm thick. Cut your shapes out and remove the excess dough from the paper. Transfer the sheet of baking paper onto a baking tray.

  7. Bake for 12-14 minutes until firm and the edges have darkened a little.

  8. Allow to cool and firm up for a few minutes, and then using your stencil, cut around the edges again to make them neat. (I left this a little too long, so my sleigh wasn’t as neat as I would have liked.)

  9. Allow to cool completely.

  10. Prepare an icing bag with a medium nozzle, star shaped or plain, for the “cement”.

  11. Mix together the egg white, icing sugar and cocoa powder in a bowl, to a smooth paste. Fill your piping bag with this and pipe down the edges of your gingerbread pieces to stick them together.

  12. As you assemble your gingerbread house/sleigh/city, use a bowl or kitchen utensils to prop up the pieces as you go, as the icing will not set immediately.

  13. Once your house/sleigh/whatever is completely set, you can decorate with melted chocolate or anything else you like!

IMG_2376.JPG
IMG_2377.JPG
IMG_2383.JPG
IMG_2385.JPG
IMG_2389.JPG
December 22, 2018 /Sophie Faulkner
Ginger, gingerbread, Biscuit, Christmas, sweet, Recipe
Recipe
Comment
IMG_2162.JPG

24. Chocolate Tart

December 19, 2018 by Sophie Faulkner in Recipe

Christmas is almost here!!!!!

Anyone else excited? I’m so ready for the break from London life and going back home to see my family. Or rather, doing the rounds around all the different friends and family members who want to see me over the holidays, meaning I don’t really spend all that much time at home. Christmas is fun, but it’s definitely not restful!

I’m not a fan of Christmas pudding, or Christmas cake, so Christmas desserts to me have nearly always been chocolate based. A roulade, a black forest gateau, or just some chocolate ice cream, chocolate is a dominant Christmas time treat. That’s why I decided to make this chocolate tart in the lead up to Christmas. Maybe you guys have fussy family members like me who don’t like Christmas pudding? If so, this one’s for you!

Makes 1 tart

Ingredients

For the shortcrust pastry

  • 200g plain flour

  • 125g butter

  • 50g sugar

  • 1 medium egg

  • 2 tsp cinnamon (optional)

  • Pinch of salt

    OR about 400g ready made sweet shortcrust pastry

For the chocolate ganache

  • 300ml double cream

  • 50ml milk

  • 50g butter

  • 200g chocolate (preferably dark)

  • 1 tsp sugar

  • Pinch of salt

Method

  1. Cream together the butter and sugar for the pastry. Slowly add in the egg a bit at a time, mixing the dough together as you do so it doesn’t split. Add in the flour, cinnamon and salt and mix until the dough all comes together.

  2. Flatten the dough and wrap in clingfilm and chill in the fridge for half an hour.

  3. Preheat the oven to 180C.

  4. Roll out the chilled dough and line your tart tin. Mine is 14” diameter. Make sure that you push the dough into the corners so that it won’t shrink like mine did!

  5. Roll the top off using your rolling pin, then push the dough into the sides to make sure it is all lined evenly. Use the back of a knife to get rid of any excess. Put back in the fridge to rest for 5 minutes.

  6. Pierce the base of your tart several times using a fork, all the way through! This will stop the bottom from rising as it bakes. Line the tart with either greaseproof paper or clingfilm and fill with baking beans, rice or something else suitable to hold up the edges of the tart as it bakes.

  7. Blind bake the tart with the beans in for 10-15 minutes until the edge is golden. Then remove the beans and bake the tart for another 15-20 minutes until the base is golden as well.

  8. Take out of the oven and allow to cool before removing from the tin.

  9. In a pan bring the cream, sugar and salt to the boil and immediately remove from the heat. Add in the butter and then chocolate in chunks and stir until they have completely blended in. Once the mixture has cooled a little, stir in the milk.

  10. Pour the chocolate ganache into the tart once the tart has cooled and leave to set at room temperature. If you put it in the fridge it may seize. (Mine has a slightly paler patch as my jug had some residue milk in the bottom. Oops.)

  11. Enjoy! Decorate with icing sugar or white chocolate.

IMG_2142.JPG
IMG_2144.JPG
IMG_2147.JPG
IMG_2156.JPG
IMG_2157.JPG
IMG_2163.JPG
December 19, 2018 /Sophie Faulkner
Tart, Recipe, sweet, Christmas, Chocolate, pastry
Recipe
Comment
IMG_2270.JPG

23. White Bread Rolls

December 13, 2018 by Sophie Faulkner in Recipe

A new recipe! Finally!! Hopefully one that you could serve at a dinner party before the meal, class it up and give it that fancy restaurant feel! Full disclosure, I did learn this recipe at school, but they made us do complicated knots with them, which frankly was a little unnecessary! What’s wrong with just a good honest bread roll?

I’m so sorry that it has been so long since I posted a new recipe. The end of term at Le Cordon Bleu has had me pretty busy! And, I’ve been feeling a little lazy too to be perfectly honest. When you’re in school baking during the week it doesn’t always appeal to you when you get home. But, I’m back on the baking horse now, so hopefully you’ll be getting some more recipes and reviews in the lead up to Christmas!

Before we go into the recipe, I would like to just take a minute to tell you about why I decided to make bread rolls. My friend Zen, otherwise known as @greedygirlgourmet on Instagram (check her out, she does some amazing food, not just desserts), challenged me to take part in #foodbloggerschristmas. The idea behind #foodbloggerschristmas is that as food bloggers we often have food left over, especially when we are making recipes to serve 10 or more people. I don’t know about you, but I can’t eat a whole lemon tart or three tier cake in one sitting! So rather than give this extra food to our friends, housemates, family etc, OR let it go stale and have to throw it away, we would hit the streets and offer it to the homeless. However, when you make mostly cakes, tarts and biscuits, that’s not exactly what you want when living on the street. So, I decided to make bread rolls and a big pot of hot jambalaya and hit the streets with that. I thought something a little more filling would be better.

If you want to help the homeless in your area by trying to give them food, make sure you ask first. The people I spoke to were for the most part just grateful I asked, even those who turned it down. A lot of people who are in this situation do already have access to food, whether it’s through soup kitchens and shelters, or other people who have done the same thing you are trying to do.

If you want to help out without hitting the streets, there are a load of charities you can donate to, such as Crisis and Shelter, who also have a lot of information on how else you can help. You can also help by using an app called StreetLink, where you can send in information about a rough sleeper you are worried about, and they will send out someone to connect them to the local outreach service and provide them with help. If you aren’t sure if that is the right thing to do, if you think that the rough sleeper is already aware of these services and you don’t want to bother them, or whatever else you might be worried about, ASK them. They’re normal people, mostly just down on their luck, they’ll generally be happy to talk to you, especially if you’re offering help in some form. Don’t be offended if they turn the help down, but you won’t know if they need that help until you ask!

One final note before we dive into the recipe, I met a lovely Scottish man called James last night who is currently sleeping rough, but is about to start a cookery course, which ends in June and will give him certification of his skills. If anyone knows of a London based restaurant or cafe that would like to hire someone like James in June, please let me know so that I can get him in touch with them!

Makes 20 small dinner rolls

Ingredients

  • 500g plain flour

  • 30g melted butter

  • 20g sugar

  • 10g salt

  • 7g dried yeast (one packet)

  • 300ml water

Method

  1. In a large bowl, mix together the flour, sugar and salt.

  2. Make a well in the middle and pour in the water and melted butter. Mix this a couple of times to start combining it all together.

  3. Add in the yeast and then keep mixing until it is all well combined. I like to use my D Scraper, which is really just a piece of stiff plastic to chop and mix, as it makes me feel like I’m in control.

  4. Once the dough has come together, turn it out onto your work surface. DON’T flour the surface. Your dough may well be sticky, but it will get less sticky as you knead it. You can flour your hands a little, and then start kneading. You want to knead for 8-10 minutes until it is all smooth and elastic.

  5. Once you have kneaded, put the dough back in the bowl and cover with clingfilm or a tea towel and leave to prove at room temperature until it has roughly doubled in size. This could take up to an hour, depending on your yeast and the temperature of your room.

  6. Turn the dough out and knock it back a bit. I like to just cut into quarters and slam the heel of my hand into each piece to flatten it. It’s pretty therapeutic.

  7. Start dividing your dough into equal sized pieces. If you are a perfectionist like me, you can weigh them to make sure they’re all even. Roughly 45-50g is a good guideline for a small dinner roll. Cover the pieces you aren’t using with clingfilm or a tea towel so they don’t dry out.

  8. Preheat your oven to 50-60C.

  9. Roll the pieces into balls. I do this by moving my hand with my fingertips tucked underneath in a sort of claw shape in a quick circular motion.

  10. Place on a lightly greased or lined tray and allow to prove in the oven at 50-60C for about 8-10 minutes.

  11. Take the rolls out and raise the temperature of the oven to 190C. They will keep proving a bit at room temperature, so don’t forget about them! Once your oven is heated, bake the rolls for 12-15 minutes until golden brown and nicely crusted on top.

  12. Enjoy warm with a slather of butter. Yum!

IMG_2259.JPG
IMG_2262.JPG
IMG_2265.JPG
IMG_2266.JPG
December 13, 2018 /Sophie Faulkner
Recipe, bread, Savoury
Recipe
Comment
IMG_1915.JPG

22. Banana Coconut Muffins

November 16, 2018 by Sophie Faulkner in Recipe

Now I’m studying at Le Cordon Bleu, I don’t get an awful lot of time to bake just for fun, rather than practicing for exams. So I wanted to make something new for you guys, but something pretty easy. Muffins are definitely easy! I put a question out on my instagram story a few days ago and got some great ideas of what to make over the next few weeks, but I decided to start with my friend Beth’s suggestion “something with bananas”. Easy enough!

I have done banana and chocolate chip muffins on the blog before, so I decided to change it us and use coconut for something different. I’ve not used coconut much before to be honest, but I’m kinda enjoying coconut milk these days (Lactose intolerance life, wooooo), so thought I’d give it a go in my baking. These turned out pretty small as I made them in cupcake size rather than muffin, mostly because I wasn’t thinking, and partially because that’s what I had to hand. Either way, no matter the size, these turned out very tasty!

Makes 12 cupcake sized muffins

Ingredients

  • 200g (7oz) flour

  • 1 tbsp baking powder

  • 1 tsp cinnamon

  • 70g (2.5oz) butter, melted

  • 80g (2.8oz) demerara sugar (plus extra to sprinkle on top)

  • 125ml coconut milk or normal milk

  • 75g desiccated coconut

  • 1 egg, beaten

  • 2 medium bananas, mashed

Method

  1. Preheat the oven to 180C.

  2. In a bowl combine the flour, baking powder, sugar, desiccated coconut and cinnamon.

  3. Make a well in the middle and pour in the milk, melted butter and egg. Fold these in to the dry ingredients until well combined.

  4. Add in the mashed banana (you want it mashed as well as possible!) until well mixed in.

  5. Divide the mix into a lined cupcake or muffin tray and sprinkle some demerara sugar on top of each one.

  6. Bake for 25-30 minutes until risen and golden.

  7. Allow to cool a little before eating!

IMG_1874.JPG
IMG_1878.JPG
November 16, 2018 /Sophie Faulkner
sweet, Recipe, banana, coconut, Muffins, cake
Recipe
Comment
IMG_1807.JPG

21. Eclairs/Profiteroles

November 07, 2018 by Sophie Faulkner in Recipe

Pastries at dusk are the first three words that come to mind when I think of eclairs. When I was younger, Mum and I used to buy a two pack of eclairs from Sainsbury’s to play “Pastries at Dusk”. This was not a complicated game. We would sit at the table, with one eclair each and see if we could finish it faster than the other without licking our lips. I nearly always won. In hindsight, the licking your lips thing is only hard if it’s a sugared doughnut, but that didn’t stop the fun. I loved pastries at dawn with Mum, and have loved eclairs longer than that. So when we made eclairs at school last week, and I knew I would have to practice them for my exam, I thought why not put up an eclair/profiterole recipe on the blog? This won’t be quite the same as the recipe I was given for the exam, and also won’t be the same flavours, but it’s close enough to get some practice in!

My eclairs unfortunately deflated a bit in the oven as I opened the door a little too early and let the steam escape, so I would recommend keeping the door shut and just peering in if you can, if your oven has a light. Still tasty though!

Makes 12-14 eclairs or roughly 30 profiteroles

Ingredients

For the choux pastry

  • 65ml water

  • 65ml milk

  • 50g (1.75oz) butter

  • A pinch of salt

  • A pinch of sugar

  • 75g (2.5oz) plain flour

  • 5 or 6 medium eggs, beaten

For the crème pâtissière

  • 250ml milk

  • 4 egg yolks

  • 45g (1.5oz) sugar

  • 15g (0.5oz) plain flour

  • 15g (0.5oz) cornflour

  • 1 tsp vanilla extract

  • A knob of ginger, chopped (optional)

  • A small banana, chopped (optional)

For the chocolate ganache

  • 175g (6oz) dark chocolate

  • 75ml double cream

  • 15g (0.5oz) butter

Method

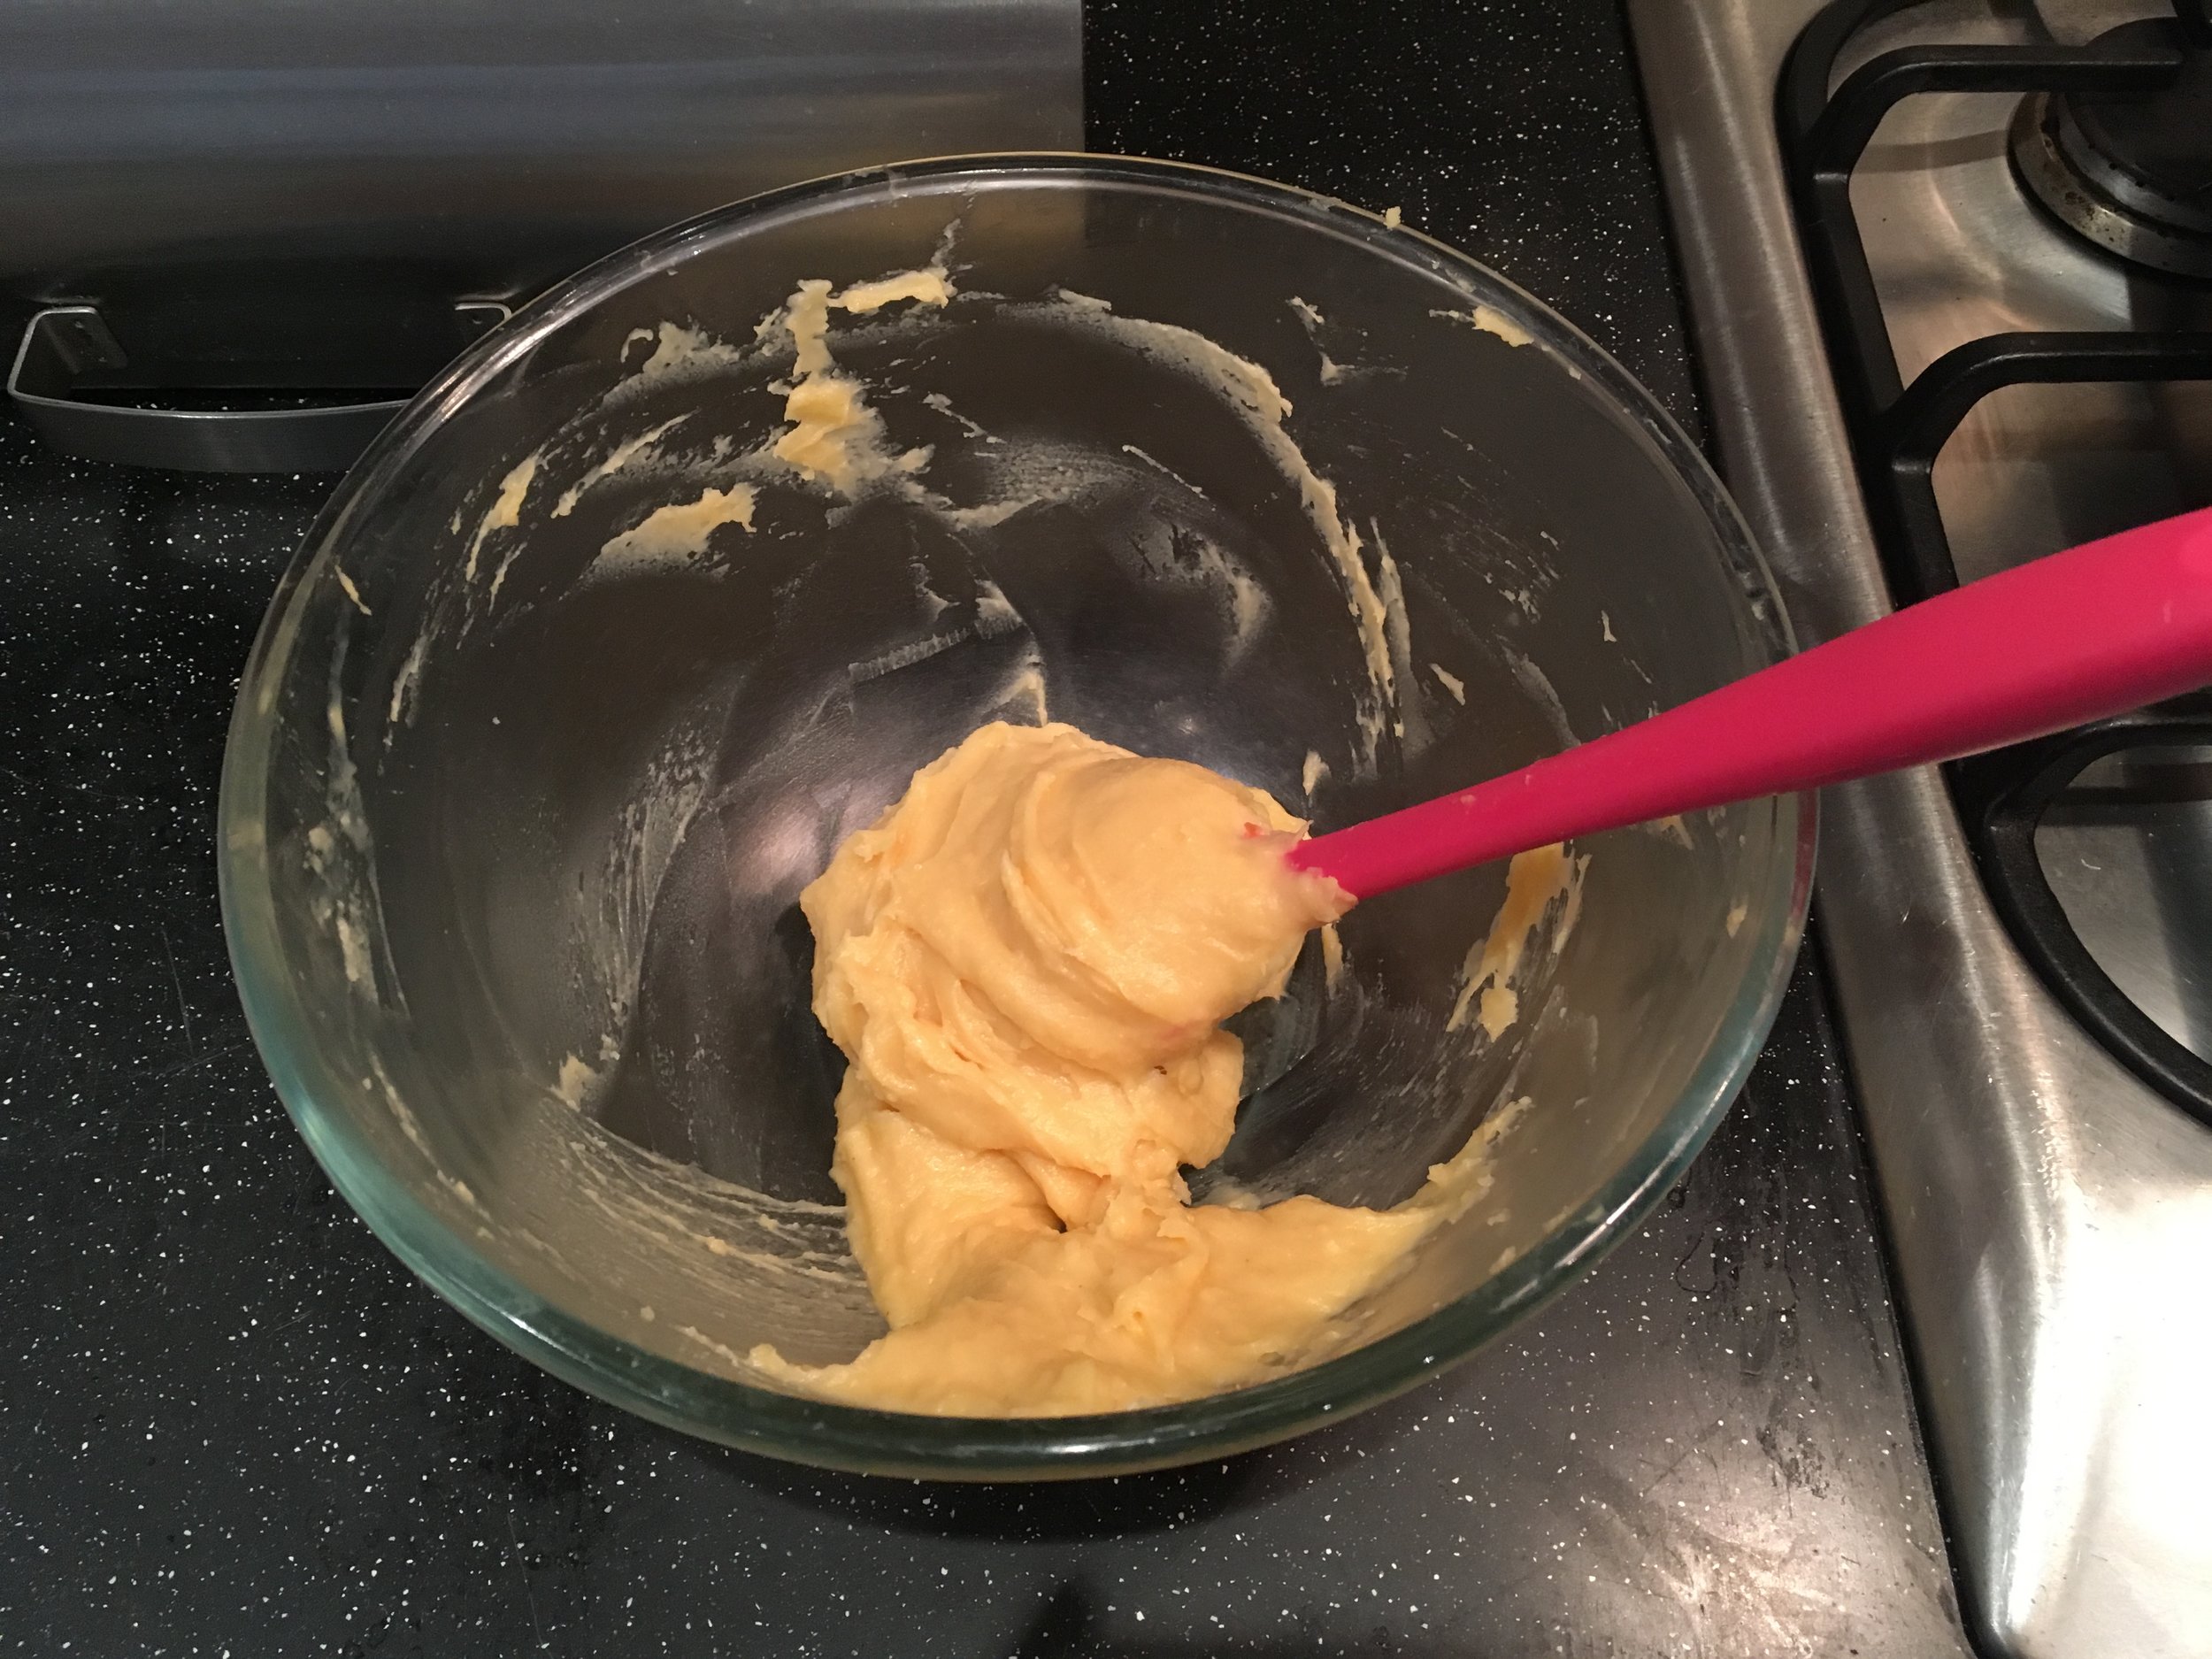
  1. In a pan, melt the choux pastry butter and add in the milk, water, salt and sugar. Bring this mixture to a light boil and remove from the heat to add in the flour. Mix this well and then return to a medium-high heat for at least a minute, stirring continuously to dry it out a bit. It may start to lightly coat the bottom of the pan. Transfer the pastry to a bowl to cool.

  2. Grease a baking tray with butter and leave to the side. Preheat the oven to 180C.

  3. After your pastry has cooled to just above room temperature, start adding the eggs a small amount at a time. Once you have mixed in the first bit of egg so that it is all fully combined, you can add another bit of egg and repeat. This MUST be done in multiple steps or else the egg won’t mix in properly. You may not need all the egg.

  4. Keep adding in the egg until you get to “dropping consistency”. To test for dropping consistency, get a decent amount of mixture on your spatula and hold it over the bowl to see how it drops. If it stretches and forms a V hanging from the spatula after dropping, you have reached the right consistency and do not need to add any more egg.

  5. Put the mixture in a piping bag with a round piping nozzle. Pipe your eclairs or profiteroles onto the baking tray. Profiteroles should be about the size of a 10p, the eclairs should be about 12-15cm long.

  6. Bake for 18-22 minutes until evenly golden brown. Don’t open the oven part way through! Take out and allow to cool on a wire rack. Not on the tray, they will stick!

  7. Make the crème pâtissiere. Put the milk, vanilla and half the sugar in a pan and heat gently until steaming quite heavily, but not boiling. If you want to make banana and ginger cream like I did, add the banana and ginger to the milk to infuse it.

  8. In a bowl, whisk together the egg yolks and rest of the sugar, then add in the flour.

  9. Drain the steaming milk into the bowl, through a sieve if you added the banana and ginger, and whisk the mixture immediately so that the egg mixture doesn’t coagulate. Return the mixture to the pan and put back on the heat. Keep whisking the mixture.

  10. Cook until the cream thickens and becomes elastic and glossy. It will “boil”, i.e. a bubble may come through the mix, which means it has cooked. Continue cooking until it no longer tastes starchy. You can only really do this by tasting it!

  11. Put the cream on a plate or tray to cool and cover with clingfilm touching the surface to stop a skin forming. You can cool it at room temperature or in the fridge, but shouldn’t leave it in the fridge for too long or it will get too cold.

  12. Make the ganache by melting the butter in a pan, adding the cream and bring it to a boil. Take off the heat and add in the chocolate in chunks. Stir until chocolate has fully melted and it is all well combined.

  13. Once the eclairs/profiteroles have cooled, make small holes in the bottoms using a star shaped nozzle.

  14. When the crème pâtissière has cooled to room temperature, or just above, scrape it into a bowl and whisk until smooth. Put in a piping bag with a nozzle the same size as you used to make the holes and use this to fill your eclairs/profiteroles. Scrape off any excess from the bottoms.

  15. Dip the eclairs/profiteroles in the cooled ganache or spoon the ganache over.

  16. Enjoy!

IMG_1778.JPG
IMG_1779.JPG
IMG_1784.JPG
IMG_1788.JPG
IMG_1792.JPG
IMG_1795.JPG
IMG_1797.JPG
IMG_1800.JPG
IMG_1806.JPG
November 07, 2018 /Sophie Faulkner
Recipe, pastry, choux pastry, Chocolate, banana, Ginger, cream, eclairs, profiteroles
Recipe
Comment
IMG_1677.JPG

20. Palmiers

October 31, 2018 by Sophie Faulkner in Recipe

So last week at school we focussed on puff pastry and got to take home the puff that we made but didn’t use, which was quite a lot to be honest… I didn’t really want to freeze so thought I’d get it used up quickly by making palmiers, also known as elephant ears. I have to admit, it wasn’t an original idea. In our demonstration lessons the chefs always do extra than what we do in our practicals and the chef last week made palmiers, just to show us an additional use of puff pastry. I quite like palmiers, but it would never have really occurred to me to make them. Have to say, they are ridiculously easy to make if you already have puff pastry in. If you’re interested in making your own puff, I’ll put a recipe underneath, but shop bought puff pastry works absolutely fine, if not better.

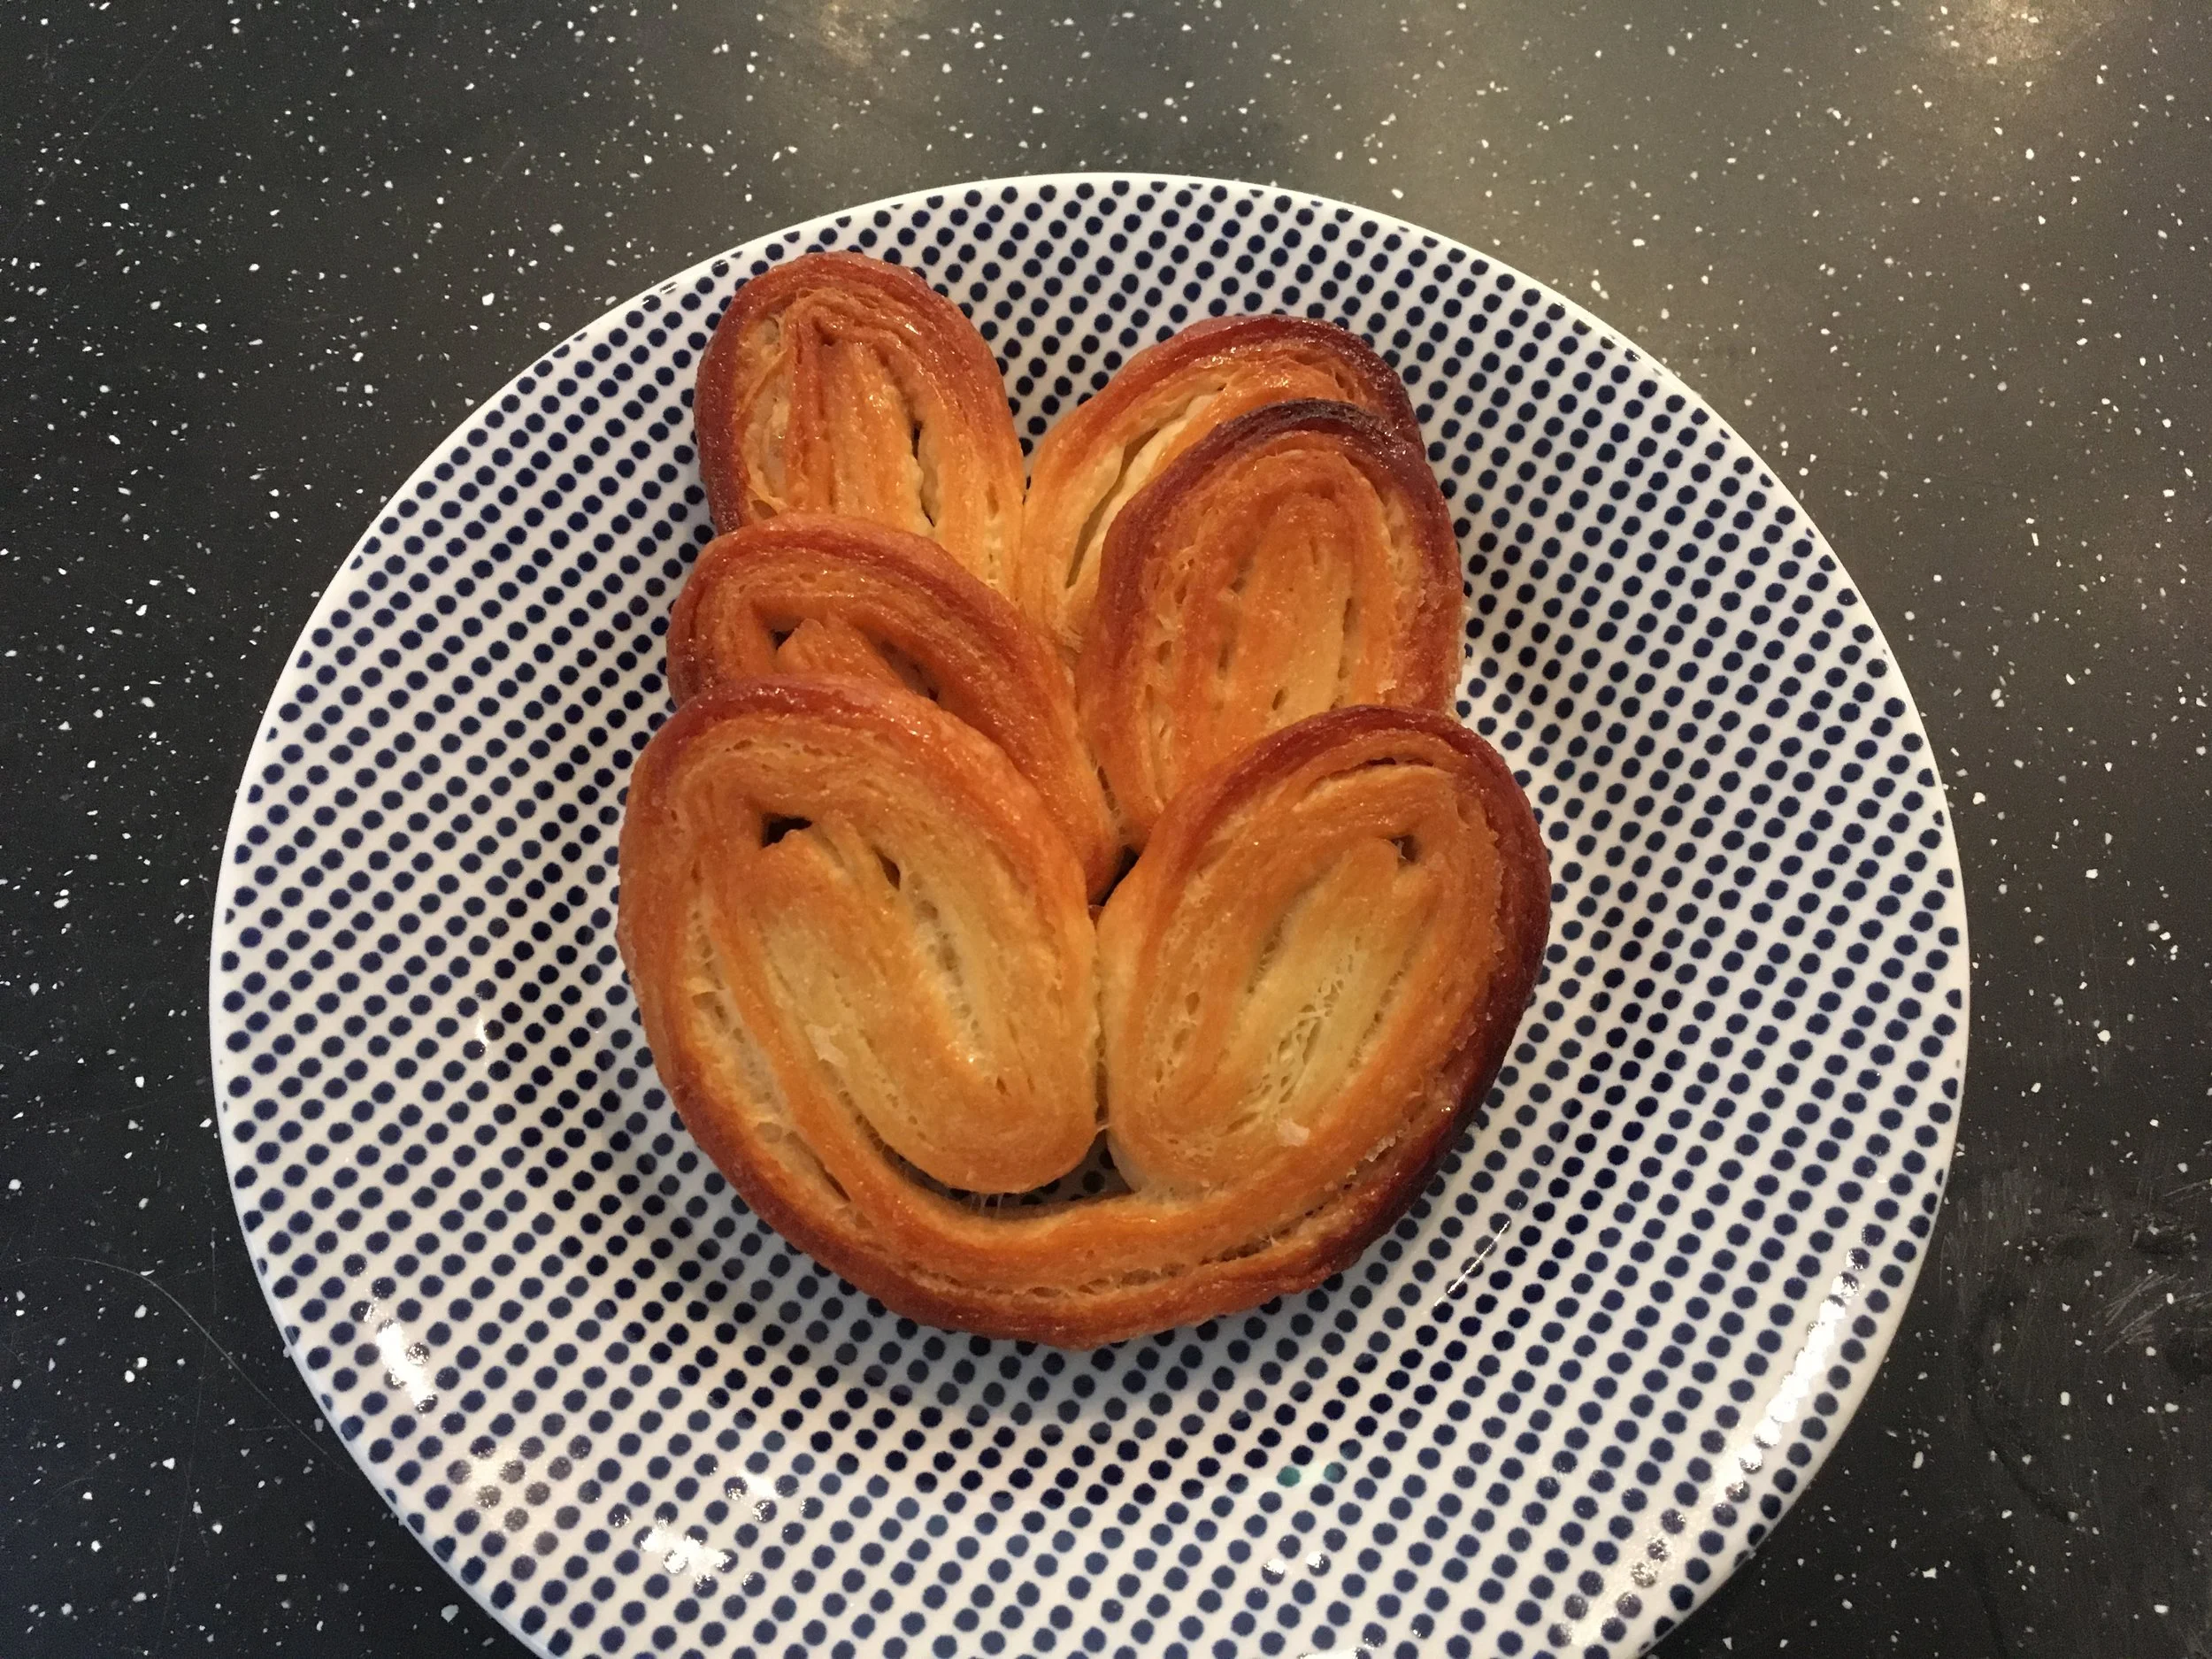
Mine turned out alright, and have done two batches. The ones pictured ended up a little overdone, oops, but were still plenty tasty! The second batch I added some orange zest and cinnamon, and they were not bad. Not bad at all.

Makes roughly 12 palmiers.

Ingredients

  • 300-400g (10.5-14oz) puff pastry.

  • at least 100g (3.5oz) caster sugar

  • water

Method

  1. Instead of dusting your work surface with flour, use caster sugar in a fairly liberal covering. Roll out your puff pastry. Get that workout! Keep flipping it over and putting down more caster sugar so that the puff pastry gets thoroughly coated in sugar. Your final piece should be about 3mm thick and twice as long as wide.

  2. Trim the edges of your puff pastry to make them straight.

  3. Using the back of a knife make dents in one of the long sides to split it into 6 roughly even pieces. Using a pastry brush (if you have one) wet the outside sixths a little, not a lot. Fold over the outside sixths.

  4. Repeat with the folded over bits to fold in again until you get something that looks like the fifth picture below, and then fold it over one last time.

  5. Chill in the fridge for 30 minutes.

  6. Preheat the oven to 220C. Grease a baking tray with butter. This is important or else you won’t get any caramelisation.

  7. Cut your chilled puff pastry into slices just shy of a centimetre thick, roughly 8mm.

  8. Bake for 11-13 minutes until the bottom side is golden brown, and then flip them over and bake for a further 5 minutes until the other side is also golden brown and caramelised.

  9. Immediately transfer to a wire rack to cool, or else they will stick to the tray and be impossible to get off!

  10. Enjoy!

View fullsize
View fullsize
View fullsize
View fullsize
View fullsize
View fullsize
View fullsize
View fullsize

If you’re feeling fancy, you could pipe a little melted chocolate on top.

IMG_1680.JPG

Puff pastry recipe

  • 250g strong white flour

  • 225g butter, room temperature

  • 150ml water

  • Pinch of salt

  1. Sieve the flour and salt into a bowl and create a well. Pour your water into this well and mix together quickly using a dough scraper or mixer. If using a scraper use a chopping and twisting action. Once a dough starts to form, cover it in cling film and chill for at least 20 minutes.

  2. Whilst that is chilling, put your butter between two sheets of parchment paper and start rolling it into a rectangle, slightly smaller than a piece of A4 paper. If you can make an “envelope” in which to do this, so you get sharp corners, all the better.

  3. Chill your butter rectangle until two minutes before you are ready to use the dough.

  4. Dust the workbench with flour and roll out the dough until it is slightly wider than your piece of butter and about 1.5 times as long. Put the butter on top in line with the bottom edge of the dough and fold over the top third, so half the butter is covered. Then fold up the bottom third, so you have three layers of dough separated by two layers of butter.

  5. Turn the dough 90 degrees, and roll it out to roughly the size you just rolled out. Fold it in thirds again. This is called a “turn”

  6. Chill your dough for at least 20 minutes. If you don’t, your butter will become too soft and disappear into the dough and you won’t get the lamination.

  7. Repeat steps 5 and 6 another four times. You can, if you work quickly, do two “turns” in one go, but any more than that will make the butter far too soft and you’ll lose the lamination.

  8. Once done, chill the dough for at least 30 minutes before using.

October 31, 2018 /Sophie Faulkner
Biscuit, sweet, pastry, puff pastry, Recipe
Recipe
1 Comment
IMG_1385.JPG

19. Chocolate Rugelach

October 21, 2018 by Sophie Faulkner in Recipe

What on earth is a rugelach? It’s a good question, and to be honest, I had to google them to make sure they were actually a thing. Turns out that rugelach are a type of Jewish pastry made with a cream cheese based dough, that looks kind of like a miniature croissant. I first came across them in Marc Grossman’s book, New York Cult Recipes, and thought they sounded amazing. And then promptly forgot about them. But then I started patisserie school and wanted to start playing around with different types of pastry, so, a cream cheese dough seemed like something fun to try. I found a number of rugelach recipes online, most of them chocolate, some of them jam filled, and came up with this. I hope you enjoy them!

Makes 12 Rugelach

Ingredients

Pastry

  • 100g (3.5oz) plain flour

  • 60g (2oz) cream cheese (I used lactofree. It keeps so much longer if you’re not using the whole pot in one go)

  • 60g (2oz) butter

  • A pinch of salt

Ganache

  • 25ml single cream

  • 50g (1.75oz) dark chocolate

  • 10g (0.5oz) butter

Topping and glaze

  • 50g (1.75oz) dark chocolate, chopped into almost shavings.

  • 50g (1.75oz) caster sugar

  • 1 egg, beaten

Method

  1. Start with the dough. Cream together the butter and cream cheese until smooth, but not fluffy. Fold in the flour and salt until it forms a dough and then wrap in clingfilm and chill in the fridge for at least 3 hours until it is completely chilled.

  2. Next make the ganache, a bit before you take the dough out of the fridge. Heat the butter and cream in a pan over a medium heat until the butter has completely melted and it all just comes to the boil. Then remove it from the heat and throw in the chocolate bit by bit and stir to combine the melting chocolate into the cream. Your ganache should be smooth and glossy.

  3. Preheat the oven to 170C.

  4. Take your dough out of the fridge and on a floured surface, roll it into a roughly round shape that’s just a bit larger than a standard dinner plate. Roughly 11 inches or so in diameter.

  5. Spread the ganache over the dough. (I think I put a bit too much on as it came out the sides a fair bit, I’d try a thinner layer if possible!)

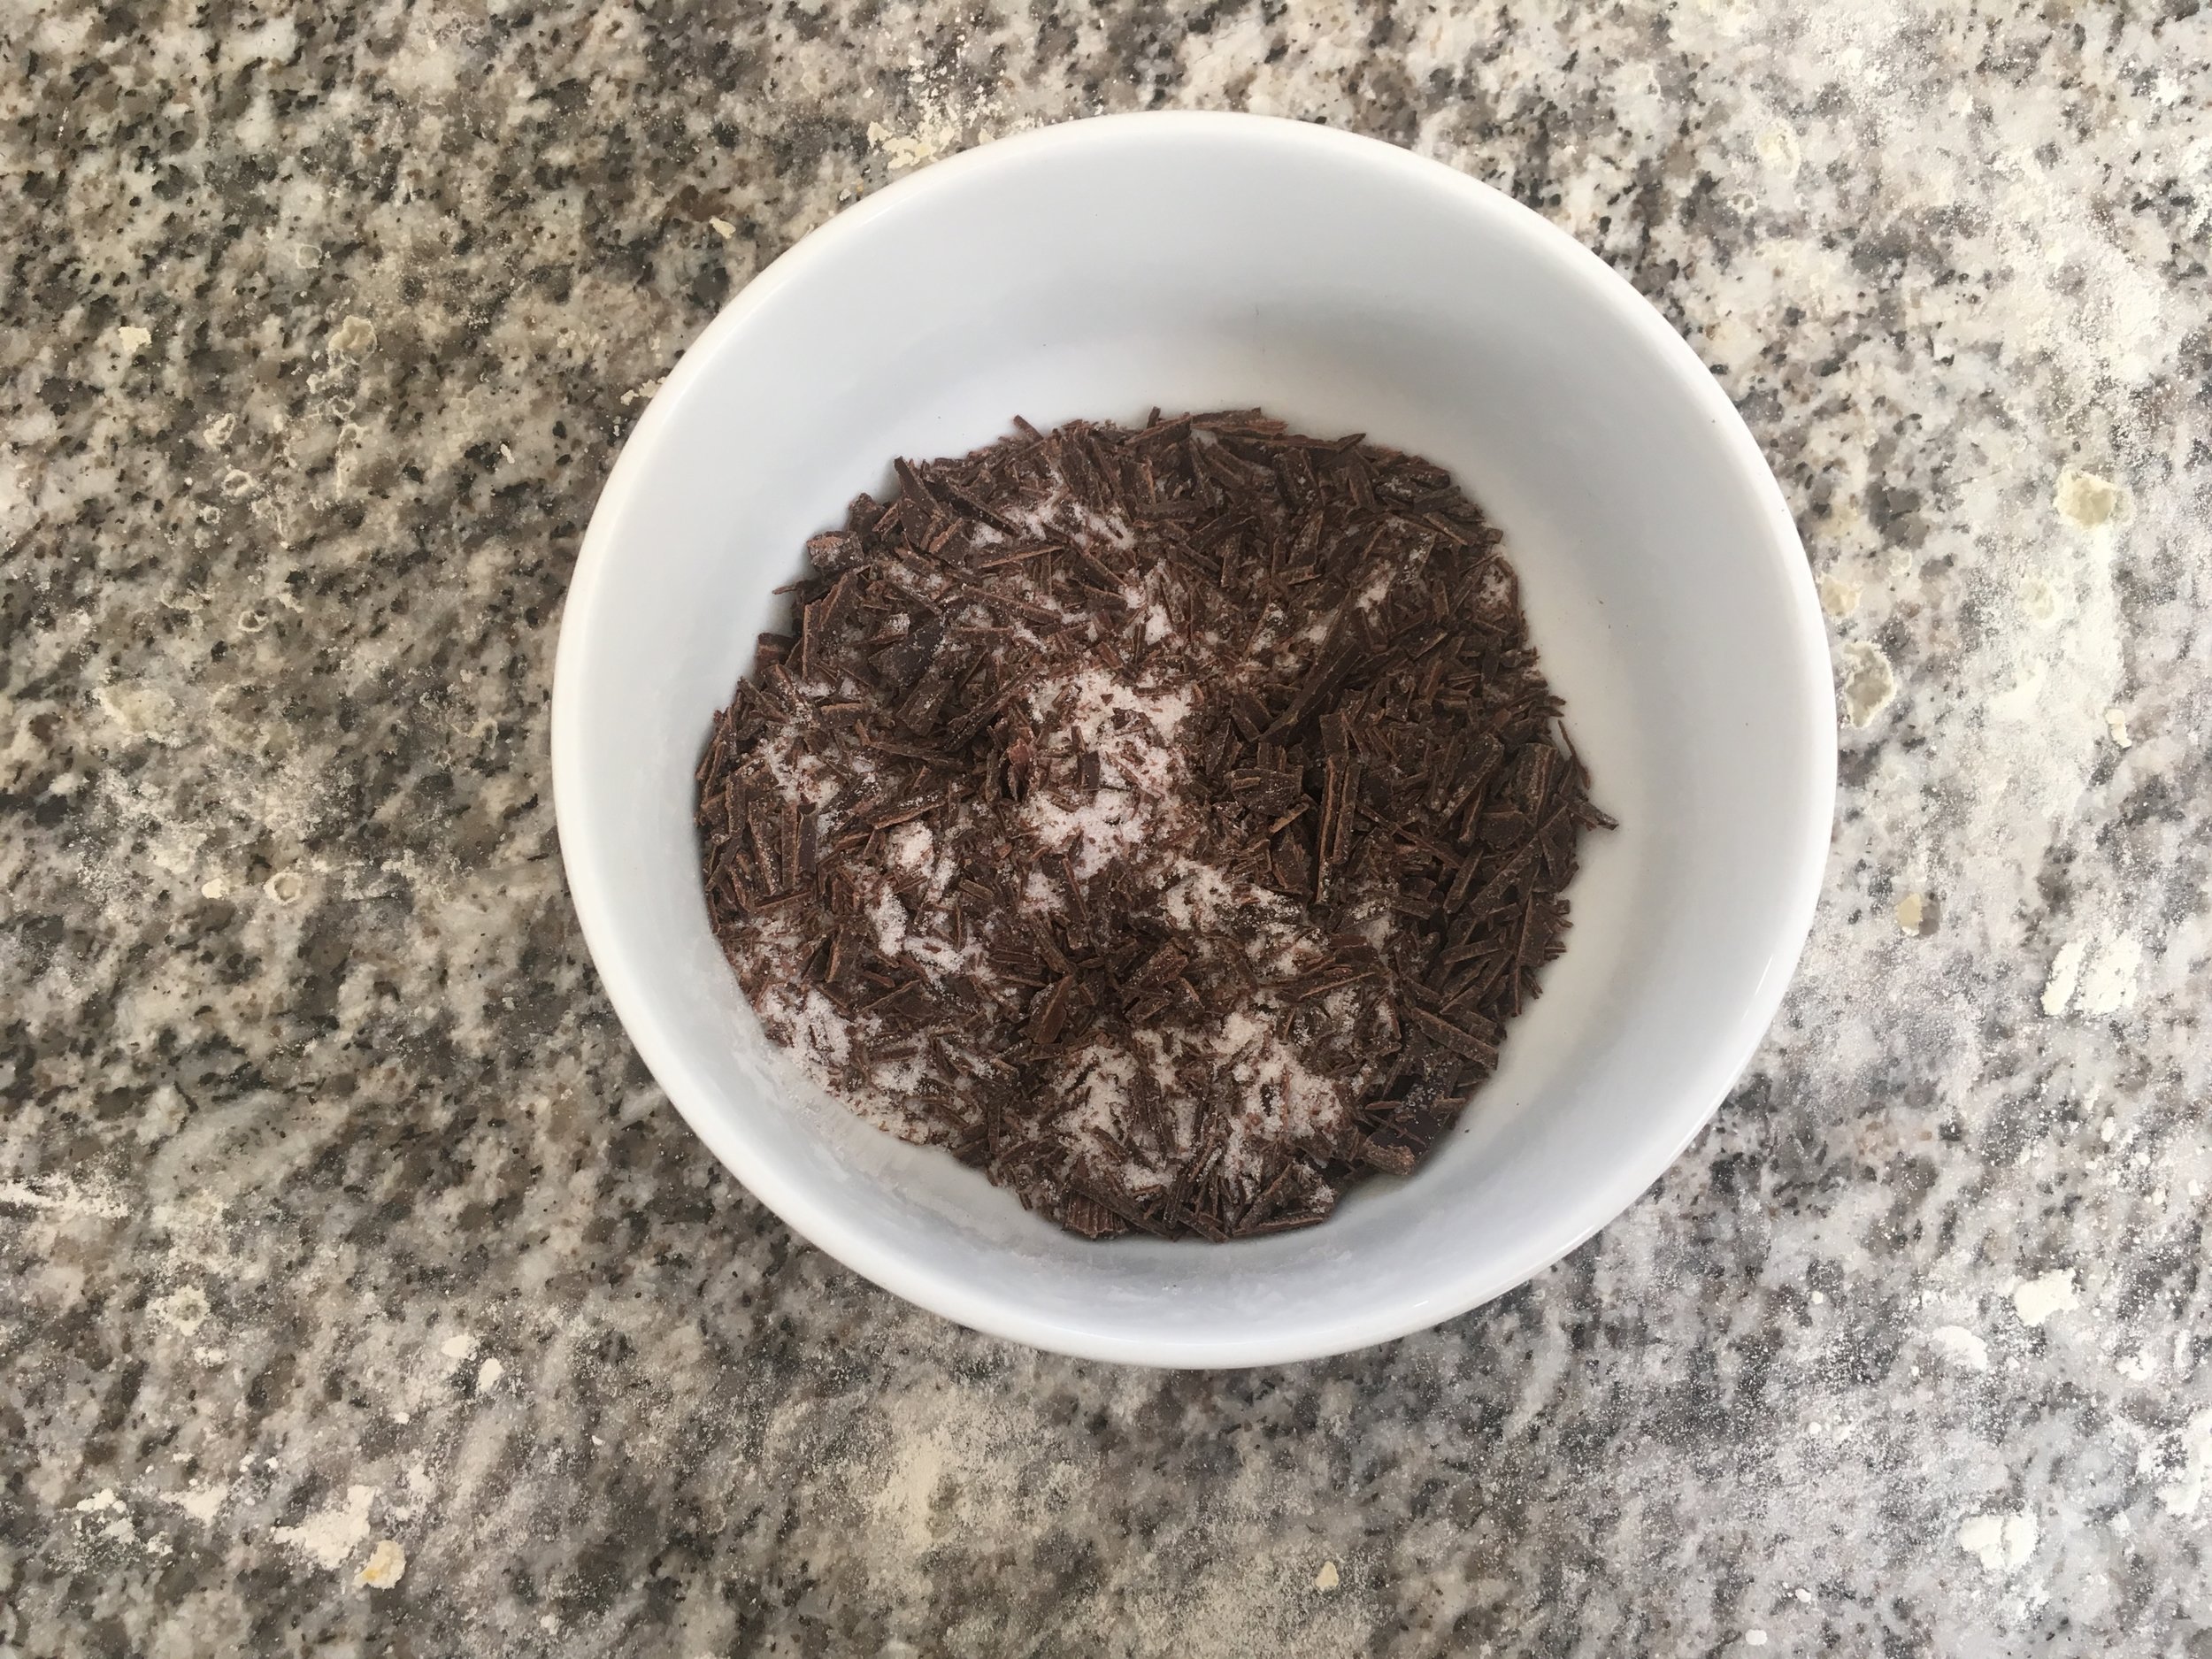
  6. Mix together the chopped chocolate and sugar and then sprinkle about half of it over the ganache until you have a good even covering.

  7. Slice the round into 12 “pizza slices”. Starting from the outside edge of each slice, roll the slices into a croissant type shape. This should be fairly tight, but not so tight all your filling comes spilling out.

  8. Place your rugelachs on a lined baking tray and brush them with the beaten egg. Then sprinkle over the rest of the chopped chocolate and sugar.

  9. Bake for 18-20 minutes until golden brown.

  10. Allow to cool before serving.

IMG_1344.JPG
IMG_1345.JPG
IMG_1348.JPG
IMG_1349.JPG
IMG_1352.JPG
IMG_1359.JPG
IMG_1367.JPG
IMG_1375.JPG
IMG_1386.JPG
October 21, 2018 /Sophie Faulkner
Chocolate, pastry, Cookies, croissant, recipe
Recipe
Comment
IMG_1392.JPG

18. Cinnamon Apple Pie

October 14, 2018 by Sophie Faulkner in Recipe

Autumn is well and truly here. It’s rainy and windy and that awkward temperature where you need a jacket most of the time, but if you have to walk any distance you are going to get just that little too warm, but not warm enough to take the jacket off, but warm enough that when you finally get to where you’re going you suddenly notice that you’ve got a bit sweaty and maybe you should just keep the jacket on to hide that, but that’ll just make you more sweaty, oh no what have you done… just me?

Anyway, autumn means that the apple trees in my Great Aunt’s garden are ready for harvesting and honestly? They can be pretty damn tasty. With my shopping bag full of her apples, I decided there was nothing more autumnal than an apple pie with cinnamon. So I made one.

This may seem a very normal thing to do, but growing up I was not a baked fruit fan (apart from bananas, but that’s different). I found them mushy and the texture was just so wrong. Turns out, that if I’ve made it and can control how soft the fruit gets, I am A ok with apple pie, with or without custard. I hope you enjoy this as much as I did! I have about half of it left, so I’m taking it down to my rugby match today. I somehow doubt it’ll go to waste.

Make one pie, serves about 12.

Ingredients

Pastry

  • 360g (12.5oz) plain flour

  • pinch of salt

  • 1 tbsp ground cinnamon

  • 100g (3.5oz) golden caster sugar

  • 225g (8oz) butter, room temperature

  • 1 tsp vanilla extract

  • 2 large eggs

Filling

  • 4 or 5 medium sized apples

  • 100g (3.5oz) caster sugar

  • 1 tsp cinnamon

  • 3 tbsp plain flour

Method

  1. Beat the pastry sugar and butter together until creamy. Add in the vanilla extract and the eggs and beat until smooth.

  2. Fold in the flour, cinnamon and salt until a dough forms.

  3. Chill your dough in the fridge, wrapped in clingfilm for at least 15 minutes to make it easier to work with.

  4. Peel and core your apples. Then slice them into slices roughly 5mm thick. Place them in a bowl out of the way.

  5. Preheat the oven to 175C and lightly grease your pie/tart tin. Mine is 23cm diameter.

  6. On a lightly floured surface roll out two thirds of your dough into a rough circle about 1/6” thick. Use this to line your tart tin. Keep the overhang for now. Return the rest to the fridge while you do the filling.

  7. In a new bowl mix together the sugar, flour and cinnamon for the filling. Transfer the apples to this bowl using your hands or a slotted spoon, leaving behind any liquid that your apples may have released. Toss them well in the sugar mixture and then use them to fill your pie case. I did a rose pattern again, like I did for the chocolate pear tart, but I hard enough apples to do the same again as another layer. I also filled the middle with similar sized slices of apple, as due to not being as tender as the pears I could only get so close to the middle. (See pictures).

  8. Roll out the remaining dough into a rough circle and cut out the middle to make a steam hole.

  9. OPTIONAL. Slice the dough into 16 segments, cutting from about 1 cm away from the steam hole right to the edge. Twist these segments in alternating directions. (See pictures).

  10. Use a fork to crimp the edges together and then remove any overhang and excess dough.

  11. Use some egg wash if you desire (I did no do mine very evenly, oops) and bake for 40-45 minutes until golden. Allow to cool for 5-10 minutes before serving warm, or allow to cool completely and store in an airtight container.

IMG_1310.JPG
IMG_1315.JPG
IMG_1318.JPG
IMG_1324.JPG
IMG_1328.JPG
IMG_1331.JPG
IMG_1339.JPG
IMG_1370.JPG
IMG_1387.JPG
October 14, 2018 /Sophie Faulkner
recipe, pastry, tart, apple, cinnamon
Recipe
Comment
IMG_1232.JPG

17. Chocolate Pear Tart

October 08, 2018 by Sophie Faulkner in Recipe

The first week of pastry school has kept me pretty busy, so sorry it’s been a week! Here’s a pear tart I made earlier… about 2 weeks ago in fact.

I’ll put up a short update post tomorrow about my first week, but today I just want to get this tart posted and done. Finally check it off the list!

I unfortunately didn’t actually get to try this pie myself, as I made it for the Macmillan coffee morning and so couldn’t cut into it. However, I heard that it was goooooood. So I’ll be making this again soon to actually try some!

Makes one tart

Ingredients

Pastry

  • 260g (9oz) plain flour

  • 100g (3.5oz) cocoa powder

  • pinch of salt

  • 100g (3.5oz) golden caster sugar

  • 225g (8oz) butter, room temperature

  • 1 tsp vanilla extract

  • 2 large eggs

Filling

  • 4 or 5 pears

  • 1 egg

  • 25g (1oz) butter

  • 50g (1.75oz) melted chocolate

  • 50g (1.75oz) self raising flour

Method

  1. Beat the pastry sugar and butter together until creamy. Add in the vanilla extract and the eggs and beat until smooth.

  2. Fold in the flour, cocoa powder and salt until a dough forms.

  3. Chill your dough in the fridge, wrapped in clingfilm for at least 15 minutes to make it easier to work with.

  4. Preheat the oven to 175C.

  5. Roll out your dough until about 1/8” thick to fill your tart tin. The tin I used was actually an 8” round cake tin and I used about half of my dough, so there should be enough to make a lid if you so desire.

  6. Grease your tart tin and then line it with your chocolate pastry. Pierce your pastry with a fork multiple times and then blind bake in the oven for 15-20 minutes.

  7. Cut your pears in half and then in slices about 1/4” thick, removing the cores as you go.

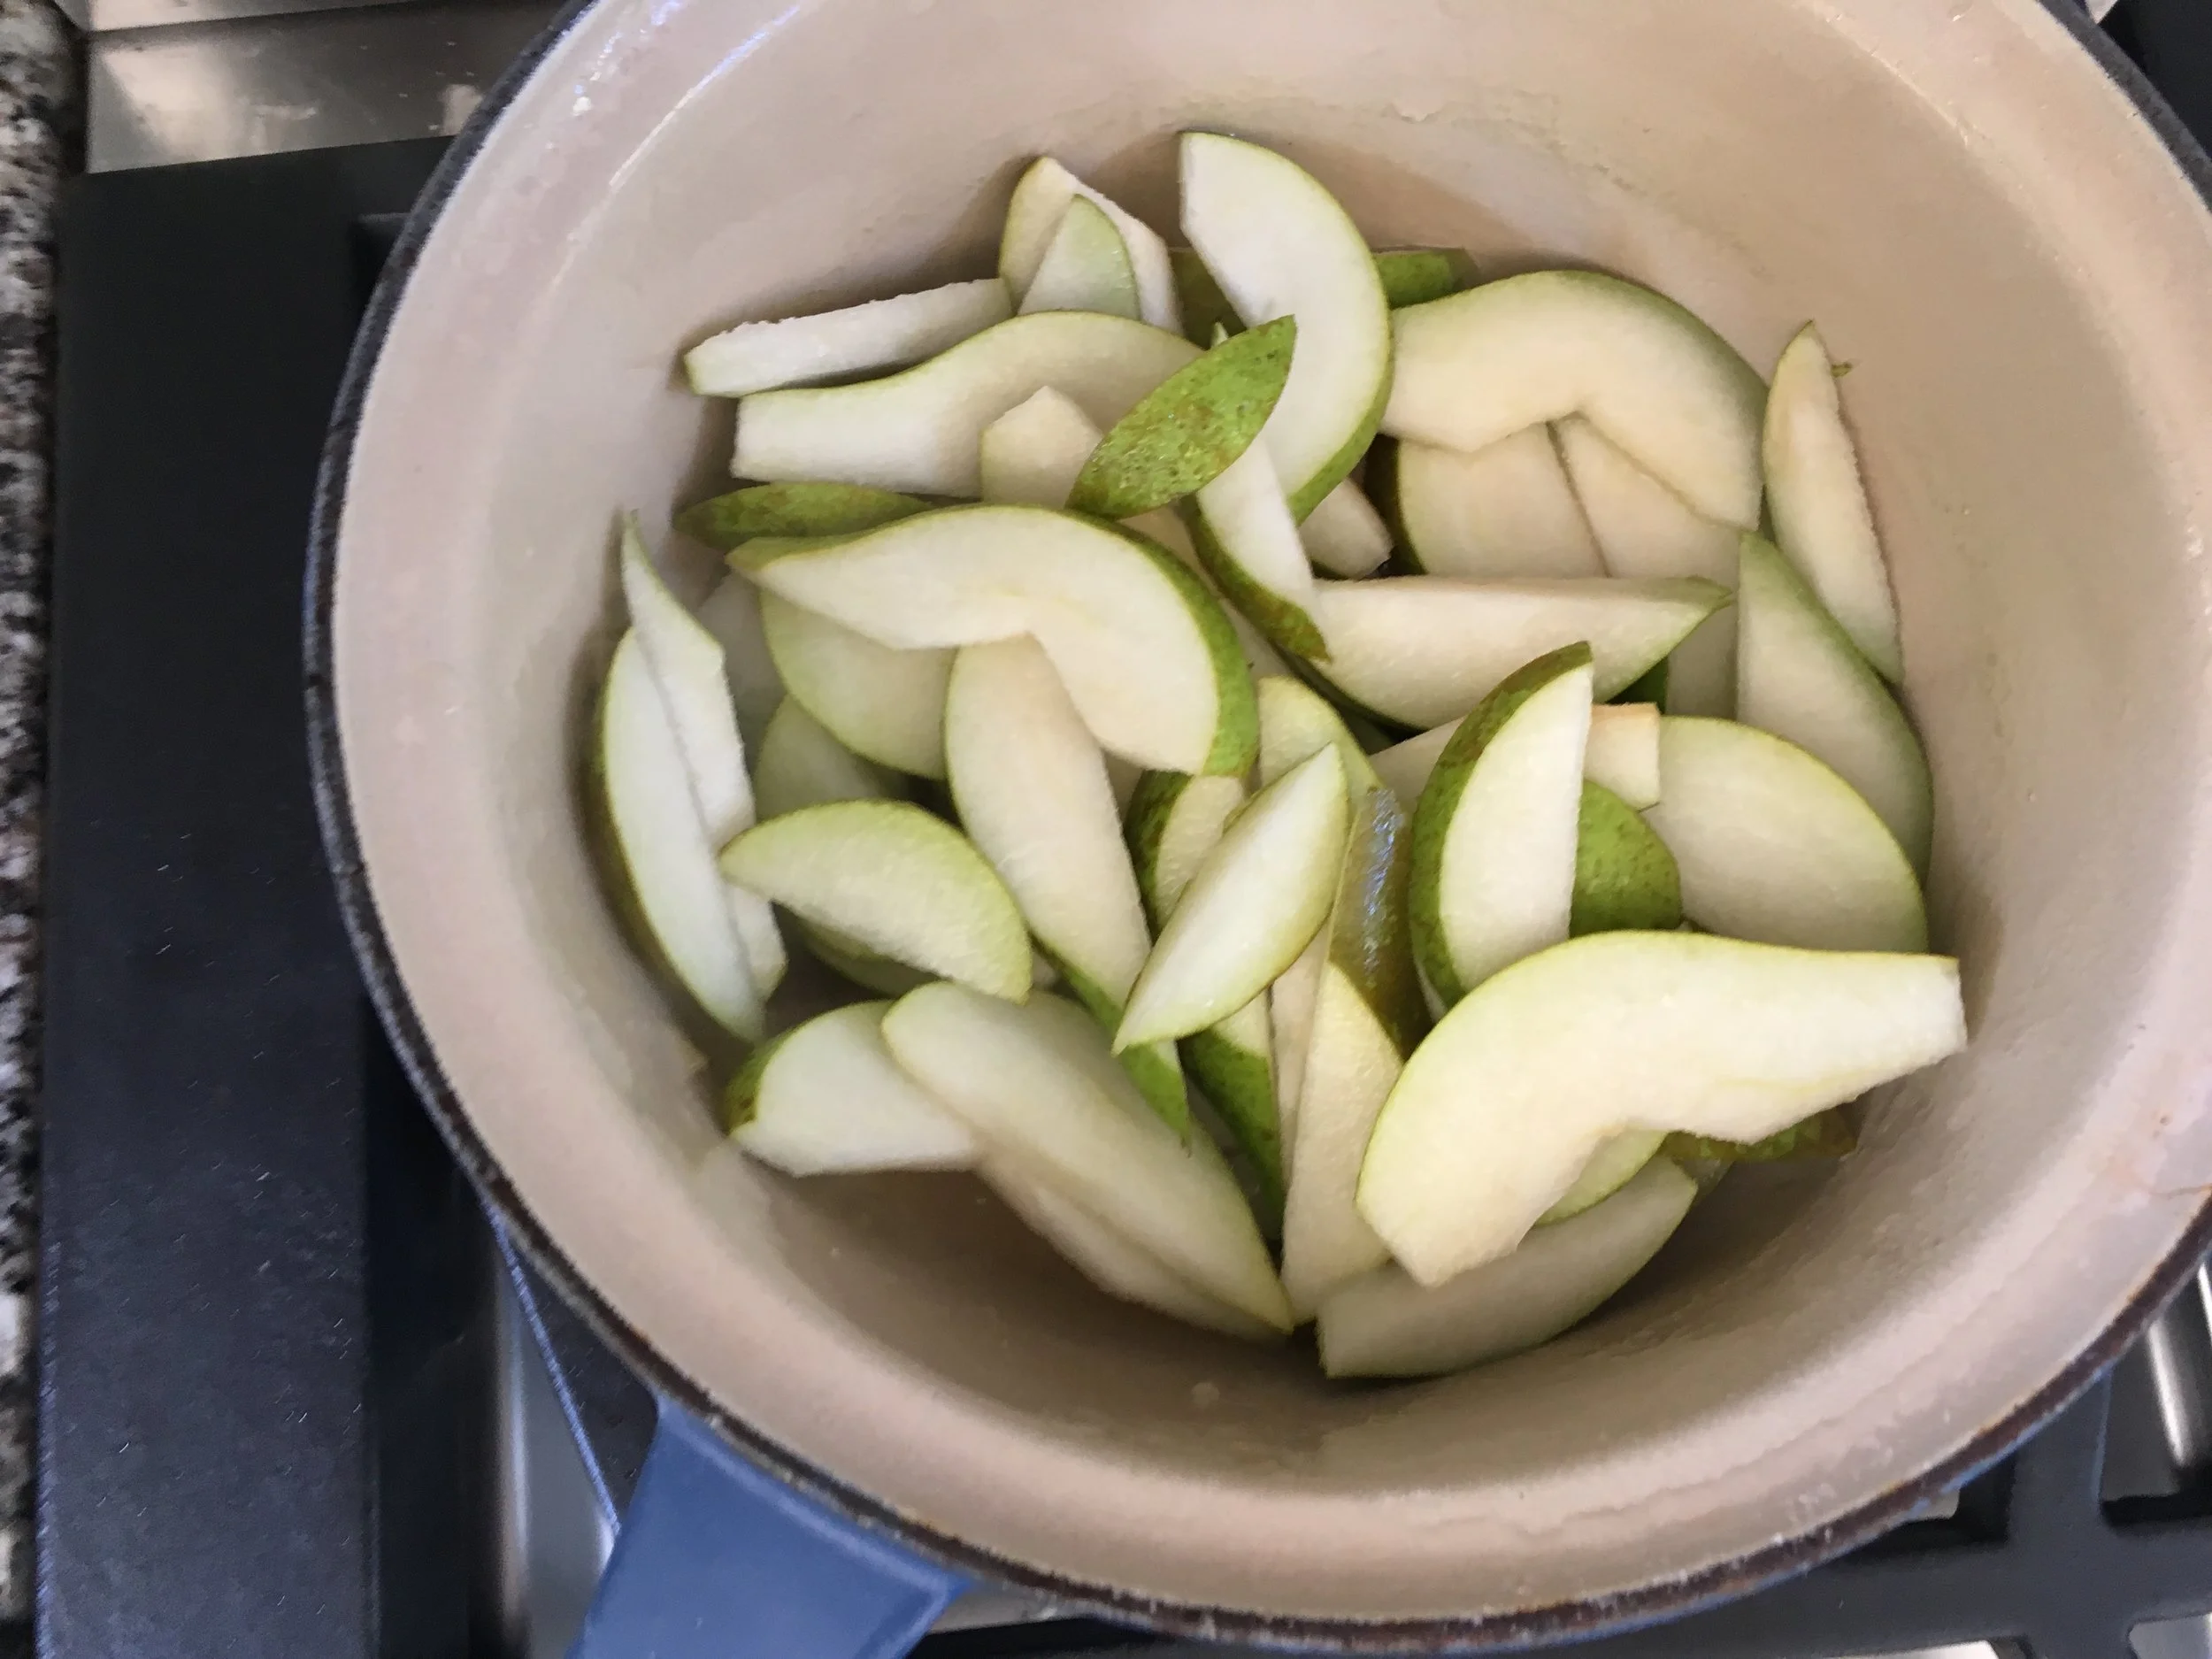
  8. Simmer your pear slices in a large shallow pan for 3-5 minutes until tender. Drain and leave to cool.

  9. Beat together all the other filling ingredients to make a rudimentary cake mix, and then spread this in an even layer in your tart case. Then start arranging your pear slices around the edge, slightly overlapping. Keep doing this, spiralling further and further in until you have no more space to fill. (See the pictures)

  10. Bake your tart for 30-40 minutes at 165C until the cake batter has fully cooked.

  11. Allow to cool before cutting.

IMG_1185.JPG
IMG_1203.JPG
IMG_1204.JPG
IMG_1207.JPG
IMG_1209.JPG
IMG_1223.JPG
IMG_1226.JPG
IMG_1228.JPG
IMG_1230.JPG
October 08, 2018 /Sophie Faulkner
Chocolate, pear, fruit, tart, sweet, recipe
Recipe
Comment
IMG_1155.JPG

15. Chelsea Buns

September 29, 2018 by Sophie Faulkner in Recipe

When I got back from holiday, one of the very first things I did was catch up on Great British Bake Off. Yes, I know it’s not the same now that it’s on Channel 4 and there’s no Mary, Sue and Mel. BUT, I wasn’t really watching it just for them. (Well, I mean, Mary is a national treasure and I miss her on GBBO a lot and Sandy and Noel just can’t fill Mel and Sue’s shoes, even though they try). I was watching it for the bakes. Watching these 12 amateur bakers attempting more and more complex bakes every week. They were who I wanted to be. I even applied one year, but annoyingly they went with Michael. Also from Durham University. I was not bitter at all…..

I still watch GBBO with the same love for each and every bake. I love watching basic ingredients change into something beautiful. Or not as the case may be, the disasters make me feel a little better about my own baking mishaps. It’s just such a great show. I could ramble about it for ages.

But I’ll spare you. All this preamble is leading up to today’s recipe. Inspired by bread week, I decided to try my hand at Chelsea buns. I have never made Chelsea buns before and I am very proud of how mine turned out. I used the BBC Good Food recipe (here) as my basis, and swapped out the mixture of dried fruit for just raisins and added in some orange zest, as inspired by some of the bread week signature bakes. They turned out great and I’d recommend giving them a go!

SIDE NOTE: These buns were made for a Macmillan coffee morning. If you want to find out more about Macmillan Cancer Support and the great work they do, click here. If you’d like to donate to Macmillan, click here.

Makes 9 buns

Ingredients

For the dough

  • 450g (16oz) plain or strong white flour

  • 14g (0.5oz) dried yeast (2 sachets)

  • 50g (1.75oz) caster sugar

  • Pinch of salt

  • 150ml warm milk

  • 1 egg

  • 50g (1.75oz) butter, melted

For the filling

  • 25g (1oz) butter, room temperature

  • 125g (4.5oz) raisins

  • Zest of one large orange

  • 1 tsp cinnamon

  • 1 tsp nutmeg

  • 25g (1oz) caster sugar (or light brown sugar)

For the glaze

  • 25g (1oz) caster sugar

Method

  1. Mix all the dry ingredients for the dough together in a bowl. Make a well in the middle and add in the milk, butter and egg. It can help to beat the egg before you add it, but it’s not really much more work if you don’t. Mix it together well, until it starts to form a dough and then use your hands. If once it has formed a dough it feels a bit dry, add a little splash of water, or if it feels too wet add a bit more flour.

  2. Knead the dough on a lightly floured surface until it starts to feel smooth and elastic. When done, form into a ball and set in a lightly oiled or greased bowl to prove. Cover with cling film and leave in a warm spot for an hour until it doubles in size.

  3. Knead the dough a couple of times to knock out the air and then form into a rectangle, about 30cm by 20cm. Spread over the butter and then sprinkle on the raisins. In a bowl mic together the sugar, spices and zest and then sprinkle that over the dough too.

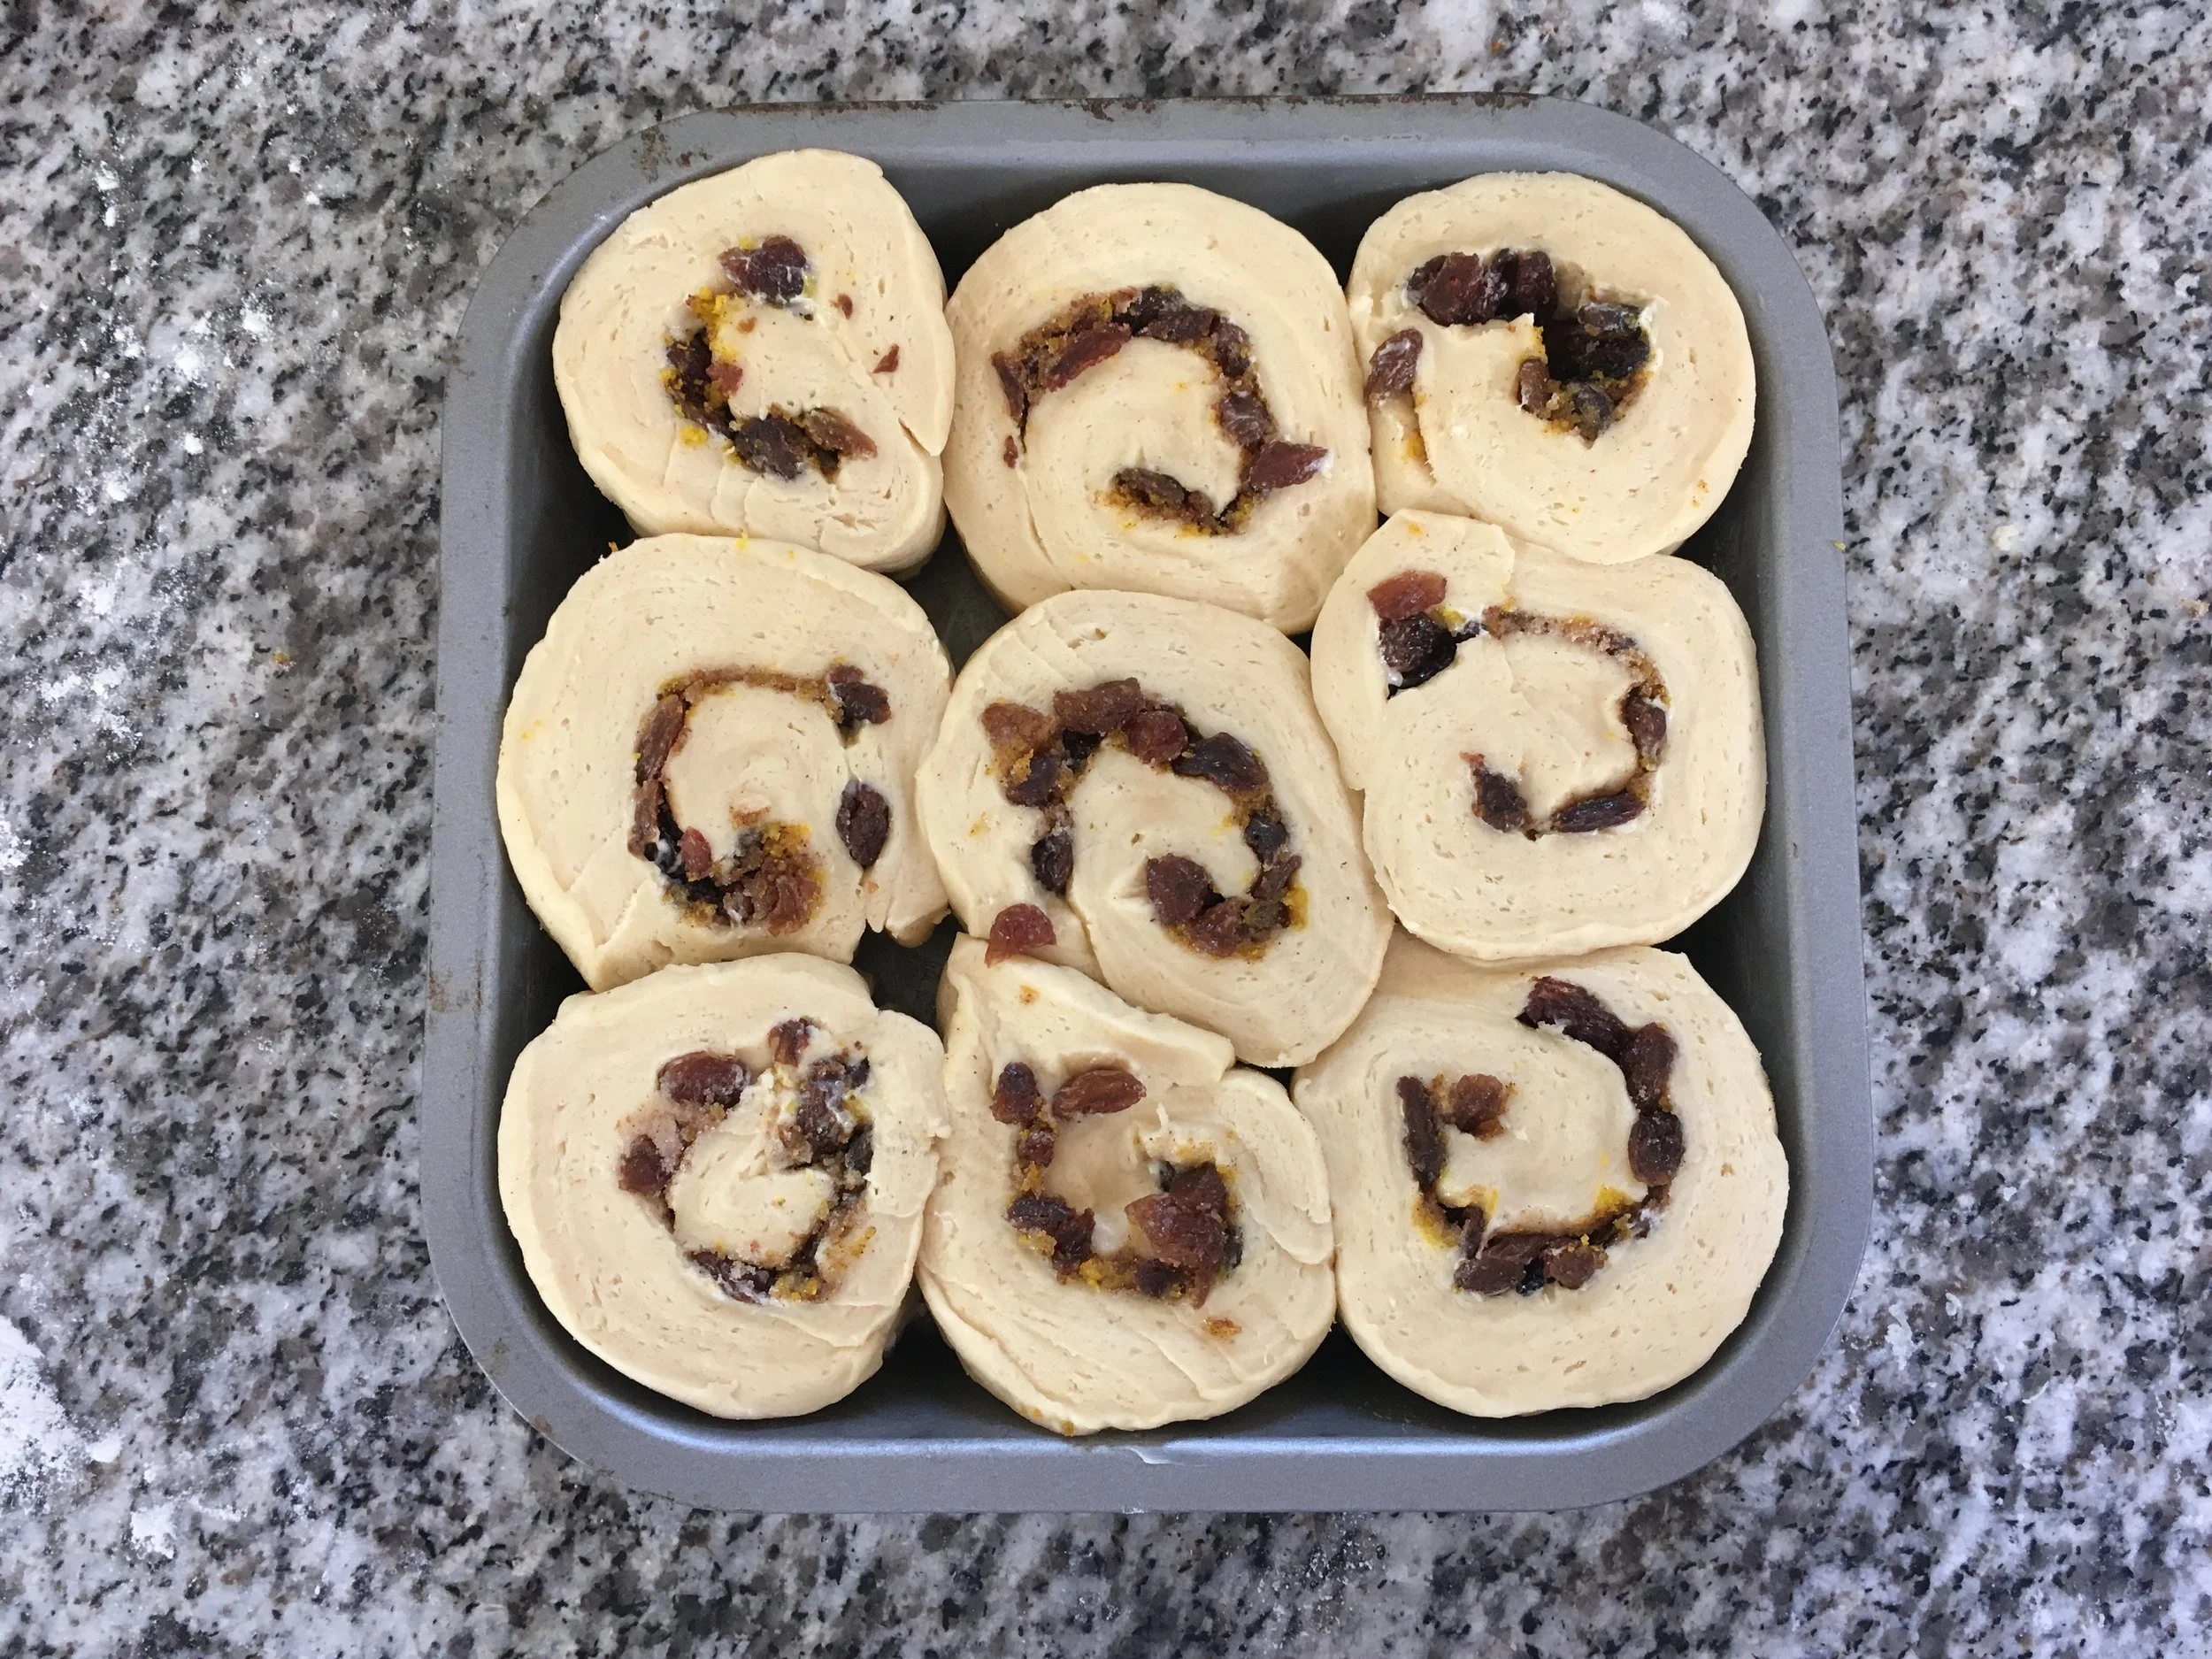
  4. Roll the dough starting at the long edge to get a 30cm long sausage. Slice this into 9 equal sized rounds. Grease an 8”x8” square tin and arrange the slices in the tin. Cover with a damp tea towel and leave to prove for half an hour. Preheat the oven to 180C during the prove.

  5. Bake the buns for 10 minutes at 180C and then decrease to 160C and bake for another ten minutes.

  6. To make the glaze mix the caster sugar together with a tablespoon of water. Once the buns are out of the oven, brush on the glaze immediately. Allow to cool a bit before serving warm or fully and serve cold.

IMG_1069.JPG
IMG_1071.JPG
IMG_1076.JPG
IMG_1080.JPG
IMG_1085.JPG
IMG_1089.JPG
IMG_1098.JPG
IMG_1101.JPG
IMG_1102.JPG
IMG_1158.JPG
IMG_1167.JPG
September 29, 2018 /Sophie Faulkner
orange, citrus, bread, chelsea buns, buns, raisins, dried fruit, sweet, recipe
Recipe
Comment
IMG_0678.JPG

14. Chocolate and Cinnamon Pinwheels

September 22, 2018 by Sophie Faulkner in Recipe

I’m back!!

After a much needed and long awaited holiday I am finally back in the UK with a decent wifi signal. I had a great time in Florida, but there was no possible way that I could get a blog post up without every photo taking hours to upload and process. Sorry for the radio silence!

I had planned on posting these while I was away and maybe doing a review whilst I was out there too, but all good plans. I made these just before I left and took them along to my most recent match for my team to enjoy. They seemed to go down ok.

Pinwheel cookies are just fun to make and you could do them in so many different flavour combinations, but, let’s be honest. I’ve been on a chocolate and cinnamon kick recently. I promise I’ll do something different soon! I know not everyone likes cinnamon… weirdos…

These are ideal to make with kids, cause they’re fun, easy and make PLENTY. Hope you enjoy!

Makes roughly 48 pinwheels.

Ingredients

  • 125g (4oz) butter

  • 100g (3.5oz) caster sugar

  • 200g (7oz) plain flour

  • 1 egg yolk

  • 40g (1.5oz) plain chocolate, melted

  • 1 tsp ground cinnamon

  • 2 tbsp milk

  • Pinch of salt

Method

  1. Start by making your cookie mixture by creaming together the butter and sugar and then add in the flour, a pinch of salt, an egg yolk and a tablespoon of milk.

  2. Move half of the dough into a new bowl and fold in the melted chocolate. In the original bowl add in the cinnamon.

  3. On a sheet of greaseproof paper roll out one of the doughs to be about 1/8” thick. Mine ended up being about 20cm by 40cm. Might want to try and roll them to be fairly rectangular if possible! Repeat with the other dough on another sheet of greaseproof paper. You want them to be roughly the same size and shape if possible.

  4. Brush the top of the cinnamon dough with a tablespoon of milk and then lay the chocolate dough on top. Use your rolling pin to roll with a gentle pressure a couple of times to get the doughs to adhere, but not so that you lose the definition of the divide.

  5. Roll the dough into a long sausage, starting at one of the longer sides. Once you have your roll, chill it in the fridge for half an hour. This will make it a lot easier to cut it into rounds.

  6. Preheat the oven to 180C.

  7. Slice your log into rounds, slightly thicker than a pound coin and place your pinwheels on a lined baking tray.

  8. Bake for 8-10 minutes.

  9. Allow to cool and enjoy!

View fullsize
View fullsize
View fullsize
View fullsize
View fullsize
View fullsize
View fullsize
View fullsize
IMG_0677.JPG

You could try all sorts of flavour combinations if chocolate and cinnamon aren’t your thing, e.g. peppermint and chocolate, vanilla and lemon or ginger and cinnamon. If you want to get the pinwheel effect using two similarly coloured doughs, why not try using a little bit of food colouring to keep the fun?

Let me know if you enjoy them! Give them a share on Twitter or Instagram (where I’m @sophiespiblog) or on the Facebook page (https://www.facebook.com/sophiespiblog). I love hearing from you guys and whether it went well!

September 22, 2018 /Sophie Faulkner
Chocolate, Cookies, Biscuit, Pinwheel, cinnamon, Recipe
Recipe
Comment
IMG_0566.JPG

13. Spiced Chocolate Chip Muffins

September 10, 2018 by Sophie Faulkner in Recipe

Cinnamon is just SO GOOD. Whenever I want to make my bake a little more interesting, my hand reaches for the cinnamon just as easily as it reaches for the vanilla. Cinnamon is one of those flavours that a couple of people hate, and I simply don't understand at all. Other flavours that are bolder, e.g. ginger, coriander or aniseed, I can get why people wouldn't like them, but cinnamon is just so inoffensive. How anyone could dislike cinnamon I do not know.

With a couple of colder rainy days this week I decided that a spiced cake would help the cold feel cosy autumnal. There's a reason that pumpkin spice becomes a thing this time of year. There's nothing better than a little bit of spice to warm you up on a cold day! And I had chocolate chips to use up, so why not make them chocolate chip?

This cake also contains ginger and nutmeg to round out the spice profile, but I will undoubtedly be making my cinnamon cake with cinnamon cream cheese frosting in the next couple months to help conquer the autumn! Keep an eye out for it!

Makes 12 muffins

Ingredients

  • 6oz (170g) butter

  • 6oz (170g) golden caster sugar

  • 6oz (170g) self raising flour

  • 3 eggs

  • 1 tsp ground ginger

  • 1 tsp ground nutmeg

  • 2 tsp ground cinnamon

  • 5oz (150g) chocolate chips, preferably dark

Method

  1. Preheat the oven to 180C.

  2. Cream together the butter and sugar until light and fluffy.

  3. Beat in the eggs.

  4. Add in the flour and spices and mix until well combined.

  5. Add in the chocolate chips and fold the mixture a couple times until they are evenly distributed.

  6. Divide the mix between 12 muffin cases, until each case is about two thirds full.

  7. Bake for 18-20 minutes until golden brown and when skewered, the skewer comes out clean.

  8. Leave to cool a little, but best enjoyed warm to beat the autumn blues.

View fullsize
View fullsize
View fullsize
View fullsize
September 10, 2018 /Sophie Faulkner
Muffins, muffins, Chocolate, cinnamon, Ginger, Spiced, Recipe
Recipe
Comment
IMG_0557.JPG

12. Tomato and Basil Tarts

September 08, 2018 by Sophie Faulkner in Recipe

Up until recently I would not eat a raw tomato. The texture was too wet, it was too slimy and all in all I could not wrap my head around it. In the past few weeks I have been getting over that. I can now eat cherry tomatoes and really kinda enjoy them. I don't think I could just sit and eat a whole punnet yet, but a couple now and then? Sure thing.

This revelation was sparked when a bowl of tomatoes was laid out in the kitchen at work. People grow them on our balcony and I thought, you know, would be rude not to seeing as they've grown them themselves and are standing right here. So I tried one and I didn't hate it. Who knew?? I don't think that I could eat a whole garden variety tomato yet, but one I can just pop in my mouth? No problem.

Seeing as I didn't die, I decided to experiment some more with tomatoes, first in my every day cooking, and then in my baking. Inspired by a Garden Tomato and Basil Tart from Pastry Affair, I decided to make my own version, a bit more bite sized. I guess you can tell I really enjoy mini tarts by now right? This is my fifth tart recipe! 

I made these at the same time as my Goat's Cheese and Balsamic Onion Tarts, and used the same recipe for the pastry. These also came into work and were gleefully devoured. I can't tell whether my coworkers would just eat anything put in front of them or whether they genuinely enjoyed it that much. Could go either way.

Makes 18-24 tarts

Ingredients

For the pastry

  • 200g (7oz) plain flour

  • 100g (3.5oz) butter, room temperature

  • 1 tbsp mixed herbs

  • Pinch of salt

For the filling

  • Roughly 200g (7oz) of cherry or plum tomatoes

  • 1 tbsp oil

  • Some fresh basil

Method

  1. Make your pastry. Cube the butter and rub in the flour, salt and herbs until it forms breadcrumbs and then a short dough. You made need to press it together to get it to form a dough. If it is too short to just stay together, add a small splash of water to moisten it.

  2. Wrap your dough in clingfilm and chill for 15 minutes.

  3. Preheat the oven to 175C.

  4. Roll out your dough to about 1/8" thick and then use a circular cutter, size depending on the size of your tin, to stamp out your rounds. Press your dough a pre greased tart or tartlet tin.

  5. Bake the tart cases for 10 minutes.

  6. Slice your tomatoes in half and roughly scoop out the seeds. This will help lower the moisture content. Place them skin side down in a pan with some oil and fry over a medium heat for 10-15 minutes until they release their moisture.

  7. Scoop out the tomatoes with a slotted spoon, and allow to drain a little.

  8. Fill the half baked tart cases with your tomatoes and add in the basil. The tomatoes will shrink in the oven, so make sure to pack them in.

  9. Return to the oven for 5-10 minutes until the tarts are just golden.

  10. Enjoy!

View fullsize
View fullsize
IMG_0558.JPG
September 08, 2018 /Sophie Faulkner
Tart, tomato, basil, Savoury
Recipe
Comment
IMG_0533.JPG

11. Goats Cheese and Balsamic Onion Tarts

September 03, 2018 by Sophie Faulkner in Recipe

I've just had my last week at my temp job and so my coworkers have had their last set of baked goods. There were requests for cakes, biscuits, doughnuts, repeats of things I've made before. Some requests were more reasonable than others... How am I supposed to bring a cream filled Swedish Princess cake (they made it on Bake Off once) on the tube at rush hour?? I couldn't decide between their requests, so I decided to ignore them completely. 

I. Went... SAVOURY.

Hold your gasps of shock please, it does happen once in a while. The tarts were requested so many times that I decided they were a good idea, but I don't like doing repeats so soon, so I decided that tarts don't need to be sweet, savoury can be just as good.

Having a quick trawl of the internet I came across a load of different savoury tart recipe ideas including this one, and a tomato tart. Onion and goats cheese tarts was a popular recipe, with tons of different sites giving their twist. So I put my own twist on.

They went down extremely well, I hope you enjoy them too! 

Makes 18-24 tarts

Ingredients

For the pastry

  • 200g (7oz) plain flour

  • 100g (3.5oz) butter, room temperature

  • 1 tbsp mixed herbs

  • Pinch of salt

For the filling

  • One red onion, sliced

  • 125g (4.5oz) goats cheese

  • 2 tbsp balsamic vinegar

  • 1 knob butter

  • Pinch sugar

Method

  1. Make your pastry. Cube the butter and rub in the flour, salt and herbs until it forms breadcrumbs and then a short dough. You made need to press it together to get it to form a dough. If it is too short to just stay together, add a small splash of water to moisten it.

  2. Wrap your dough in clingfilm and chill for 15 minutes.

  3. Melt the butter in a lidded frying pan and add in the sliced onion. Cover with a lid and cook on a low to medium heat for 10 minutes until they soften. Then remove the lid and add in the sugar and balsamic vinegar. WARNING: This will smell. Get your extractor fan on or at least close the door and open a window!

  4. Cook the onions for a further 15-20 minutes, stirring occasionally, until all the liquid has evaporated and the onions are "jammy". Leave to one side.

  5. Preheat the oven to 175C.

  6. Roll out your dough to about 1/8" thick and then use a circular cutter, size depending on the size of your tin, to stamp out your rounds. Press your dough a pre greased tart or tartlet tin.

  7. Bake the tart cases for 12 minutes and then take out.

  8. Cut the goats cheese into 24 (or however many tarts you made) chunks.

  9. Divide your onion mixture between the tarts. Top with a chunk of goats cheese and return to the oven for 5-7 minutes until the cheese has slightly melted and the tart cases are just golden.

  10. Enjoy!

View fullsize
View fullsize
IMG_0532.JPG
September 03, 2018 /Sophie Faulkner
Goats cheese, Onion, Balsamic, Tart, Savoury, Recipe
Recipe
Comment
IMG_0446.JPG

10. Chocolate Chip Shortbread

August 31, 2018 by Sophie Faulkner in Recipe

Double digit recipes. Woo!!!!

For recipe 10, I thought I'd just keep it simple. Vanilla shortbread with chocolate chips. Easy as pi. Shortbread is one of those classic biscuits that everyone loves. It's sweet and crumbly and just delicious. When I was growing up, my grandma would always buy a box of Scottish shortbread if I was coming round, even if I was just popping over for lunch. Unfortunately this stopped after I lived with her for a while. It was probably a bit too much to ask for there to be a constant supply of shortbread, but there we go. 

Even now shortbread always reminds me of my grandma, and that's part of the reason I enjoy making it. I don't know if we ever actually made shortbread together in and amongst the baking we did when I was a kid, but even so, shortbread will always be linked with my grandma.

Makes roughly 24 biscuits

Ingredients

  • 4oz (115g) butter

  • 2oz (55g) caster sugar

  • 6oz (170g) plain flour

  • 1 tsp vanilla extract

  • 3.5oz (100g) chocolate chips

Method

  1. Preheat your oven to 180C.

  2. Cream together the butter and sugar until well combined.

  3. Add in the flour, then chocolate chips and vanilla extract. This should form a dough, but may be a bit short and crumbly. If this happens and it is TOO crumbly to deal with, add a splash of milk to help combine the ingredients.

  4. Roll out the dough to about 1cm thick and use a 2" diameter cutter to stamp out your biscuits.

  5. Transfer your rounds to a lined baking tray and bake for 15-20 minutes until just golden.

View fullsize
View fullsize
August 31, 2018 /Sophie Faulkner
Chocolate, Biscuit, Shortbread, Vanilla
Recipe
Comment
  • Newer
  • Older

Powered by Squarespace