13. Spiced Chocolate Chip Muffins
Cinnamon is just SO GOOD. Whenever I want to make my bake a little more interesting, my hand reaches for the cinnamon just as easily as it reaches for the vanilla. Cinnamon is one of those flavours that a couple of people hate, and I simply don't understand at all. Other flavours that are bolder, e.g. ginger, coriander or aniseed, I can get why people wouldn't like them, but cinnamon is just so inoffensive. How anyone could dislike cinnamon I do not know.
With a couple of colder rainy days this week I decided that a spiced cake would help the cold feel cosy autumnal. There's a reason that pumpkin spice becomes a thing this time of year. There's nothing better than a little bit of spice to warm you up on a cold day! And I had chocolate chips to use up, so why not make them chocolate chip?
This cake also contains ginger and nutmeg to round out the spice profile, but I will undoubtedly be making my cinnamon cake with cinnamon cream cheese frosting in the next couple months to help conquer the autumn! Keep an eye out for it!
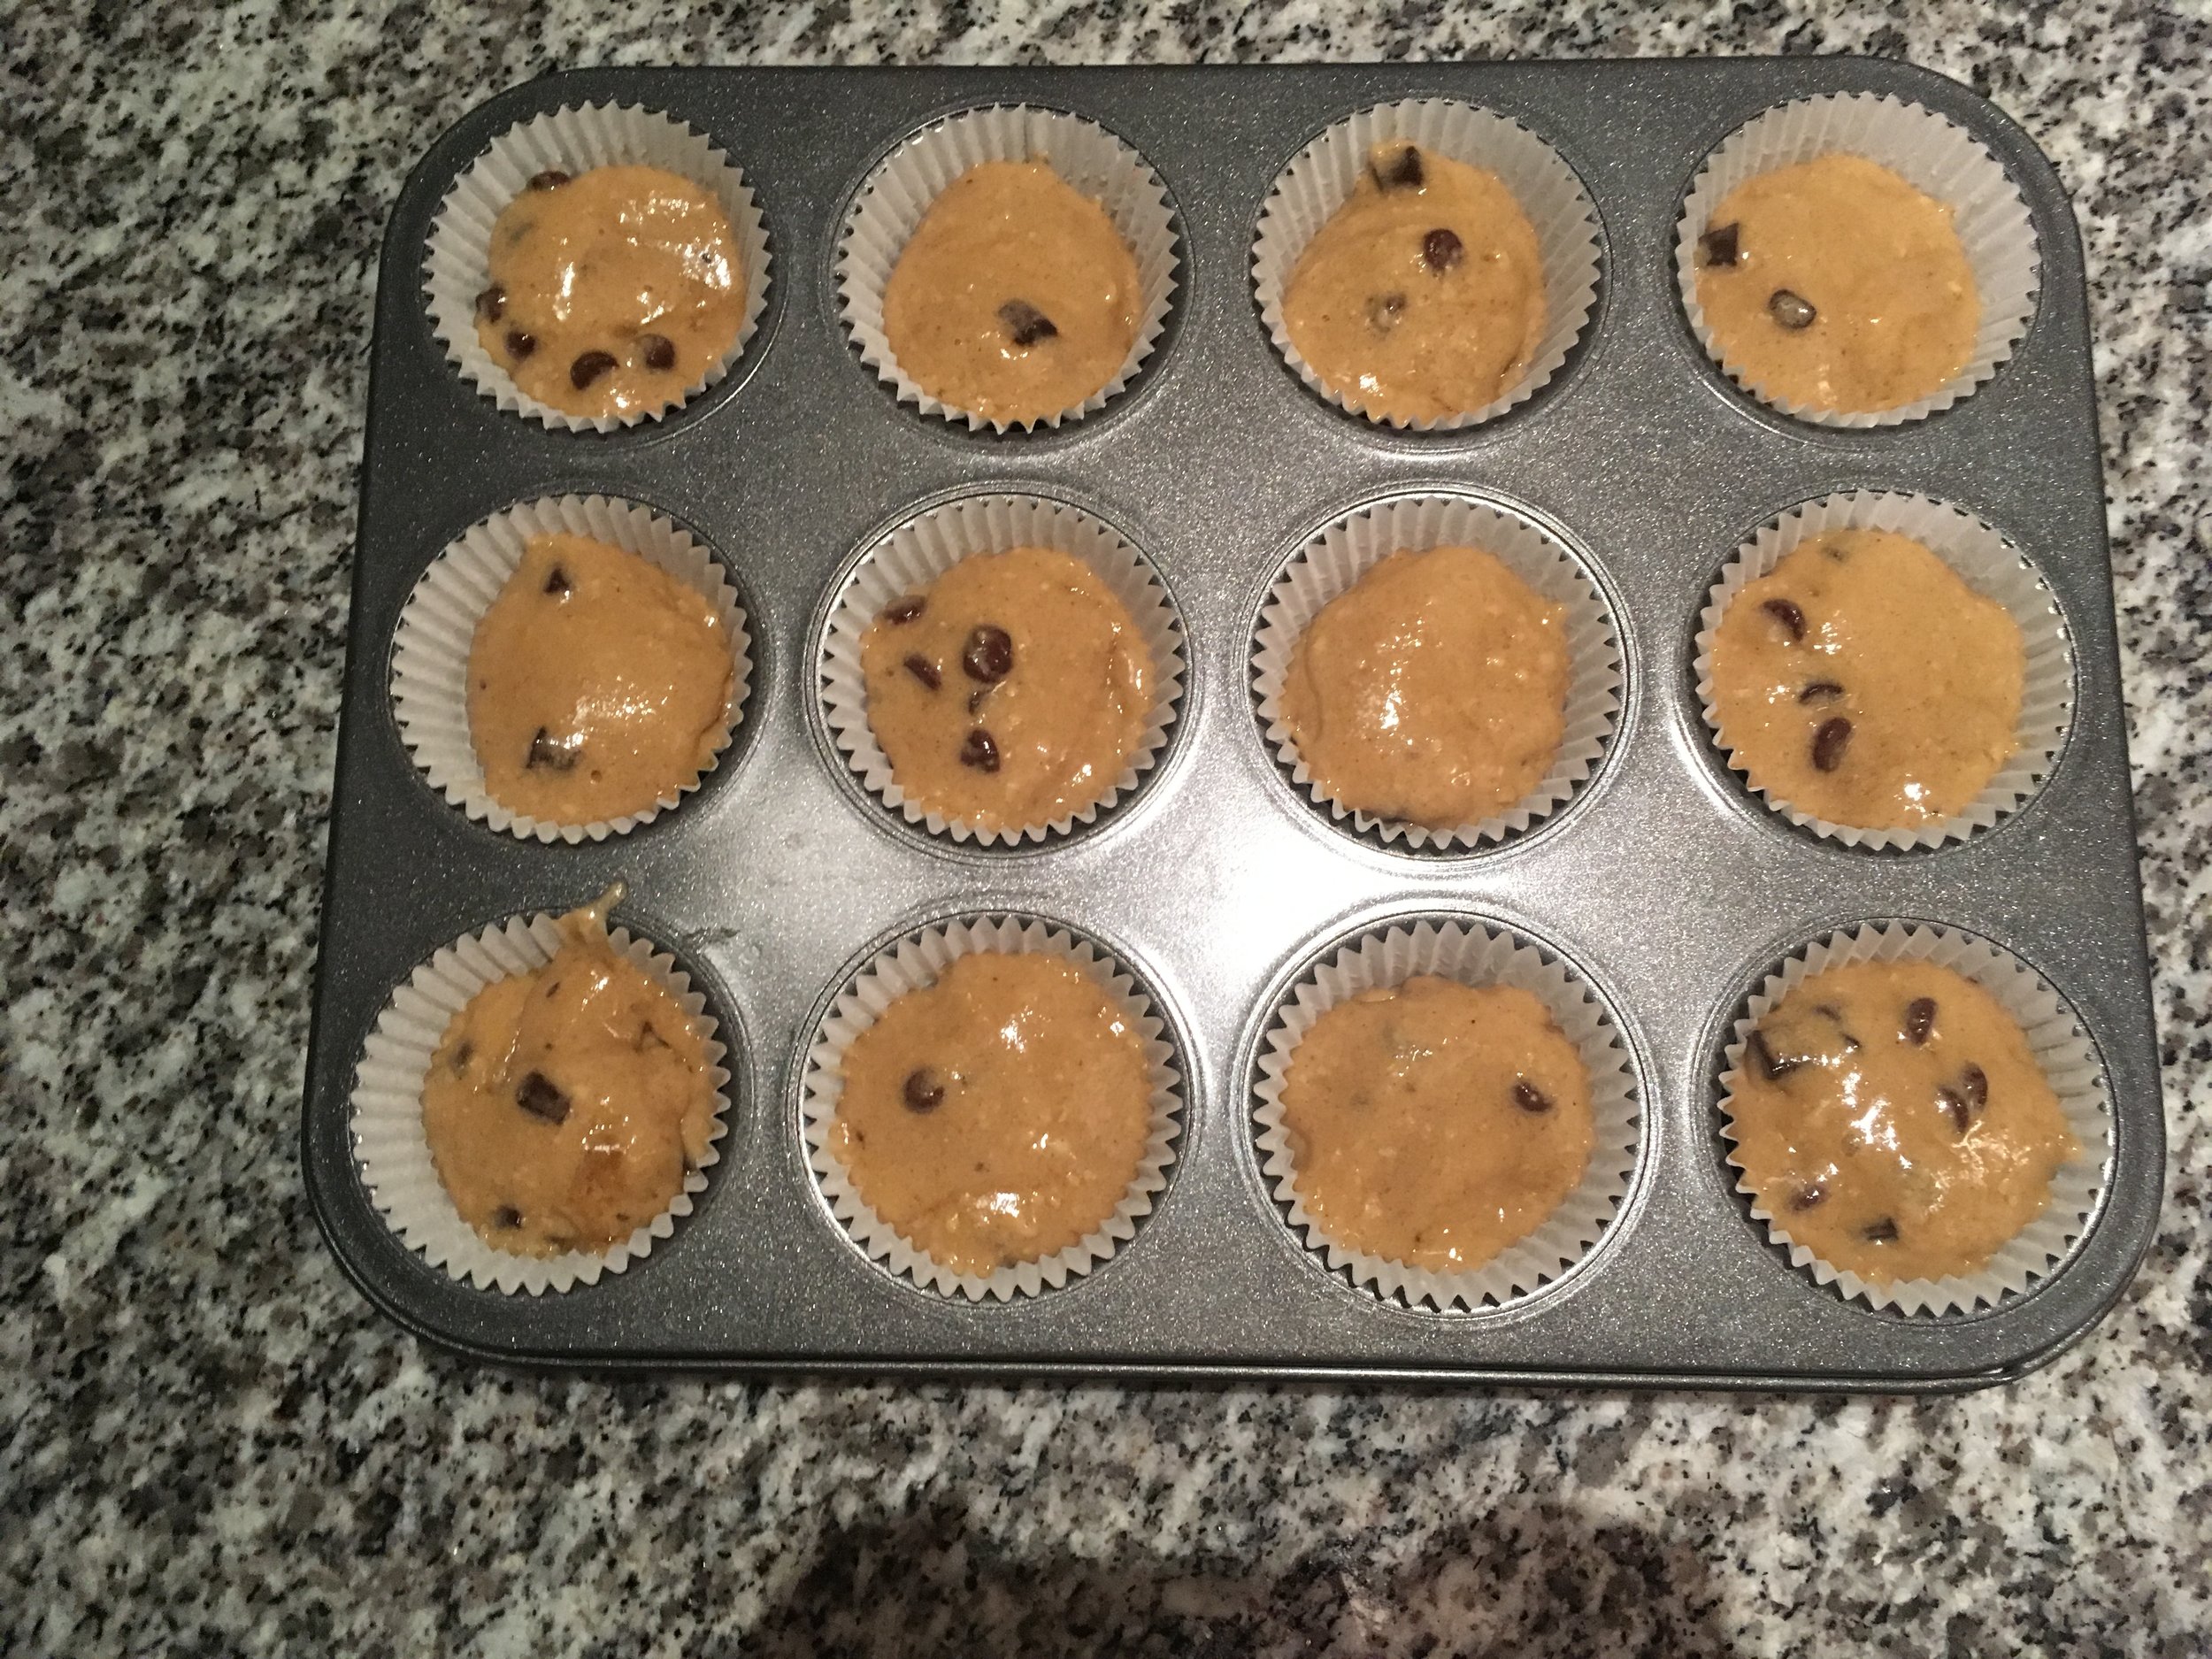
Makes 12 muffins
Ingredients
6oz (170g) butter
6oz (170g) golden caster sugar
6oz (170g) self raising flour
3 eggs
1 tsp ground ginger
1 tsp ground nutmeg
2 tsp ground cinnamon
5oz (150g) chocolate chips, preferably dark
Method
Preheat the oven to 180C.
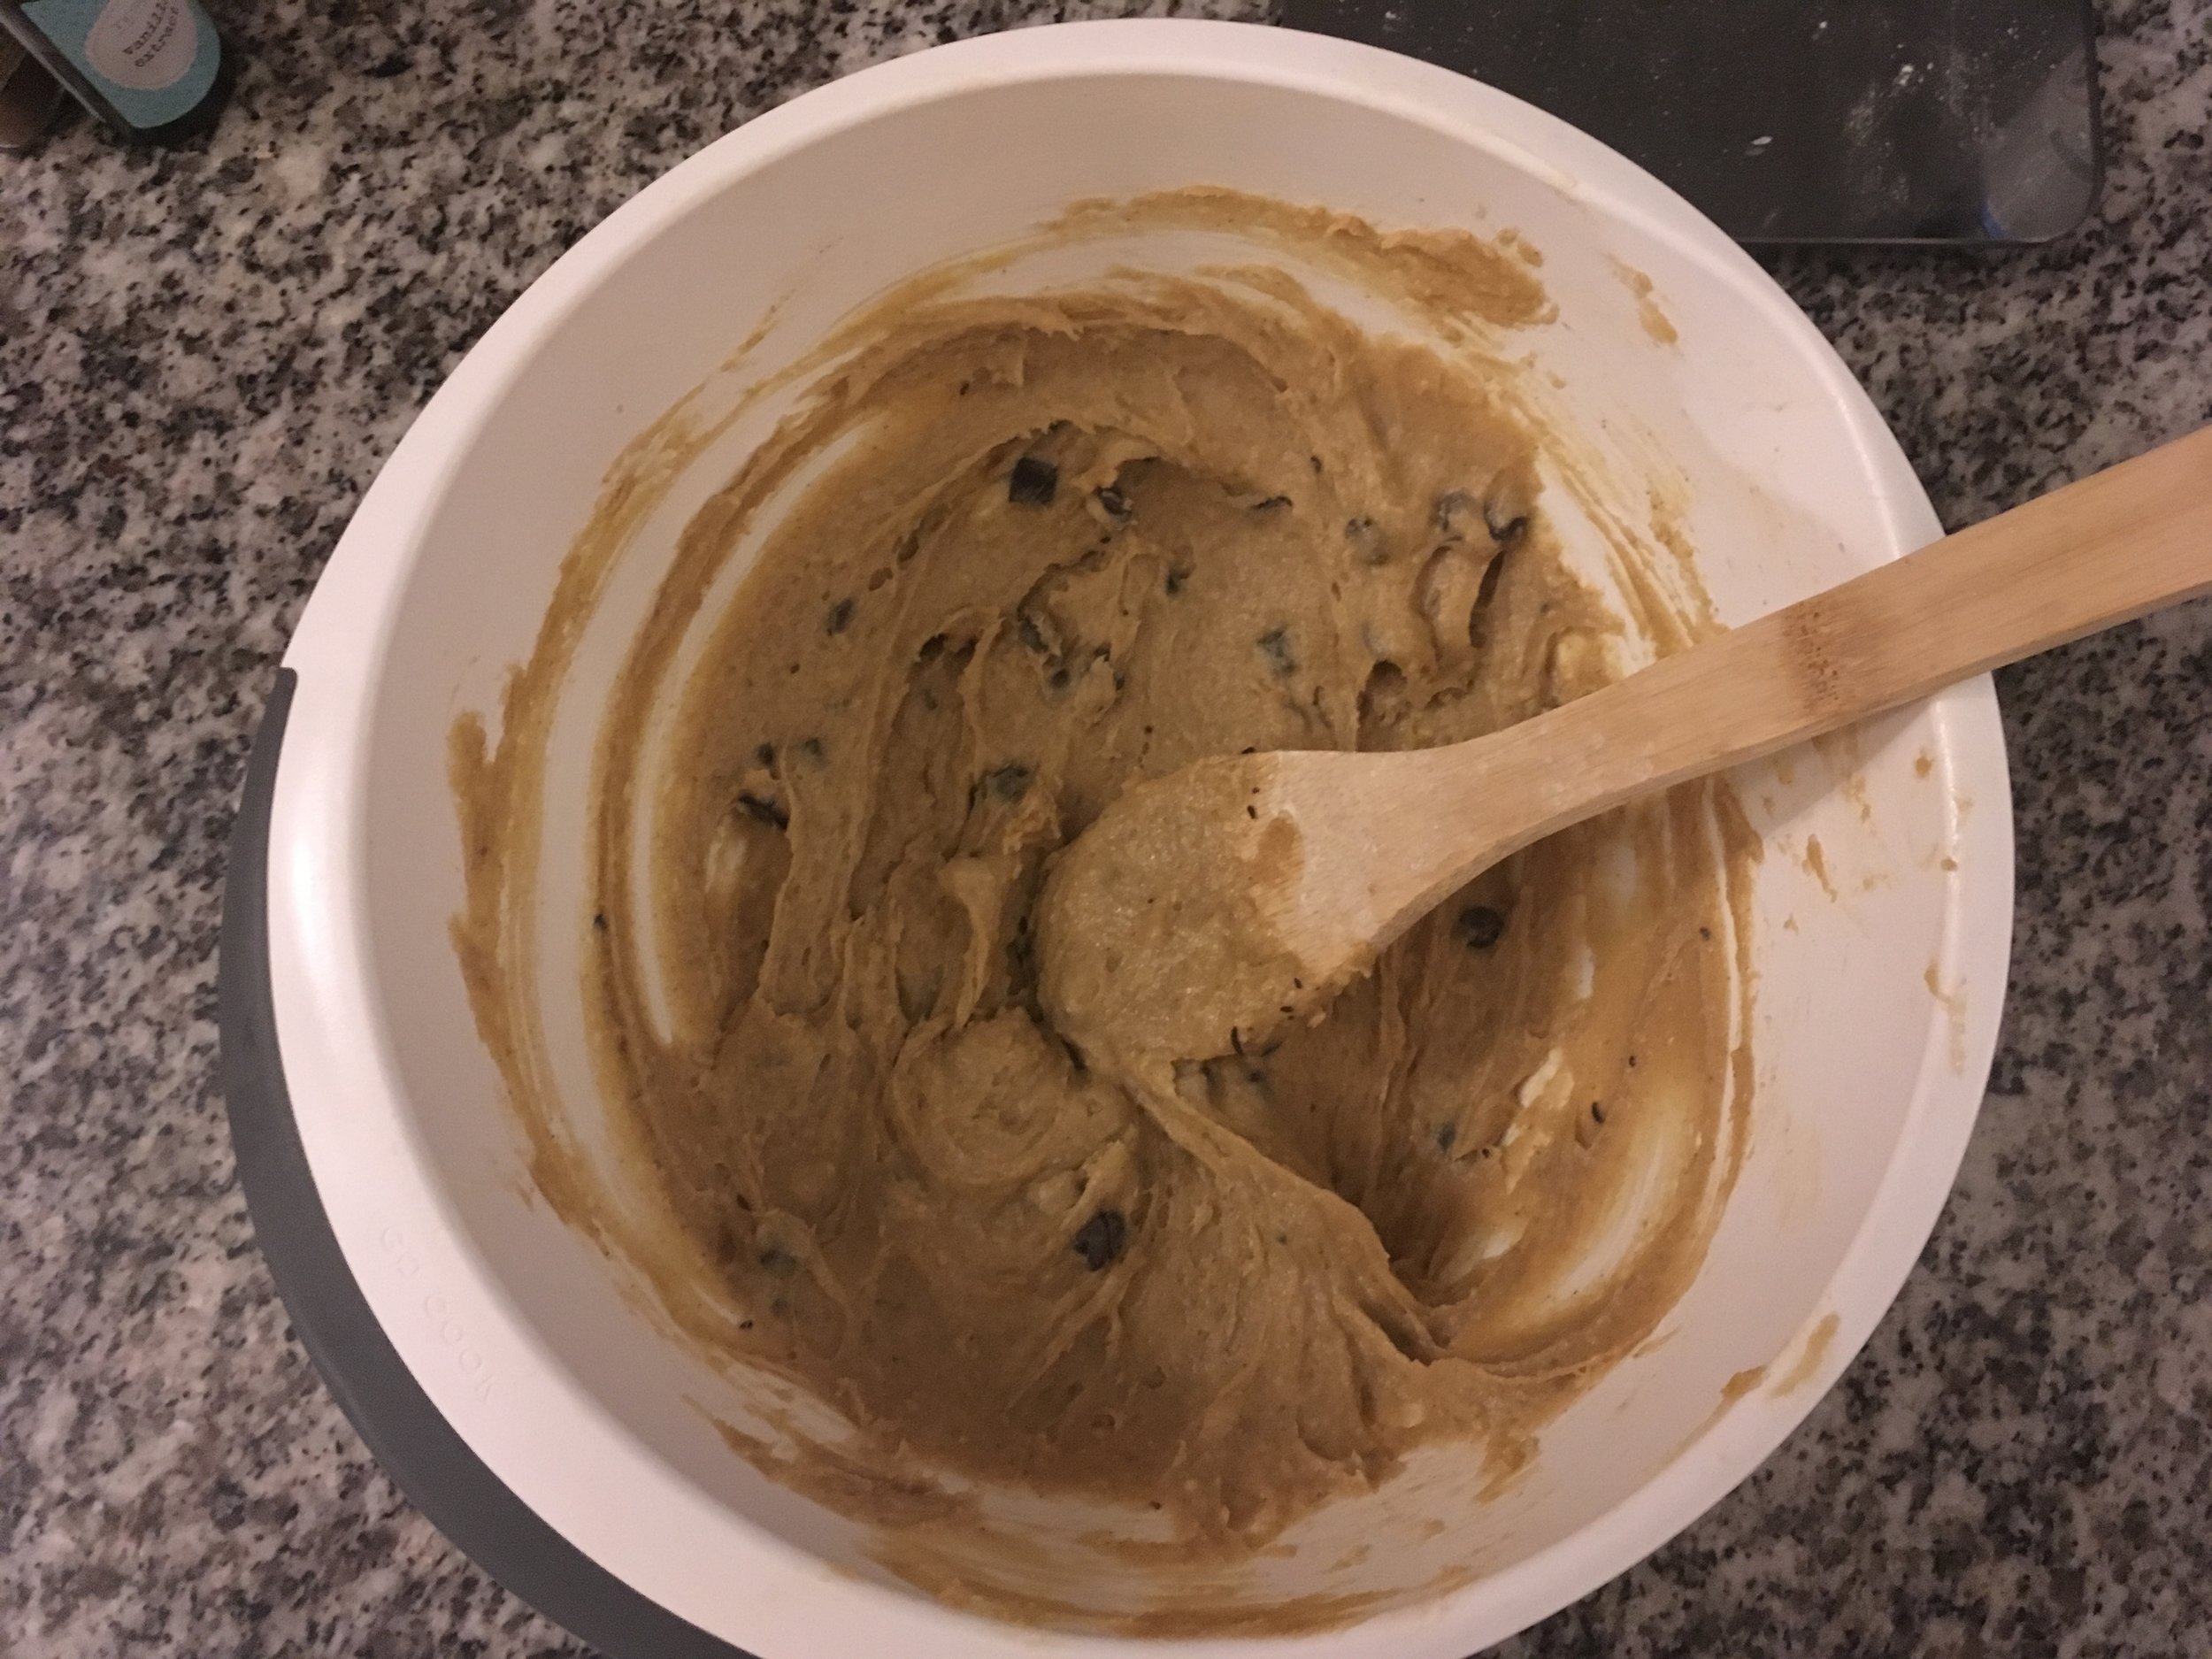
Cream together the butter and sugar until light and fluffy.
Beat in the eggs.
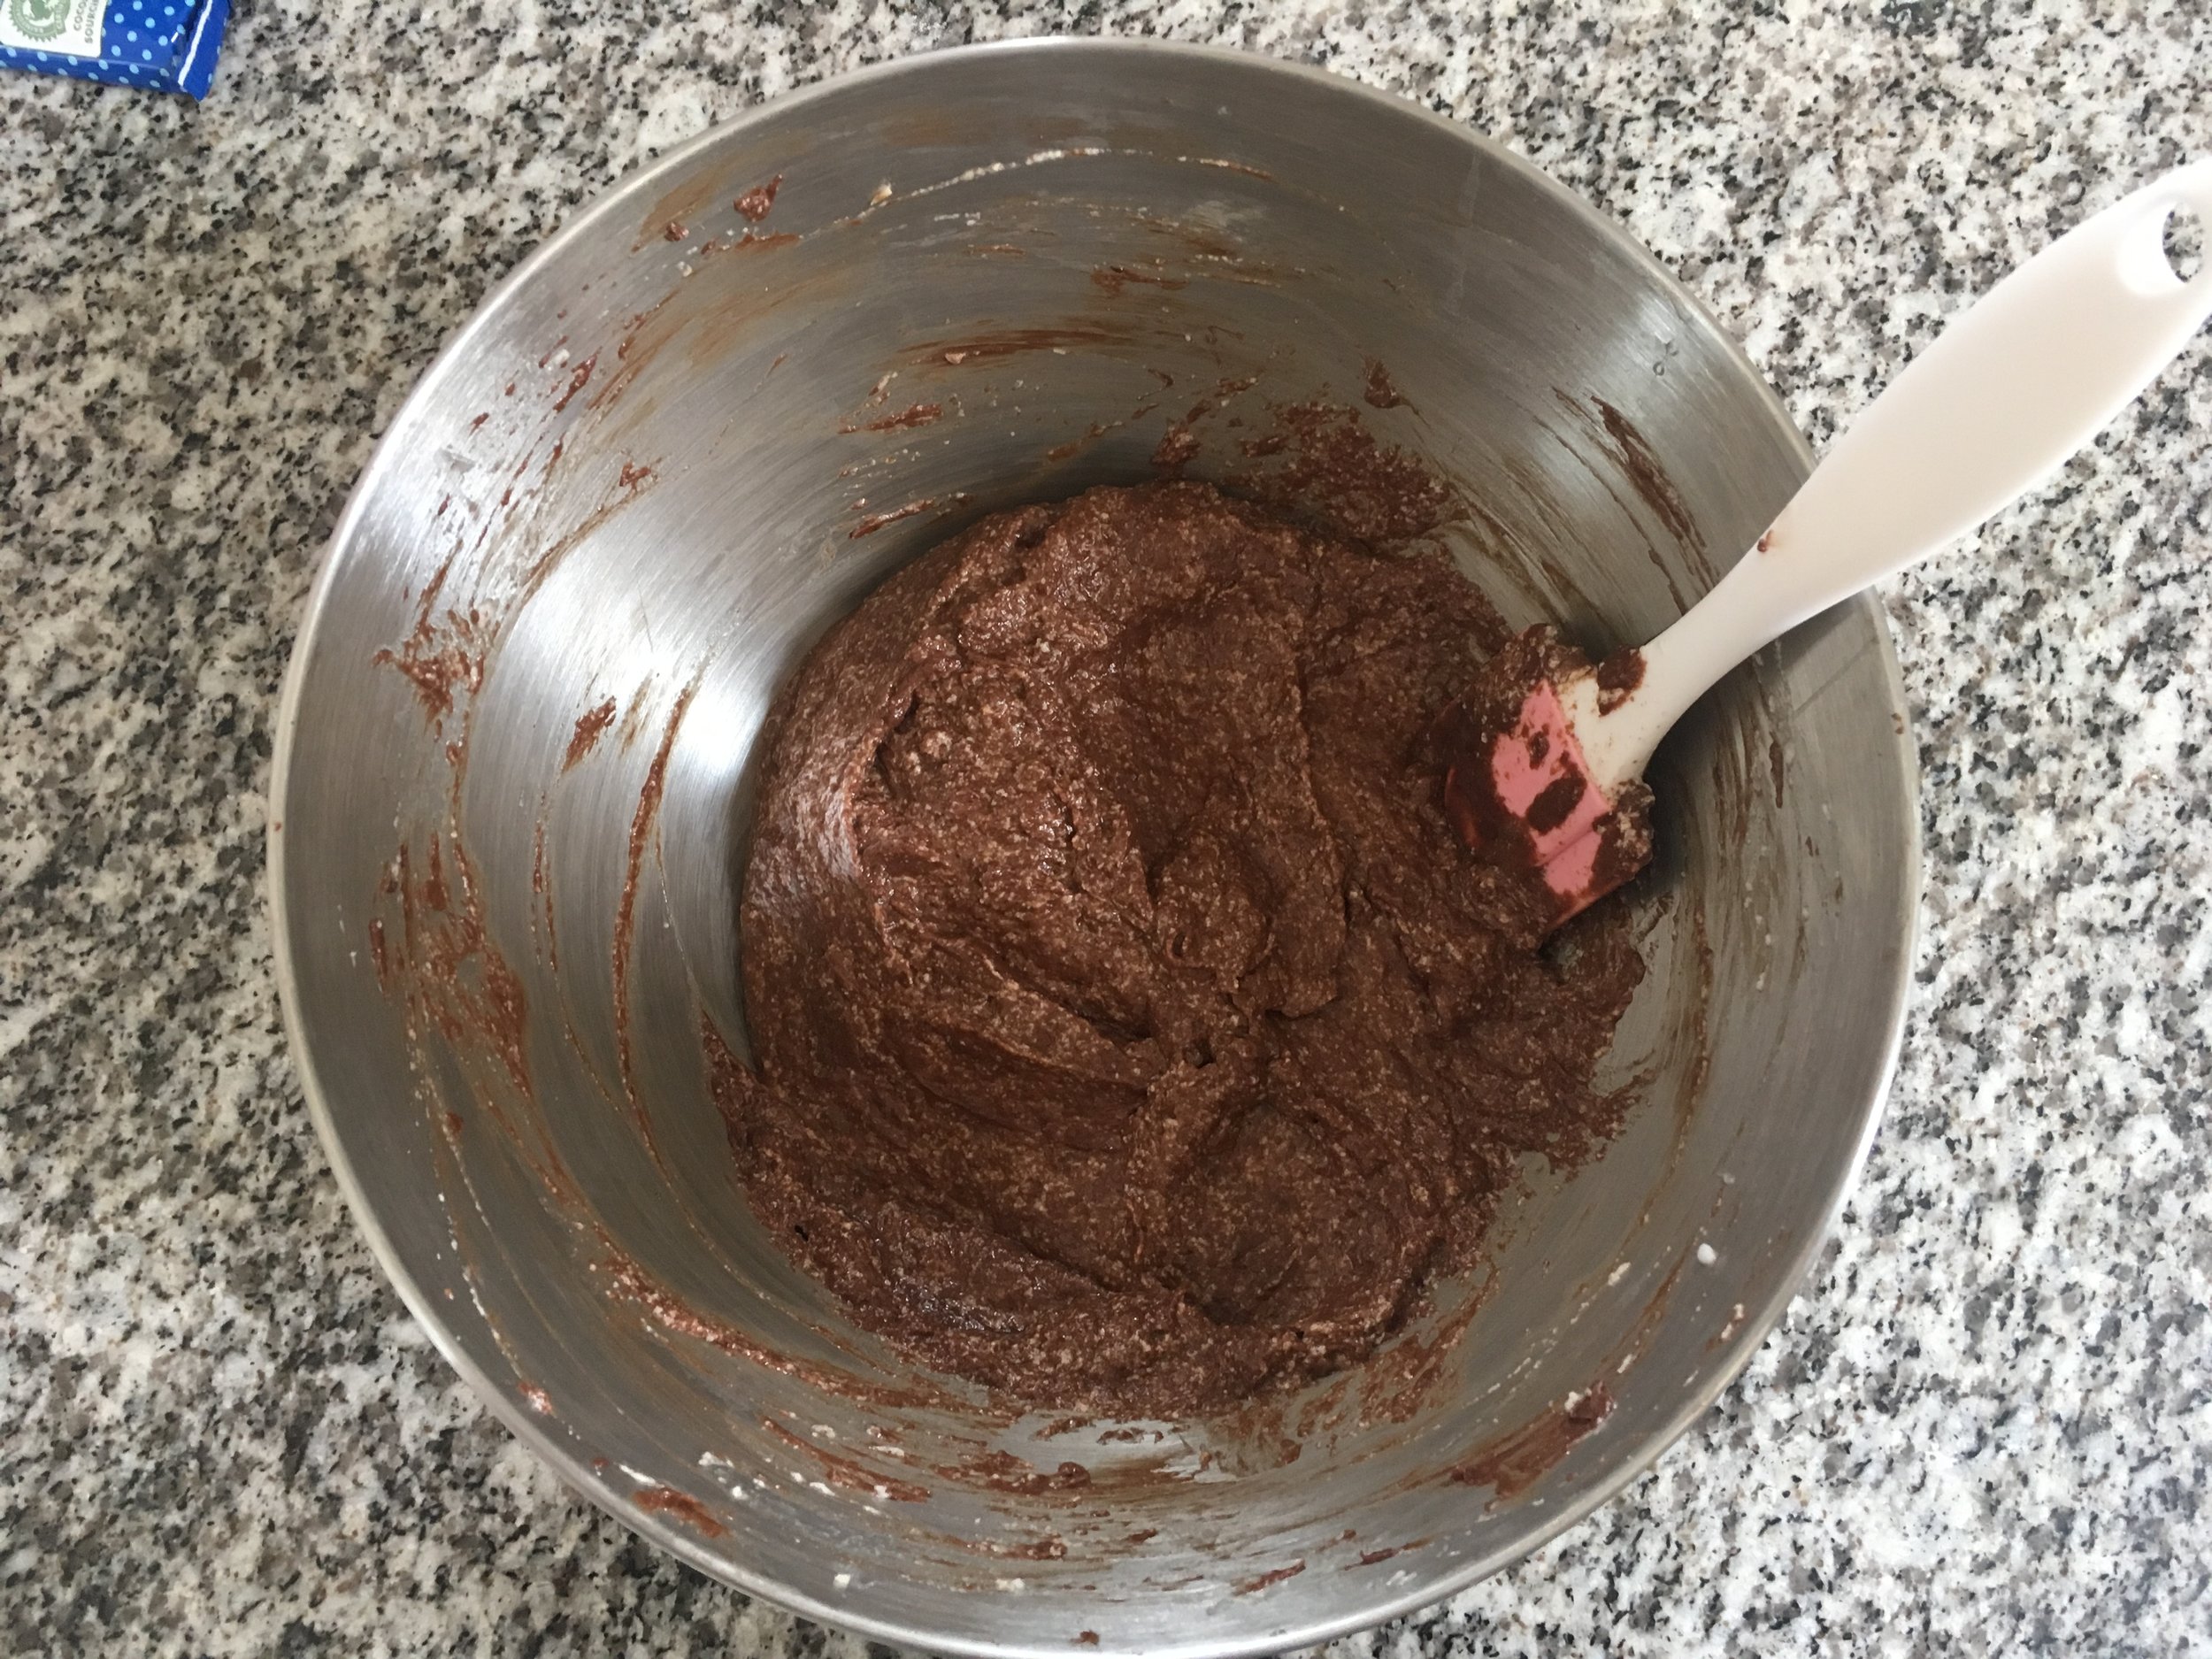
Add in the flour and spices and mix until well combined.
Add in the chocolate chips and fold the mixture a couple times until they are evenly distributed.
Divide the mix between 12 muffin cases, until each case is about two thirds full.
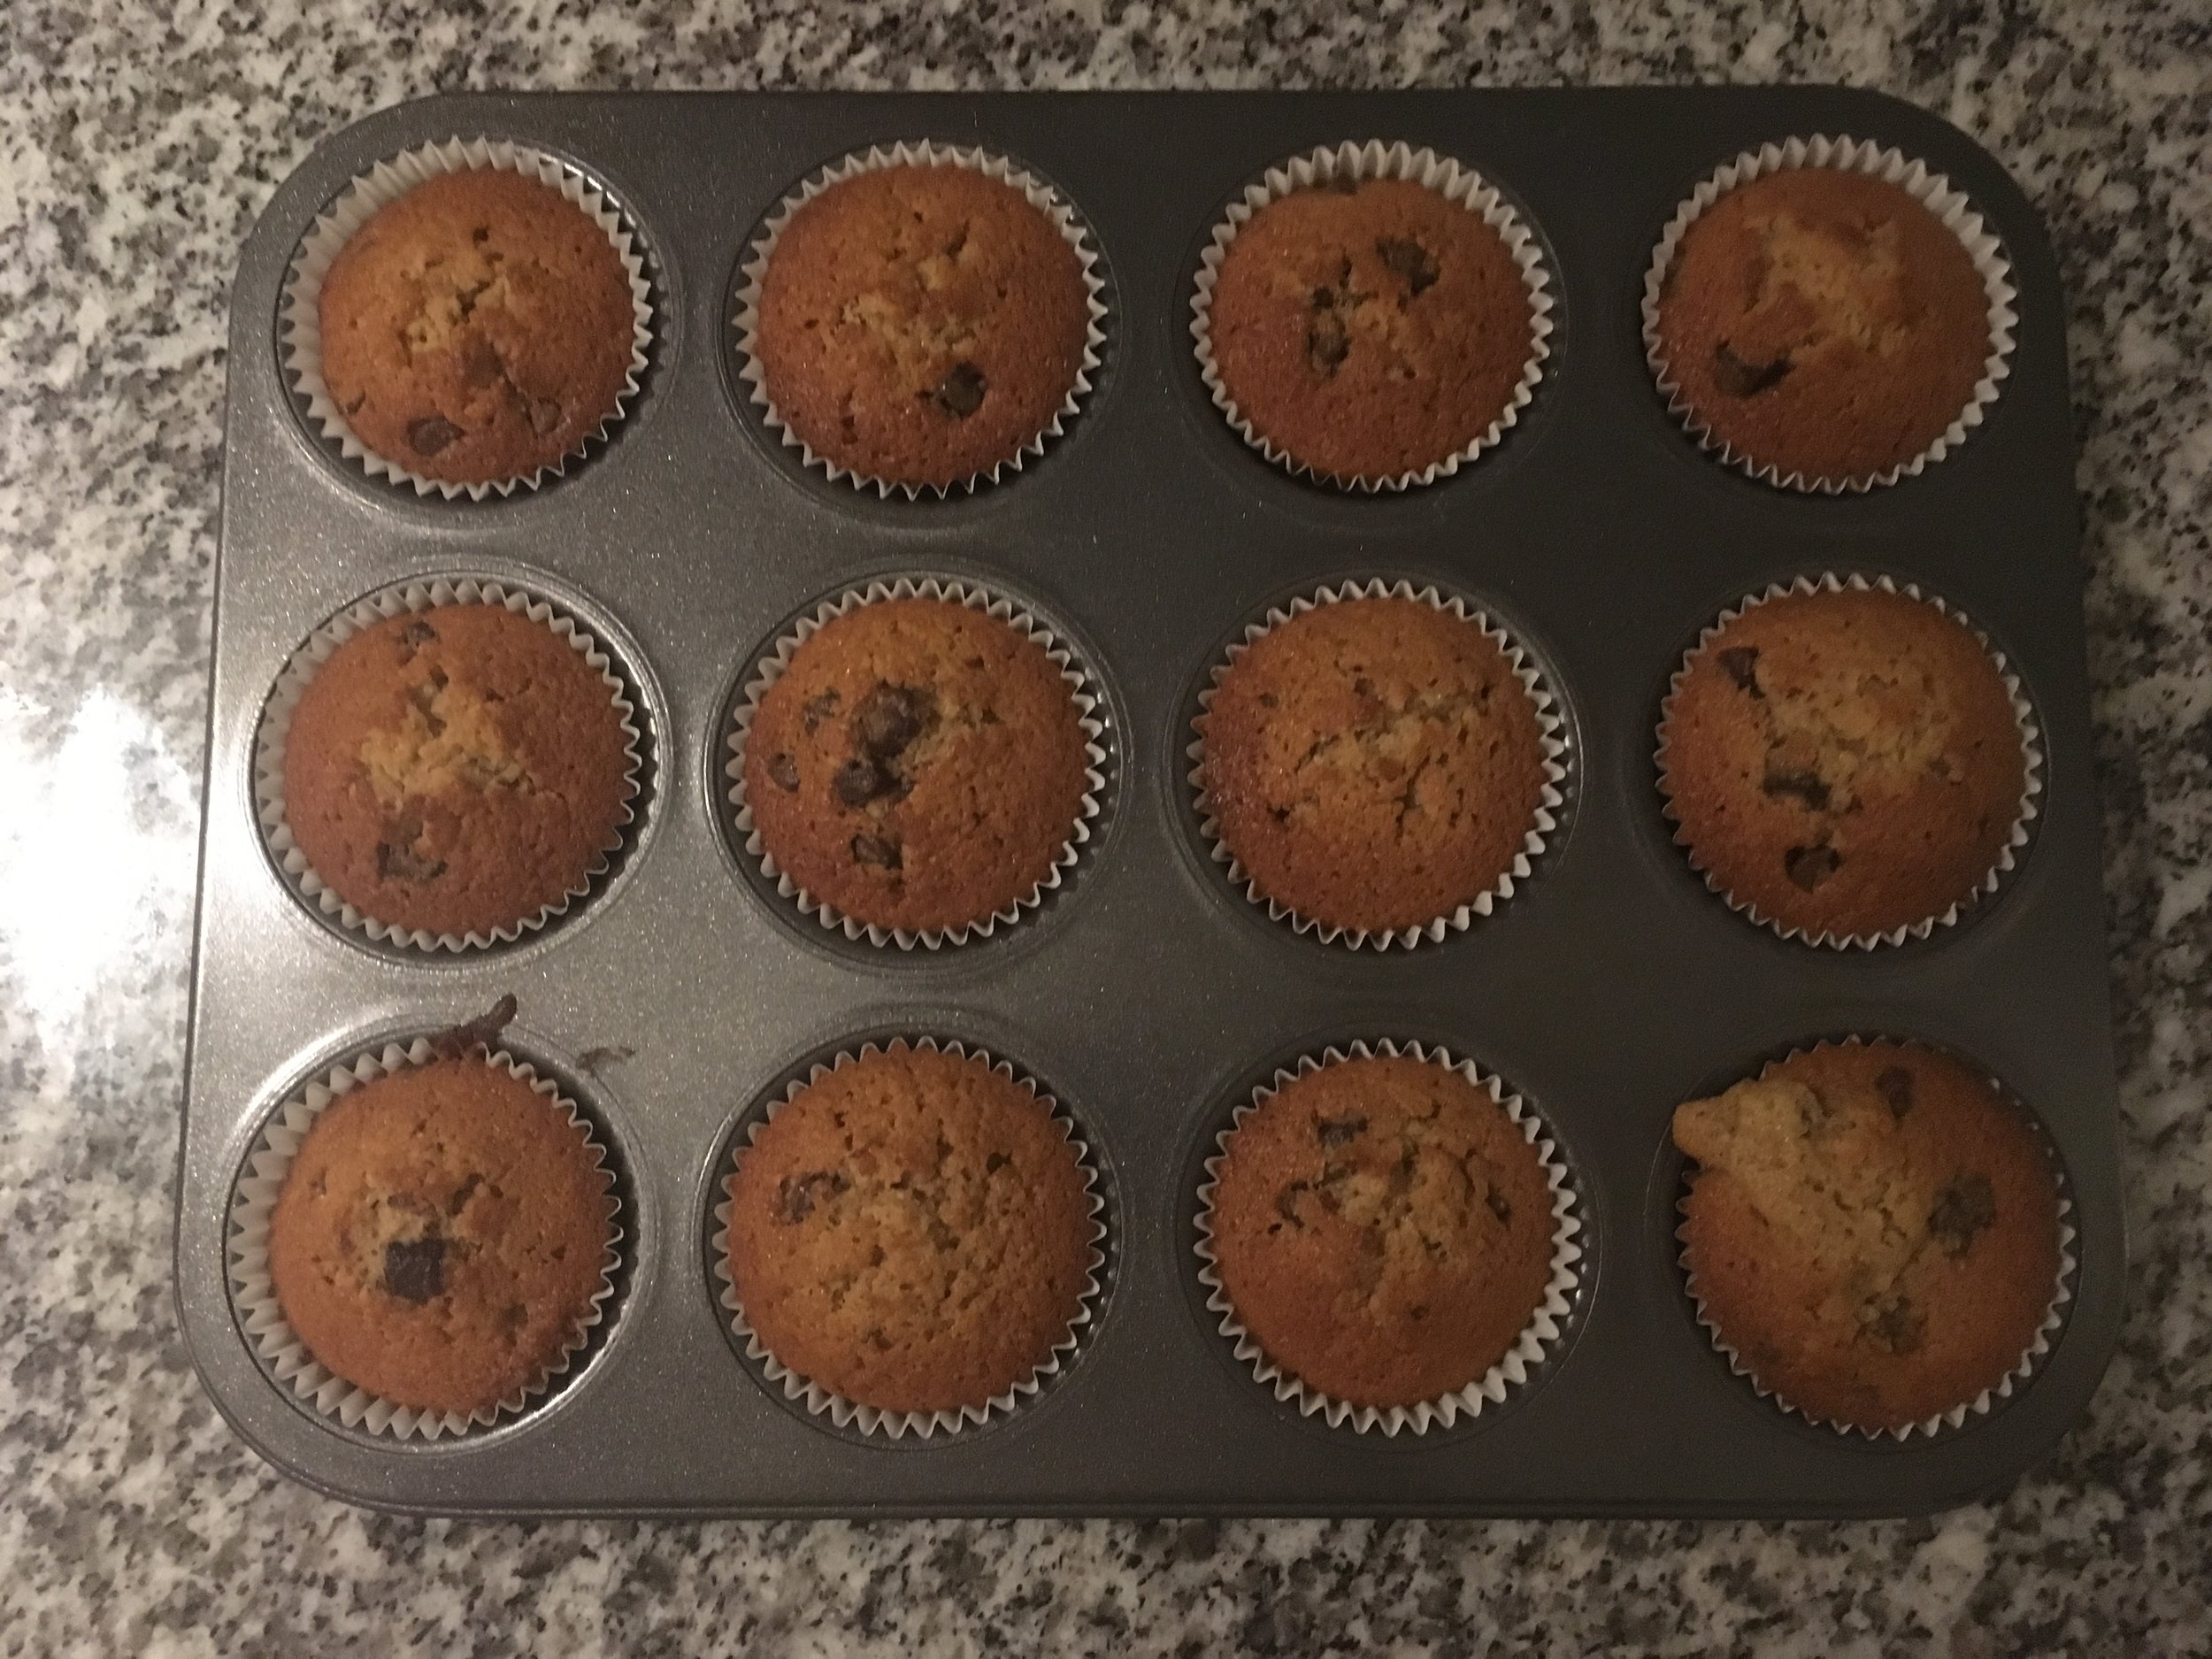
Bake for 18-20 minutes until golden brown and when skewered, the skewer comes out clean.
Leave to cool a little, but best enjoyed warm to beat the autumn blues.